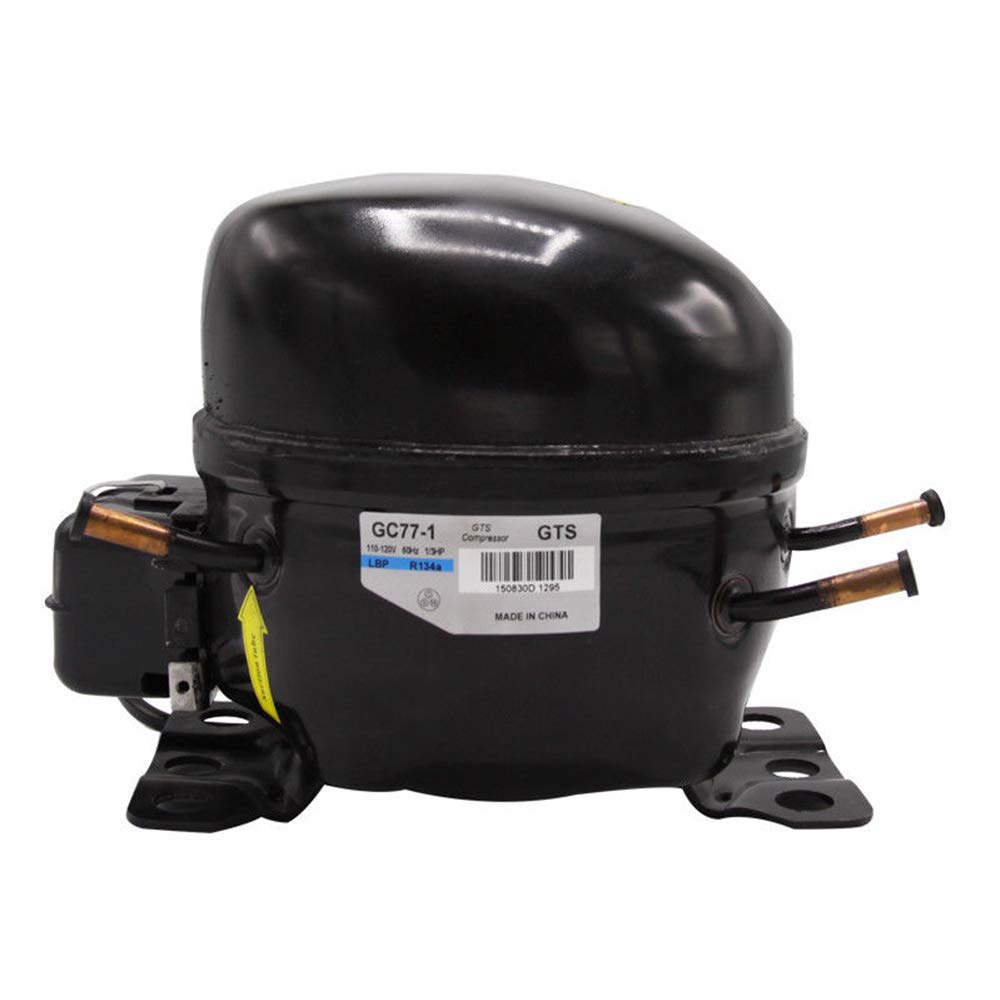
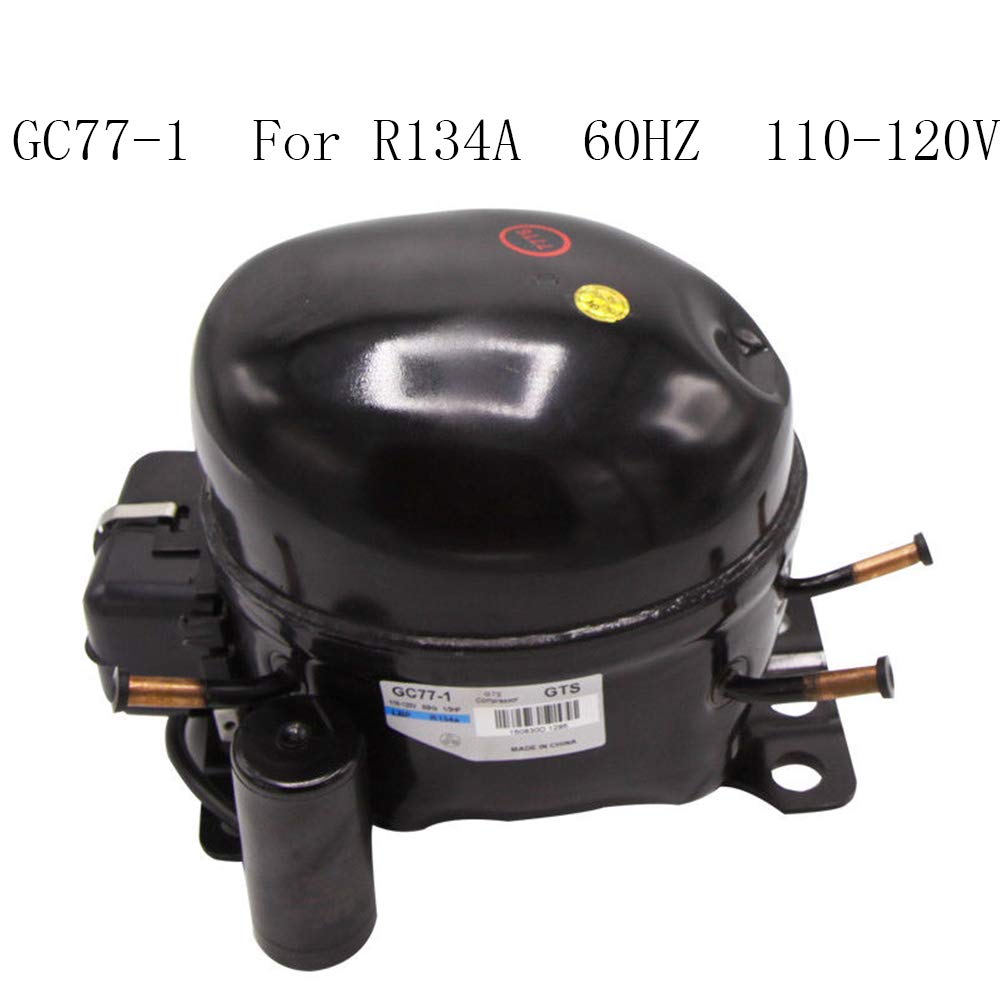
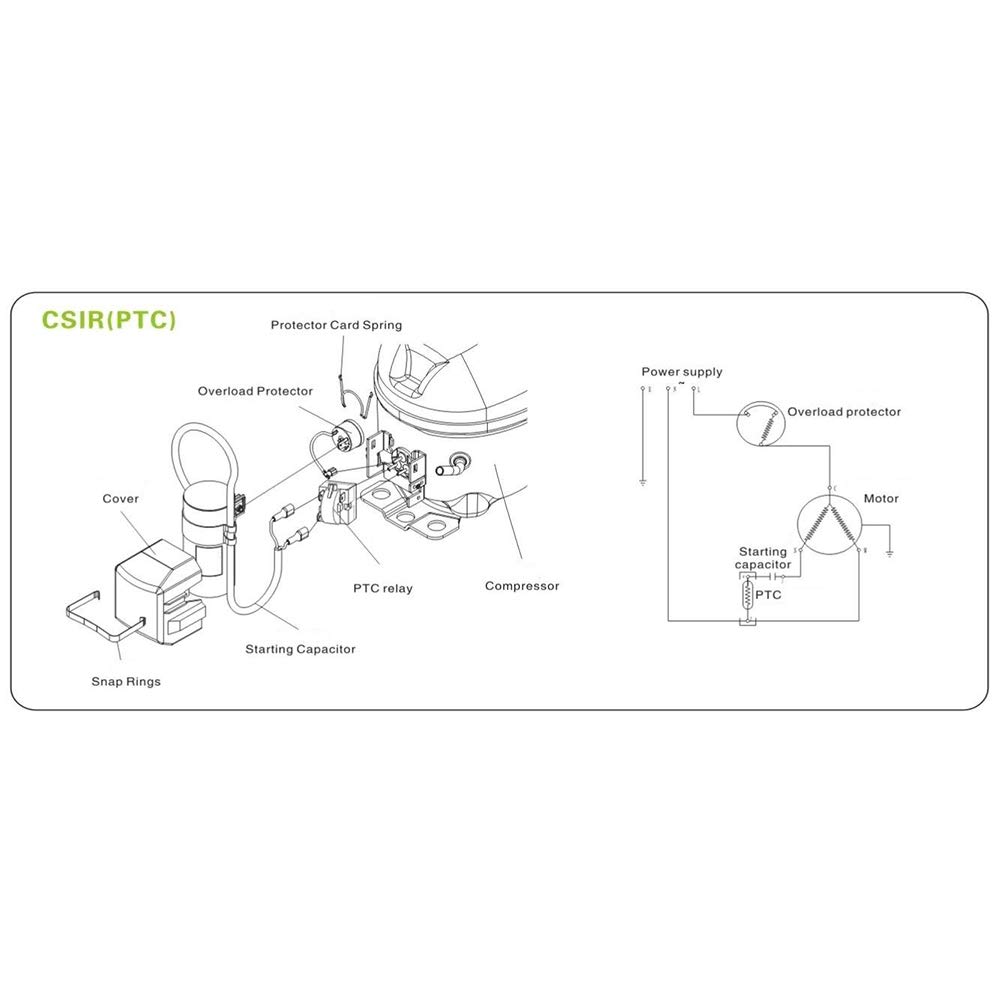


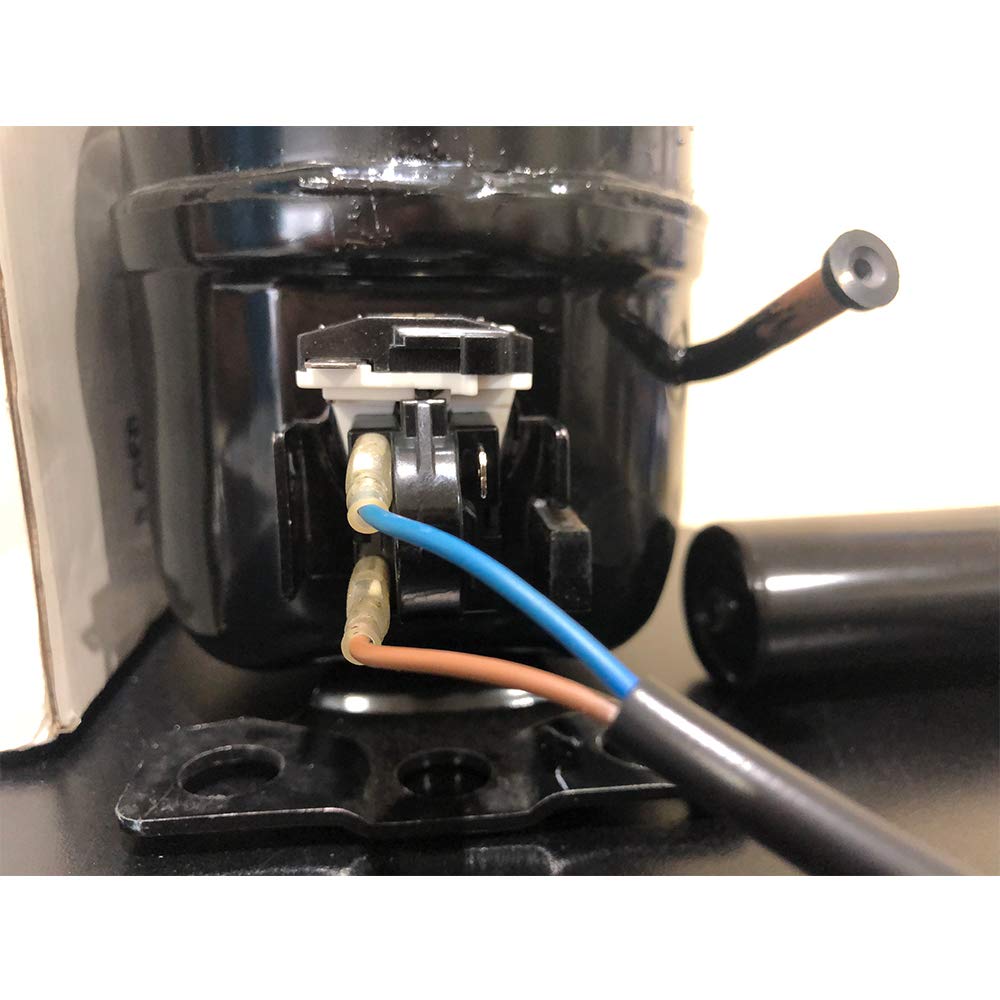
Features: ☞For r-134a ☞Reliability and consistency ☞LBP Applications ☞UL Listed ☞1 PH ☞60Hz☞110V~120V ☞Model: GC77-1 ☞Displacement(CM3): 7.7 ☞Motor type: RSIR ☞Cooling capacity(W): 210 ☞COP: 1.17 ☞Height: 7.03” ☞Diameter: 6.73” ☞Power HP: 1/4+ How to install?PreparingStep 1 – Unplug the UnitBefore starting the installation process, unplug the unit from the power supply. Remove the contents of the fridge and put them in another fridge or icebox temporarily.Step 2 – Locate the Old CompressorUsually, it’s located at the bottom of the fridge and can be accessed from the back of the unit. It’s cylindrical, and a metal guard is usually hiding it. Use a screwdriver, if necessary, to remove the guard and expose the compressor.Step 3 – Remove the Old PartInspect the compressor to check if it has a capacitor.It’s directly connected to the compressor to provide starting power, much like a battery.Detach the wiring and the valves on the old compressor from the capacitor to remove it from its spot. Uninstall any mounting hardware.InstallingStep 1 – Connect the CapacitorConnect the capacitor to the new compressor following the correct wiring code as provided by your manufacturer.Step 2 – Add RefrigerantRefrigerant makes the compressor work.Before charging the unit with a refrigerant, you need to pull a vacuum. In addition, ensure your fridge isn't leaking any of this refrigerant. If it is, fix the issue before replacing it.Step 3 – Connect the ValvesAfterward, check the valves on the refrigerator and connect them to the compressor. Step 4 – Test the UnitAfter the wiring and valves have been connected, put the metal guard back and test the unit to see if it works.
ترست بايلوت
منذ أسبوع
منذ يوم واحد
