Desertcart purchases this item on your behalf and handles shipping, customs, and support to KUWAIT.
🚀 Unlock your DIY genius with the ultimate dual-core wireless microcontroller!
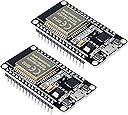
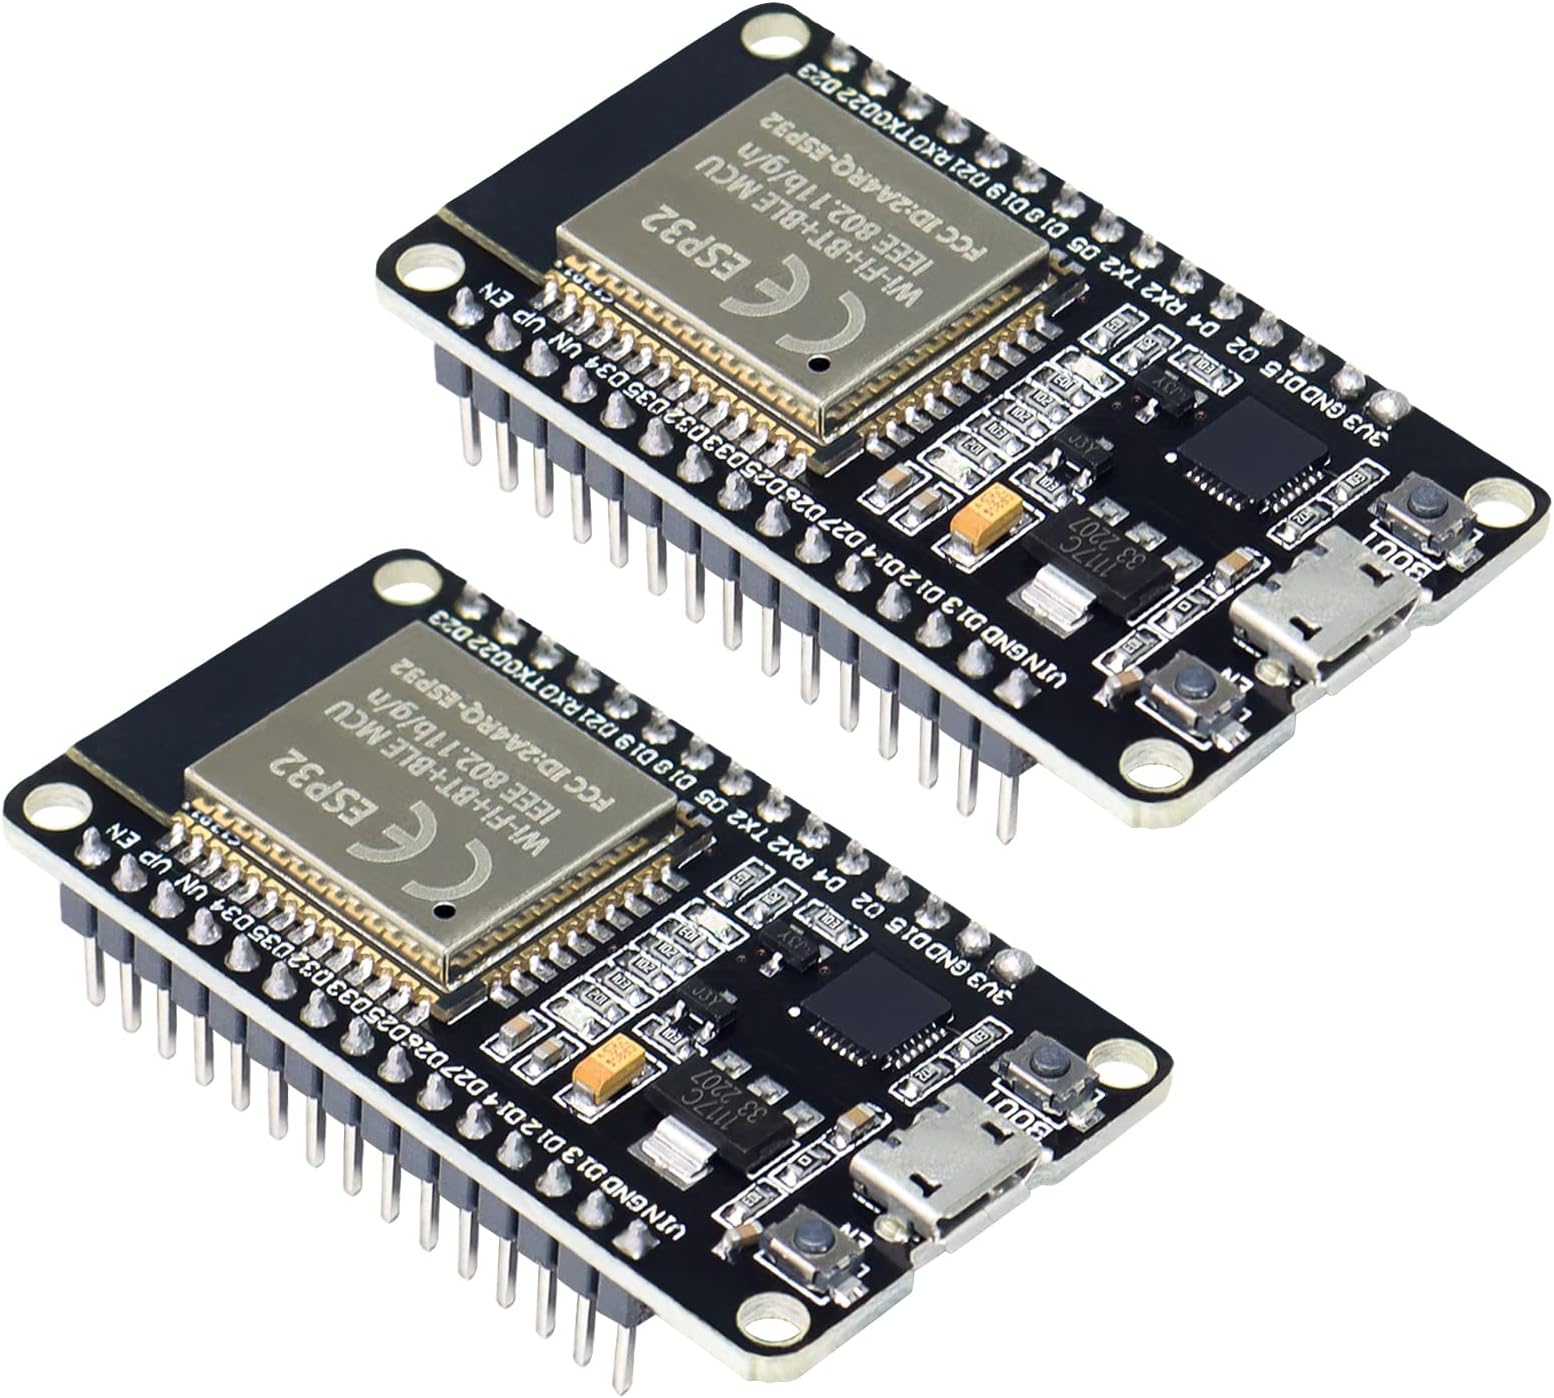
The KeeYees ESP32S Development Board features a 2.4 GHz dual-mode WiFi and Bluetooth ESP-WROOM-32 chip with a dual-core 0.24 GHz processor. This 30-pin board includes 4 mounting holes for easy installation and supports Lua programming and Arduino IDE, making it ideal for scalable, reliable IoT and DIY projects.


| ASIN | B0B9G74NNM |
| Best Sellers Rank | #624 in Single Board Computers (Computers & Accessories) |
| Brand | KeeYees |
| Built-In Media | Bluetooth, WLAN |
| CPU Speed | 0.24 GHz |
| Compatible Devices | Computers, Microcontrollers |
| Connectivity Technology | Bluetooth, WLAN |
| Customer Reviews | 4.4 out of 5 stars 893 Reviews |
| Manufacturer | KeeYees |
| Memory Storage Capacity | 512 KB |
| Mfr Part Number | KY88-2 |
| Model Name | ESP32S ESP32 Development Board |
| Operating System | FreeRTOS |
| Processor Brand | Espressif |
| Processor Count | 2 |
| Processor Speed | 0.24 GHz |
| RAM Memory Installed | 512 GB |
| RAM Memory Technology | SRAM |
| Ram Memory Installed Size | 512 GB |
| Warranty Description | 1 year |
| Wireless Compability | 802.11bgn, Bluetooth |
V**O
Great for DIY Projects and Microcontroller Beginners
These boards were how I first learned to use microcontrollers for DIY projects! intuitive to use, has a plethora of pins, and are cheap enough to just buy more if you fry them or need more of them. Also, the ESPNOW communication built into the boards has a very short latency and has been easy to set up between two boards in my experience, which was a big help for some of my wireless projects.
W**T
Just received my first 2 units and both work great
I just received my first two this afternoon, and uploaded several sketches to both. They work just fine. I like the little sticky tapes with the pin names on them. A few tips: 1) For those that complain about pressing the right-hand button to start an upload in the Arduino UI, this is very common, not a quirk in these particular boards. Not a big deal, really. Watch your sketch compile, then when it starts to upload, press the right-hand "boot" button for a few seconds. In my case, I hold the button until I see upload progress start, then let go. Nothing to it. 2) The on-board blue LED is connected to D2, by the way. Try the "blink" sketch first, and just change the default pin name or number to 2 instead of whatever the sketch default is. 3) When deciding what flavor of ESP32 board to select in the Arduino UI, I just use the generic "ESP32 Dev Module" and everything works fine for me. I have several other ESP32 modules, like the WROOM, and they all work with the Dev Module selection for me. Easy. 4) I also tried the very simple Wi-Fi server that can flash the on-board LED (no external connections needed) by going to Examples/WiFi/SimpleWiFiServer. Change the default pin 5 to pin 2 in several places, and then put in your home Wi-Fi SSID and your password. Enable the serial monitor for 115200 bps, and upload it. Once it connects, the ESP32 will tell you what its IP address is. Enter that IP address (like 192.168.1.123) in your phone or computer web browser, and you'll get a simple page coming from your ESP32 (which is now an HTTP server). The page tells you something like "click here to turn LED D2 on" (assuming you edited your sketch so that it says "D2" instead of D5) and a similar line to turn the LED off. Nothing to it, and you did this with zero hardware! 5) My modules did not have any labeling or silkscreen on them, but the included sticky labels are just fine. I stuck one set on the bottom of one module, and on the connector edge of the other. They are sticky enough that I'm not worried about them falling off. I really like these units, and will definitely buy more! I also bought a pair of the KeeYees breakout boards with screw terminals, and they perfectly match the pinout of these 38pin modules.
A**M
Both boards passed my simple initial tests
I had to install the CP210x USB-to-serial driver to get Windows 10 to see the device on a COM port. Also, when the Arduino IDE started trying to upload my program to the board, when the IDE output said "Connecting...", I had to press the right pushbutton on the board, for a couple of seconds, in order to allow uploading to occur. Other than those two not-serious gotchas, the board seems to work as expected. (I tested getting chip info, doing an http get via WiFi, and deep sleep with timer wakeup.) The chip is reported as model ESP32-D0WDQ6 Rev 1. Both boards work fine. Update 2022-11-23: I bought two more boards for a total of four. All 4 have functioned well without any known reliability problems. (I'm using WiFi, digital GPIO usage, internal LED, flash updates, NVS changes.) THESE THINGS ARE GREAT! Update 2022-12-08: I bought two more boards. 6 out of 6 have worked flawlessly. I wrote custom motion sensor software using PlatformIO...flashing from PlatformIO works flawlessly OTA or wired. Every pinout has behaved as expected. Update 2024-10-13: I've purchased five batches of 2 boards (10 boards in total) over the past two years, and all of them have worked flawlessly. They are 38-pin narrow boards (25.4mm/1in wide), unlike many of the other boards that are 2.54mm/.1in wider than this one. So these fit nicely on a 400 point breadboard, leaving a usable wire point adjacent to each pin on both sides of the board after it's been seated into the breadboard. They have 4MB of flash storage. Excellent quality/value.
C**R
Good board; few quirks - Arduino working notes
Writing what I got working because the Amazon reviews were the best to getting this working for me. Tried on both Windows 10 and Ubuntu Linux 18.04. Ultimately all my issues came down to a bad USB cable. Writing what SHOULD work to help others. I'm writing this for Windows 10 though I'm sure it'd work fine on Linux now that I have a good cable. Go into device manager on Windows 10. When you plug the cable in, device manager should refresh and notice a device is attached. If it does nothing, get another USB cable. When it works, you should have a "Ports" section and CP210x USB to UART bridge and a com port. If you don't have that, nothing in arduino or any other program will work. Keep troubleshooting cable and driver until you get there. When I did finally get that working I installed esp32 from boards manager in arduino (need to add the additional boards link ... google for it). I selected the port and FireBeatle ESP32. When uploading code to it, you have to push the IOO port (the one to the right of the USB connector) and hold it when Arduino gets to "Uploading" your sketch. It's a little awkward to hold this so it's best to have it in a breadboard to do this. Reset doesn't work across the cable either, but the button to the left resets it and finally blink (my hello world goto) sketch is working.
S**K
Works, reliable, flashes with no button pressing (on linux)
I got these to replace some nearly identical ones from a different seller which had super flaky wifi (it turned out due to counterfeit USB chip leaking high voltage to the ESP32). I'm happy to report that, despite having a no-name USB chip (CP2102 clone, I think) all the voltages measure as they should (unlike the other brand) and the units work so far flawlessly. I bought these from KeeYees this time because I had purchased some ESP8266s from them a long time ago which have worked great for years, and so far it looks like their ESP32s are similarly well-enough made. So, if you are scratching your head over which brand of this board to buy when there seem to be so many that are exactly the same: Beware they may be the same design but the components matter, and so far for me at least KeeYees has sent me good, working boards, spanning multiple years, which I can't say for some other random brands/sellers.
A**R
Works Great With Home Assistant/ESPHome
I've been using Arduino's for several years as part of my home automation system. I recently moved to Home Assistant and I didn't find an easy way to translate all my Arduino code to work with HA, so I decided to try this ESP32 board. All I can say is that it was the easiest board I've ever set up (using the ESPHome add-on in HA). This ESP32 board is my future and will be replacing all my Arduinos. The Wifi works great on both the boards I got and I can program and download any new files wirelessly. Pressing the IOO button was necessary to get the initial program to download but the button press isn't needed when down loading wirelessly. Research which pins to use for I/O because a few of them do weird stuff on reboots, but that information is readily available on YouTube or do an internet search. It's an amazing little board when used with HA/ESPHome. I've even got 10, 1-Wire devices daisy-chained to one of the input pins (which previously took me weeks to figure how to do on Arduino) - it took me 20 minutes on this board using ESPHome.
J**M
Works great for ESPHome and Home Assistant
Fits their expansion boards really nicely, also fits on standard breadboards with access to all the row pins (something most wider esp32 boards fail at). If you want to use ESPHome to do a simple LED test, you can add this config: switch: - platform: gpio pin: GPIO2 id: led22 name: "LED22" Which will let you toggle the blue led on/off. The red LED, from what I've read, is just on as long as there is 5v flowing into the chip. Rumor is you might be able to get around that by powering through the 3.3v pin instead, but I haven't tried that.
D**R
Must push button to program, and included sticker/pin labels are not accurate
I use these with ESPHome and Home Assistant. They work fine so far, although when you program them for the first time you need to press the "IOO" button when the s/w is ready to upload. I don't like that there are no labels on the top of the device. There are labels on the bottom, though this isn't very helpful. They come with stickers that you can use for labels, although A. I'm not sure where you would stick them (I guess you could temporarily stick them overtop of the pins) and B. it took me a minute to figure out the orientation of the labels (one sticker seems upside down) and even then the CMD pin 18 is incorrectly labelled an GND.
B**L
These work nicely, but can get very warm with WiFi use.
I only started using ESP32 a few months ago, coming from an Arduino background. I have to say, I love these boards! They are much faster than any Arduino, have dual cores which are easy to use and having Bluetooth and WiFi (transceiver radios) makes them easy to use. With Arduino, I was using nRF24L wireless boards and found them glitchy and the libraries not as stable as one might like. I pretty much gave up on them because one day, communications were perfect, then all of a sudden, without any logical reason, comms would just stop or get glitchy. I moved to the ESP32 and found that configuring communications (either using WiFi to the router or using peer-to-peer) was so easy and STABLE! Configuring the radios is so simple and you don't need a lot of code to do so. The only downside I see with this particular brand, is that when using the radios, the chip can get pretty hot. These manufacturers should offer a heat sink for the chip. When being enclosed in a case, this could be a problem, so adding a heat sink and MAYBE a tiny fan might be a good idea. All in all I do recommend these. I did end up buying more and intend to buy more yet.
B**N
my favorite brand, KeeYees #1
These just work. easy to program, come with pins pre soldered for easy wiring. I have been able to power small projects with only using the USB port for power. They seem to be protected well cause even with hot swapping, shorting out or reverse polarity they just reboot and keep on truckin.
A**N
Onboard capacitor isn't big enough, suffers from brownouts in some situations
The onboard capacitor across EN isn't big enough. This means that in some situations, with certain things hooked up to certain pins, you will not be able to flash the chip from your PC without pressing the boot button. When the chip is brand new you can flash without any button press, but sometimes you can't. Similarly, if you hook up too many devices that try to draw too much current, again the capacitor on this dev board isn't big enough to handle spikes, and you will get Brownout Detector error messages on the serial and bootloops. I got this just from simply having a TFT backlight connected and trying to connect to wifi. You can fix this by installing a bigger capacitor yourself, even off-board, or using a stronger USB power supply, but these dev boards really struggle with weak USB ports like those on a PC or laptop. The 38 pin narrow layout is nice, gets you more room on your breadboard than traditional WROOM modules (this chip doesn't say WROOM on it though). And more pins than usual, although some of them aren't even usable or necessary (IE pins only for flashing direct to memory yourself, not GPIO). However there are no pin labels on the top, they come on sticky papers that you have to peel off and apply yourself, only the bottom of the board has pin labels, which obviously are not visible when installed on a breadboard. Good price, decent boards, convenient layout, but sometimes minor power problems in some projects. Fixable, but annoying.
V**A
Arrived alive and works great
I bought this ESP32 2pk to eventually build a remote controlled Bluetooth boat. Bluetooth works great using these modules. I Googled “Dabble Arduino Bluetooth”. It has an iOS app called Dabble that you can get for your iPhone. You then have to go to the Dabble (thestempedia.com) website and download the Dabble-ESP32 Arduino library. I also appreciate the fact that I could download the pinout diagram. I opened the pinout diagram in Google Chrome and then printed it using 47% scaled down (found it in Chrome’s additional settings). After it was printed I poked holes in the paper and the Esp32 module fits perfectly!
J**N
Very good
Solid ESP32 modules with bootloader and AT support. Very good
Trustpilot
1 month ago
3 days ago