We remain fully operational. Our teams are working around the clock to ensure your deliveries continue safely.

قم بتنزيل التطبيق


معلومات عنا
حقوق الطبع والنشر © 2024 Desertcart Holdings Limited
قم بتنزيل التطبيق


Buy anything from 5,000+ international stores. One checkout price. No surprise fees. Join 2M+ shoppers on Desertcart.
Desertcart purchases this item on your behalf and handles shipping, customs, and support to KUWAIT.
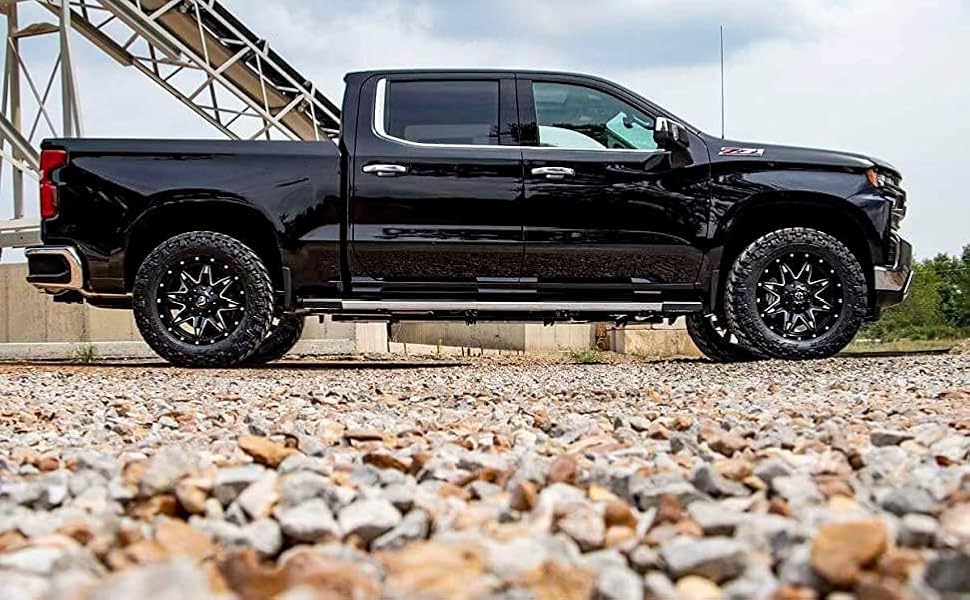
⬆️ Level up your Chevy/GMC game — smooth, stylish, unstoppable.
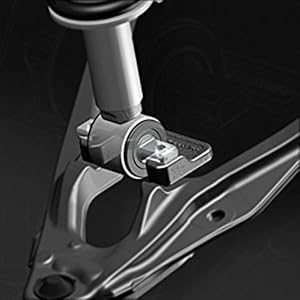
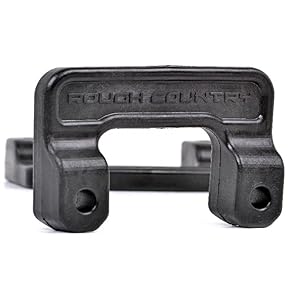
The Rough Country 2" Leveling Kit (SKU 1307) is a vehicle-specific front suspension upgrade for 2007-2018 Chevy/GMC 1500 trucks, delivering a precise 2-inch lift. Designed for easy bolt-on installation without strut disassembly, it maintains OEM ride quality while enhancing ground clearance for on/off-road performance. Constructed from durable polypropylene and supported by a limited lifetime warranty, this kit ensures lasting quality and a balanced, aggressive stance.


| ASIN | B006R7AW6M |
| Auto Part Position | Front Lower |
| Automotive Fit Type | Vehicle Specific Fit |
| Best Sellers Rank | #9,616 in Automotive ( See Top 100 in Automotive ) #6 in Automobile Chassis Body & Suspension Lift Kits |
| Brand | Rough Country |
| Brand Name | Rough Country |
| Customer Reviews | 4.6 out of 5 stars 3,977 Reviews |
| Global Trade Identification Number | 00843030103484 |
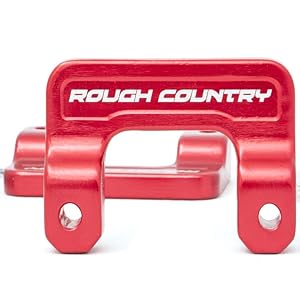
| Included Components | (2) Lower Strut Mount Extensions, Mouting Hardware |
| Item Type Name | Rough Country 2" Leveling Kit for 2007-2018 Chevy/GMC 1500 | 07-21 SUV - 1307 |
| Manufacturer | Rough Country |
| Manufacturer Part Number | 1307 |
| Manufacturer Warranty Description | Limited Lifetime Warranty |
| Material | Polypropylene |
| Material Type | Polypropylene |
| Maximum Lifting Height | 2 Inches |
| Model Number | 1307 |
| Set Name | Rough Country 2" Leveling Kit for Chevy/GMC 1500 - 1307 |
| UPC | 616983632222 |
T**M
ABSOLUTELY PLEASED!! WELL WORTH IT!!!
Title says it all!! Tonight I finished installing my 2" Rough Country leveling kit that I got off of Amazon for $66 with shipping. Must I say after a 30 minute drive home IM PLEASED... EXTREMELY PLEASED.. I love my truck too much to mess something up and didnt wanna spend the money for professionals to do it but I figured what the heck, 100% bolt on no special tools required but 1 wrench (15mm), 2 deep sockets (15mm & 18mm) , a crescent wrench, and a 7/32 allen wrench. Lets proceed. First off the kit comes with 2 spacers, 4 bolts, 8 washers, 4 nuts, instructions, rough country advertising sticker, and a yellow rough country warning sticker to put either on the inside of the door alongside the other factory spec sticker(s), in the glove box, or in the engine compartment; choice is yours but its bright and notifies anyone working on the truck or future owner that there is a modification. Now on to my clarifications for ease of installment. I followed the youtube video "2010 Rough Country Leveling Kit Install" TO THE TEE! However when trying to pry the strut up there was an extreme amount of pressure and it just felt as though someone was gonna get hurt. Didnt feel normal. Well after about an hour of trying to watch every moving part while prying and also trying to observe what is happening as well as "what needs to happen" ..FINALLY WE SPOTTED THE PROBLEM... we noticed one important step missing in the video instructions that would make the install go from 1.5 hours to 20 minutes tops GUARANTEED, WHICH IS JUST OUR OPINION. But if somehow you were able to get it by watching the video in this post and following those steps then most likely your here reading this because you broke something or messed something up and want to know of that easier way you could have done it. In the video they stated loosening and leaving the sway bar bolt loose. For us this was humanly impossible to pry the strut far enough away from the lower control arm to slip the spacer in safely. We simply unscrewed the top nut and removed it completely from the sway bar but left the bolt in place. Giving you MUCH more room to move strut up and down. Next we easily picked the strut up away from the control arm and placed the spacer in place and wiggled the pry bar back and forth to align holes to accept bolts. We used a small vertical hydraulic jack to crank the lower control arm up to allow bolt for sway bar to protrude through enough for nut to catch. Your also going to need the 7/32 allen to keep the ball joint from spinning when tightening your control arm nut. Also FYI the other side took us 12 minutes TIMED!!! Trust me just just remove the to nut completely from the sway bar. Now that we are finished and see the bigger picture of what we needed to do I consider this install a very very simple install probably a 2 or 3 out of 5 on a 10 scale of difficulty. Going check alignment first thing in the morning hope you all find this post helpful. I don't ever post on anything but figured my two cents may save someone an hour of daylight. PLEASE GIVE THUMBS UP IF THIS REVIEW HELPED IN ANY WAY! Thanks God bless. Update 4/5/2017: Since I first wrote this article, I have since installed this kit on 3 separate trucks that I've owned: 2011 Chevrolet Silverado LT 2WD, 2011 GMC Yukon SLT 2WD, and 2008 GMC Sierra SLE. All were equally easy and came out nice! Rough Country is the way to go! Dont settle for anything less!! Other brands have packaging issues, broken parts, missing pieces, uneven bolts, misthreaded bolts, unthreaded bolts, etc... Rough Country has an unmatched Quality Control department that ensures correct blemish free products. Uploaded before/after photos for your viewing pleasure Keep in mind this product is Rough Country SKU 1307 which is for Cast Steel. The Rough Country SKU 1308 is for Cast Aluminum or Stamped Steel. Steel Cast Control Arms Steel control arms are offered on 2007-up models and have a BLACK finish. A magnet will stick to steel arms. Aluminum Cast Control Arms Aluminum control arms are offered on 2014-up models and have a GRAY finish. A magnet will NOT stick to aluminum arms. Stamped Steel Control Arms Stamped Control Arms are offered on 2016-up models and feature welded seams, a rounded steel construction, and a concave sway bar pocket. They have a BLACK finish and a magnet will also stick to stamped arms.
B**N
Looks great
It looks great on my 2016 1500 Installation was very easy It leveled my truck perfectly And it still rides smooth as butter
J**N
Easy install
Took just over an hour to install both sides. The truck sits nice now. Good quality materials, bolts have enough length. I disconnected the sway bar links and was able to push the rest of the suspension components down by putting my body weight on top of the caliper and pushing down to get the bracket under the strut. Then I loaded the washer on the bolts and wiggled the strut until the bolts went through the holes. My truck is a 2012 Sierra from Texas, so there's no rust. I still sprayed PB blaster on the bolts and nuts to avoid issues
C**S
Easy install
Easy installation with this. Couldn’t ask for A better fit. Make it to where I liked it.
J**G
Good product, perfect level, and some helpful hints for others!!
Install went well. End result looks great and perfectly leveled out my 2013 suburban and stopped all rubbing and cleared my new 285/70r17 tires. Whole process took about 3 hours, but it would have been much quicker had I done things a little different. I did the driver's side first, which took a lot longer as I had some learning curve to overcome. The pass. side was much easier once I figured things out and took only about 30-40 minutes. Here are some important/helpful hints for anyone doing this install: 1. Make sure to fully detach upper ball joint from spindle! I tried leaving the bolt barely on to keep the spindle from flopping to the side, but it didn't allow for enough room to drop the 2 new lower strut bolts in from the top (the axle shaft is in the way for the rear bolt). Once I fully removed the upper ball joint bolt, I was able to swing the spindle to the side which moved the axle shaft enough to put the bolts in from the top. I think this is why some reviewers were having trouble putting the new lower strut bolts in from the top! ** Be careful to control how far over the spindle flops/swings. I used some large zip ties to make sure it didn't drop too far and damage the brake lines! Using a jock underneath the A-arm when reattaching the upper ball joint helped since the spindles are heavy! 2. Loosen all 3 upper strut bolts (not just one) During my install on the driver's side, I had only loosened the closest of the 3 upper strut bolts. This didn't allow the strut to move as freely as possible when trying to line up the spacer and the new lower strut bolts!! Even after I realized I needed to move the spindle to the side, I still fought and fought using pri bars, muscle, etc to try to get things lined up. It took a lot of work, but finally got the bolts to fall thru and the spacer to line up. On the pass. side I loosened all 3 upper strut bolts and it was much much easier! 3. You don't have to fully remove the sway bar bolt. It's not difficult to put back on if you do, but it works fine if you just loosen it most of the way. 4. Having a set of metric ratchet wrenches would help speed things up a lot! I couldn't find my set and it took a lot longer than necessary using regular wrenches, specially for the ball joint and tire rod ends where socket wrenches won't work (because you have to use a smaller wrench/allen wrench to keep the joint from spinning)
T**M
Looks great on truck
The Rough Country leveling kit proved to be an excellent addition to my truck, providing both aesthetic and functional benefits. Once installed, it gave my truck a clean and attractive level appearance, enhancing its overall look. The installation instructions provided were clear and easy to follow, ensuring a smooth and hassle-free process. I was impressed with the solid construction of the leveling kit, which felt durable and capable of withstanding rough driving conditions. However, a drawback I encountered was that the installation process was a bit challenging to do alone. Having an extra set of hands would have been beneficial, especially during certain steps that required more assistance. Despite this minor inconvenience, the leveling kit lived up to its promises and transformed the appearance of my truck, making it a worthwhile purchase for truck owners seeking a level and appealing stance.
A**R
Looks Awesome!
I installed this kit on a 2011 Chevrolet Tahoe Z71 2 Wheel Drive. Honestly, the instructions are way overrated, and too many steps that are unneeded. All you have to do is jack up the front of the vehicle, take off the wheel, and support the frame with Jack stands. Remove the stabilizer bar links, then take off the bottom two strut bolts. At this point, you can easily wage the lift kit in place. Takes 15 mins per side. Worth the money!!!
A**R
2” leveling kit
Good quality and worked great
ترست بايلوت
منذ أسبوعين
منذ 3 أيام