Description
☀️ Elevate your solar game—mount, tilt, and conquer the sun with style!
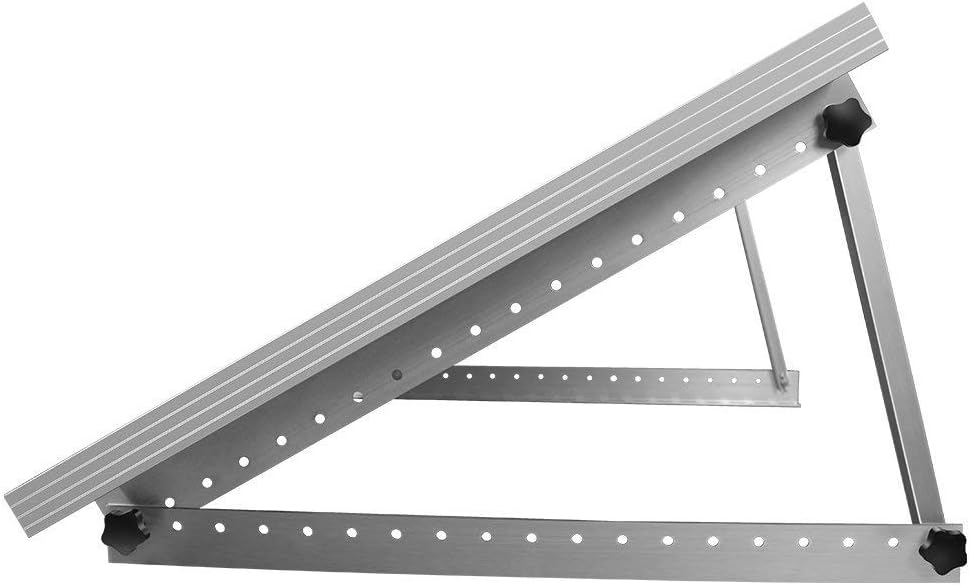
- ROBUST ALUMINUM BUILD - Lightweight yet durable aluminum construction ensures long-lasting performance in all weather conditions.
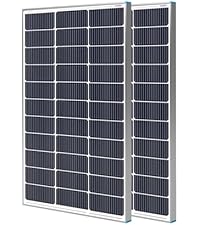
- SEAMLESS COMPATIBILITY - Optimized for Renogy solar panels up to 120W, perfect for RVs, boats, and off-grid setups.
- TOOL FREE QUICK ASSEMBLY - Includes stainless steel fasteners and intuitive design for hassle-free installation and maintenance.
- ALL INCLUSIVE MOUNTING KIT - Comes with all necessary bolts, washers, and knobs—everything you need to power your adventure.
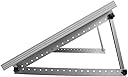
- PRECISION ENGINEERED ADJUSTABILITY - Tilt and fold your solar panels effortlessly for maximum sun exposure on any flat surface.
The Renogy 28in Adjustable Solar Panel Mount Brackets offer a versatile, durable, and easy-to-install solution for mounting solar panels up to 120W on any flat surface. Crafted from lightweight aluminum with stainless steel fasteners, these brackets feature foldable tilt legs for optimal solar angle adjustment, making them ideal for RVs, boats, and off-grid systems. The package includes a comprehensive set of mounting hardware and is backed by a 1-year material warranty.