Description
🏀 Elevate your game with mounting mastery—because your hoop deserves the perfect home!
- LIFETIME BACKED QUALITY - 5-year limited warranty and trusted brand reliability for peace of mind.
- CUSTOMIZABLE INSTALLATION - Includes mounting materials but lets you tailor hardware to your setup—perfect for pros who demand control.
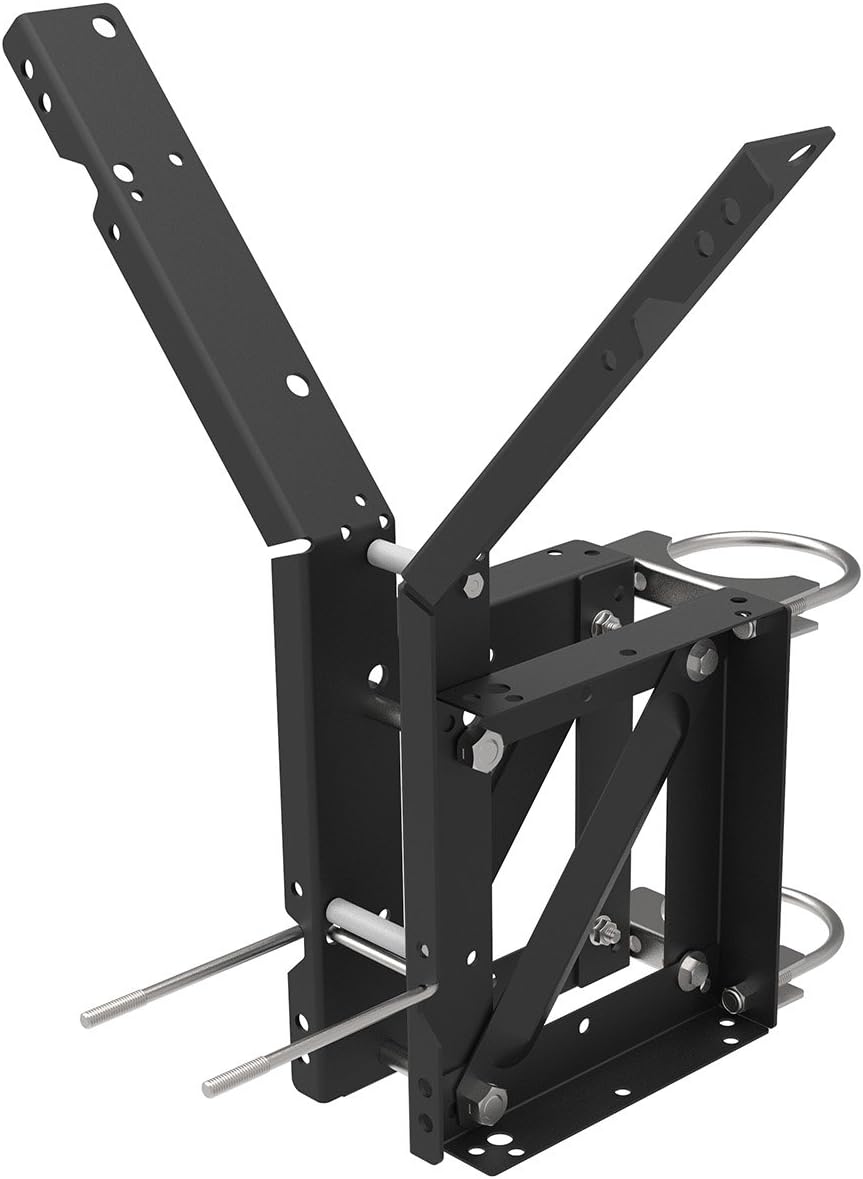
- DURABLE ALLOY STEEL BUILD - Rust-resistant metal frame ensures long-lasting outdoor performance.
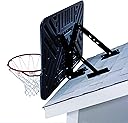
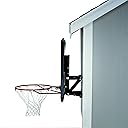
- PRECISION BACKBOARD OFFSET - 9.5-inch offset for optimal hoop positioning and playability.
- VERSATILE MOUNTING FLEXIBILITY - Mount on pole, wall, or roof to fit your unique space and style.
The Lifetime 9594 Basketball Backboard Mounting Kit offers a robust, rust-resistant alloy steel frame designed for versatile installation on poles, walls, or roofs. Featuring a 9.5-inch backboard offset, it provides optimal positioning for serious play. Compatible exclusively with Lifetime backboards, this kit includes essential mounting components but requires additional hardware tailored to your mounting surface. Backed by a 5-year limited warranty, it’s the go-to choice for millennial pros seeking durable, customizable basketball setups.