Description
♻️ Spin your way to garden greatness with zero hassle!
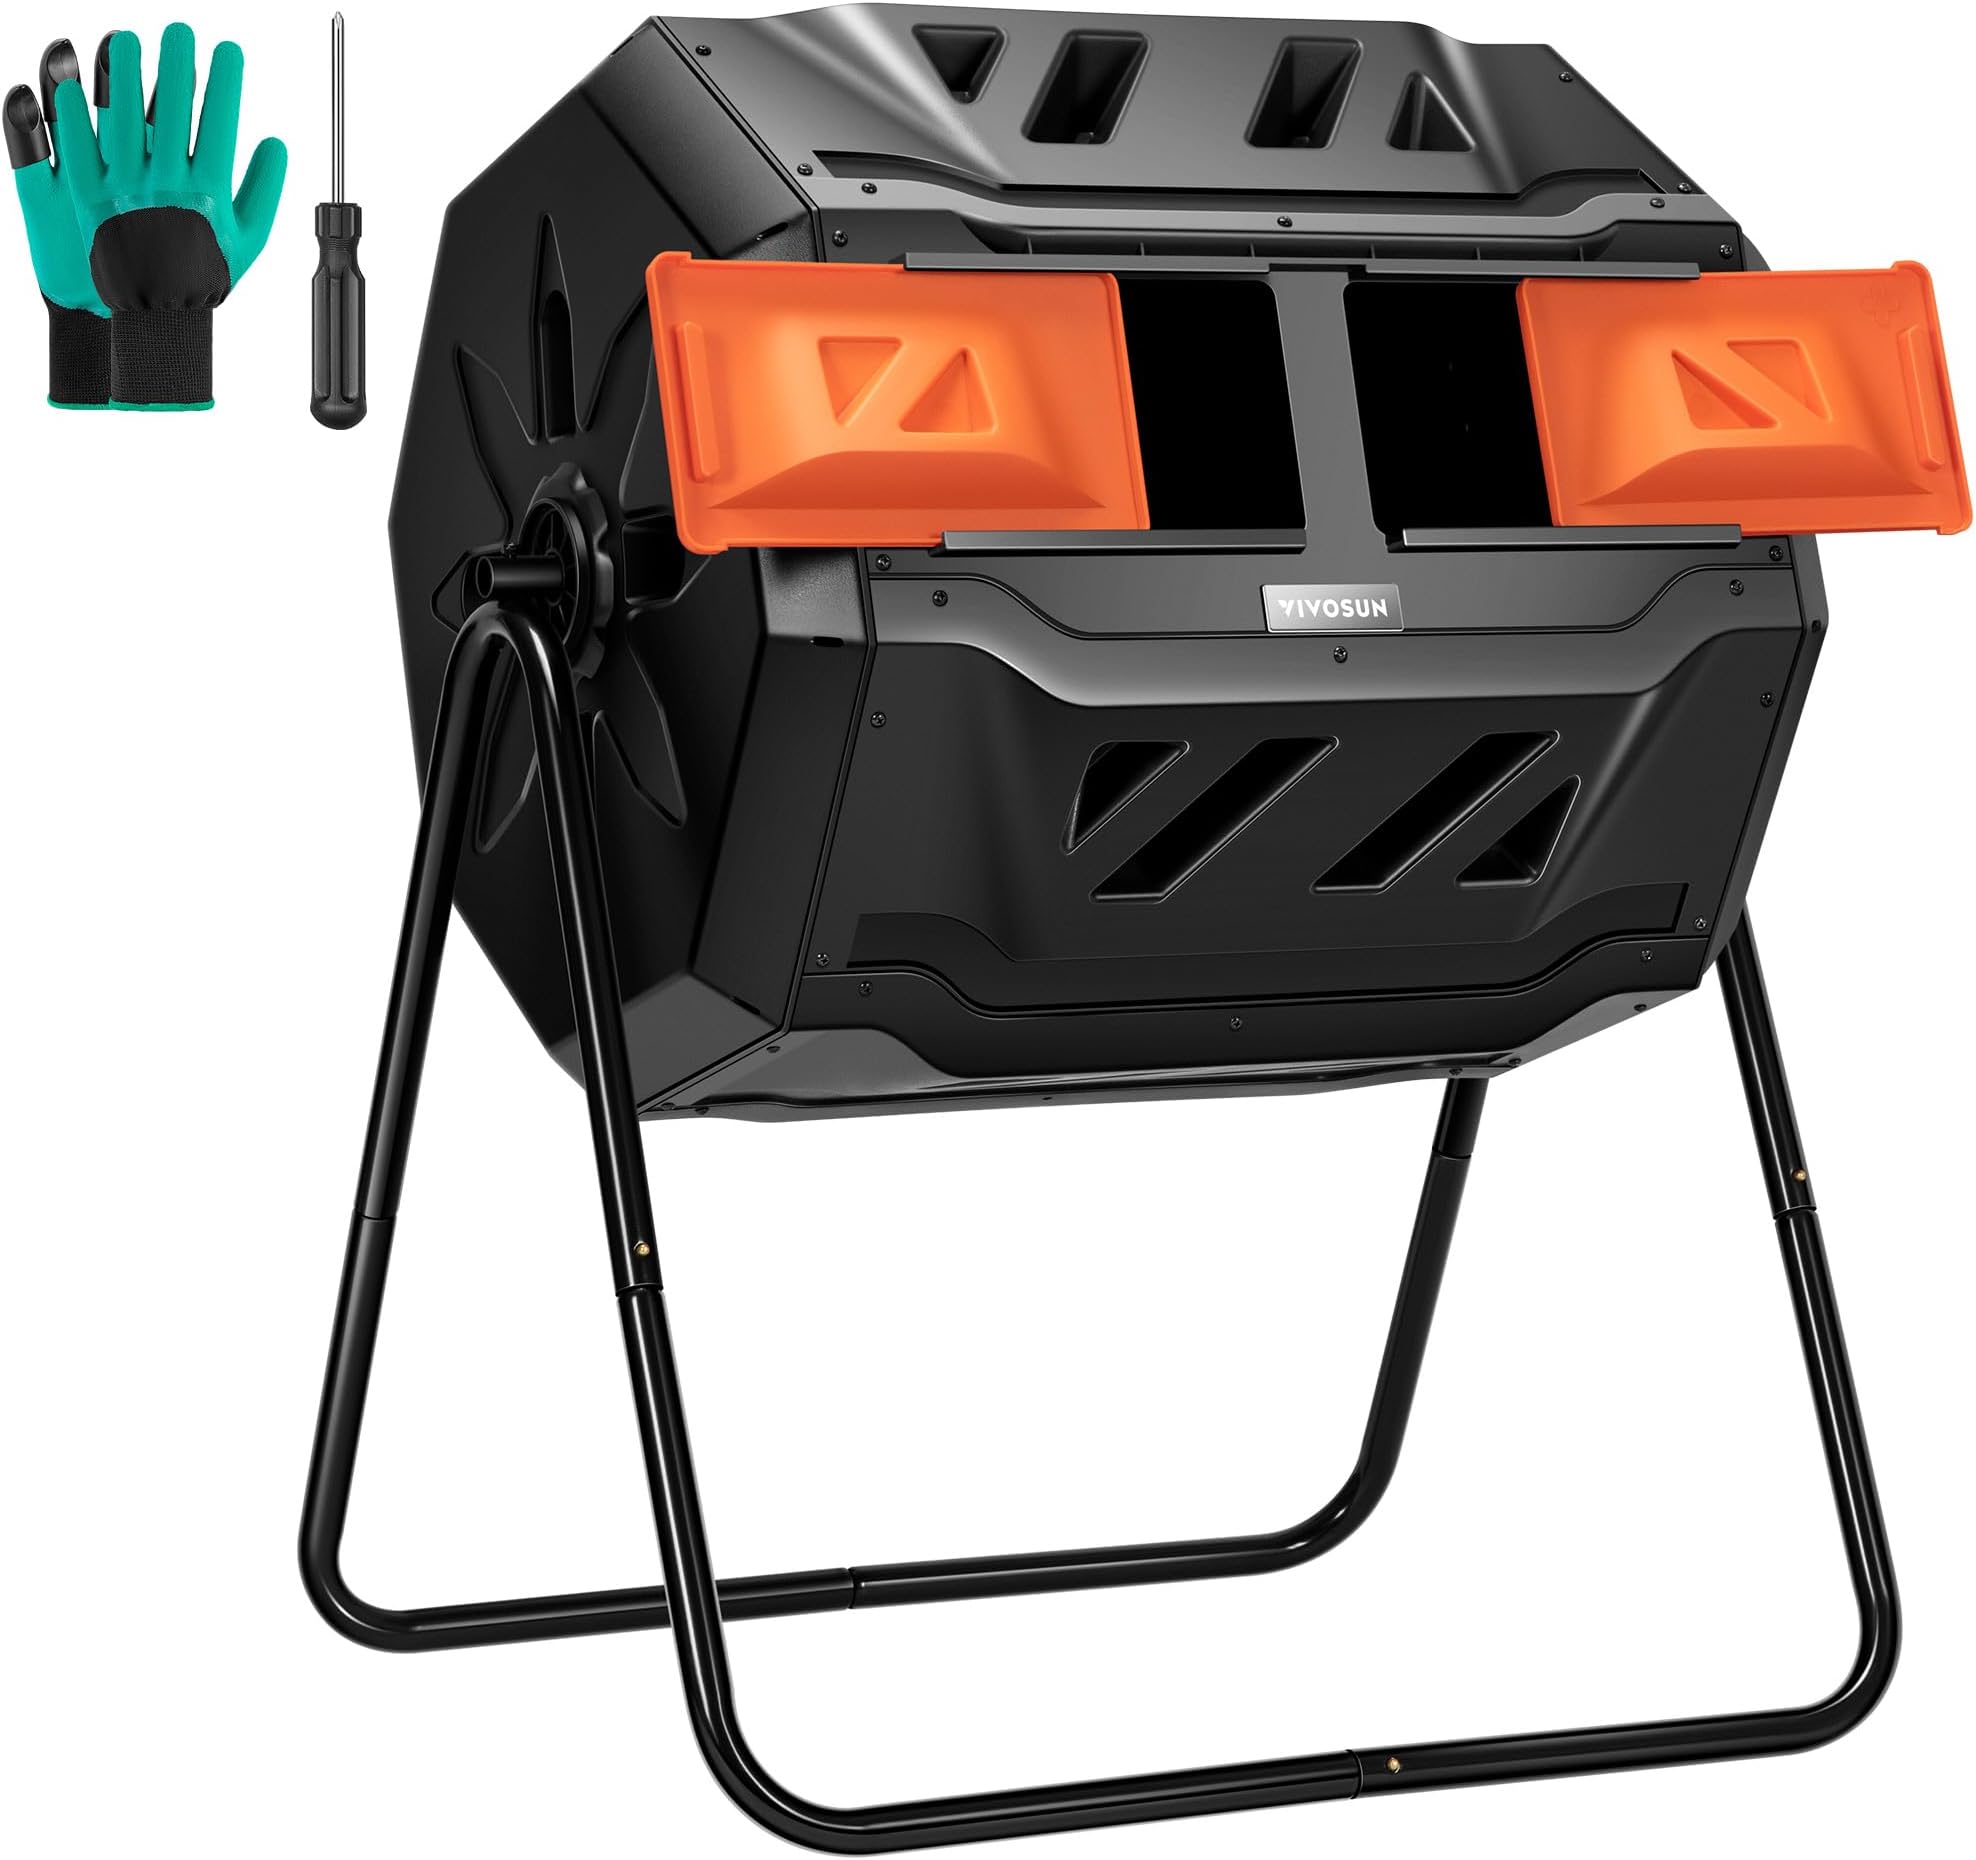
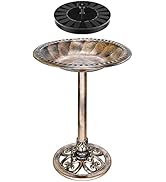
- EFFORTLESS TURNING - 360° tumbling design with deep fins means no more backbreaking manual mixing—just spin and go.
- OPTIMAL OXYGENATION - Strategic air vents and clump-breaking fins ensure perfect airflow for faster, odor-free fermentation.
- BUILT TO LAST OUTDOORS - Premium metal frame and weather-resistant polypropylene plastic deliver durability season after season.
- CONTINUOUS COMPOST FLOW - Dual chambers let you compost fresh waste while another batch matures—never run out of nutrient-rich soil.
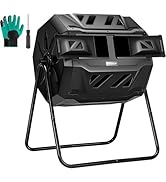
- BONUS GARDEN GLOVES INCLUDED - Waterproof gloves with ABS claws protect your hands and make digging and planting a breeze.
The VIVOSUN Outdoor Tumbling Composter features a 43-gallon dual-chamber design with 360° rotation and advanced aeration vents, enabling continuous, efficient composting. Constructed from durable metal and weather-resistant polypropylene, it promises long-lasting outdoor use. Included waterproof gloves with digging claws add extra gardening convenience.