


❄️ Keep your cool with confidence — the thermostat pros trust!
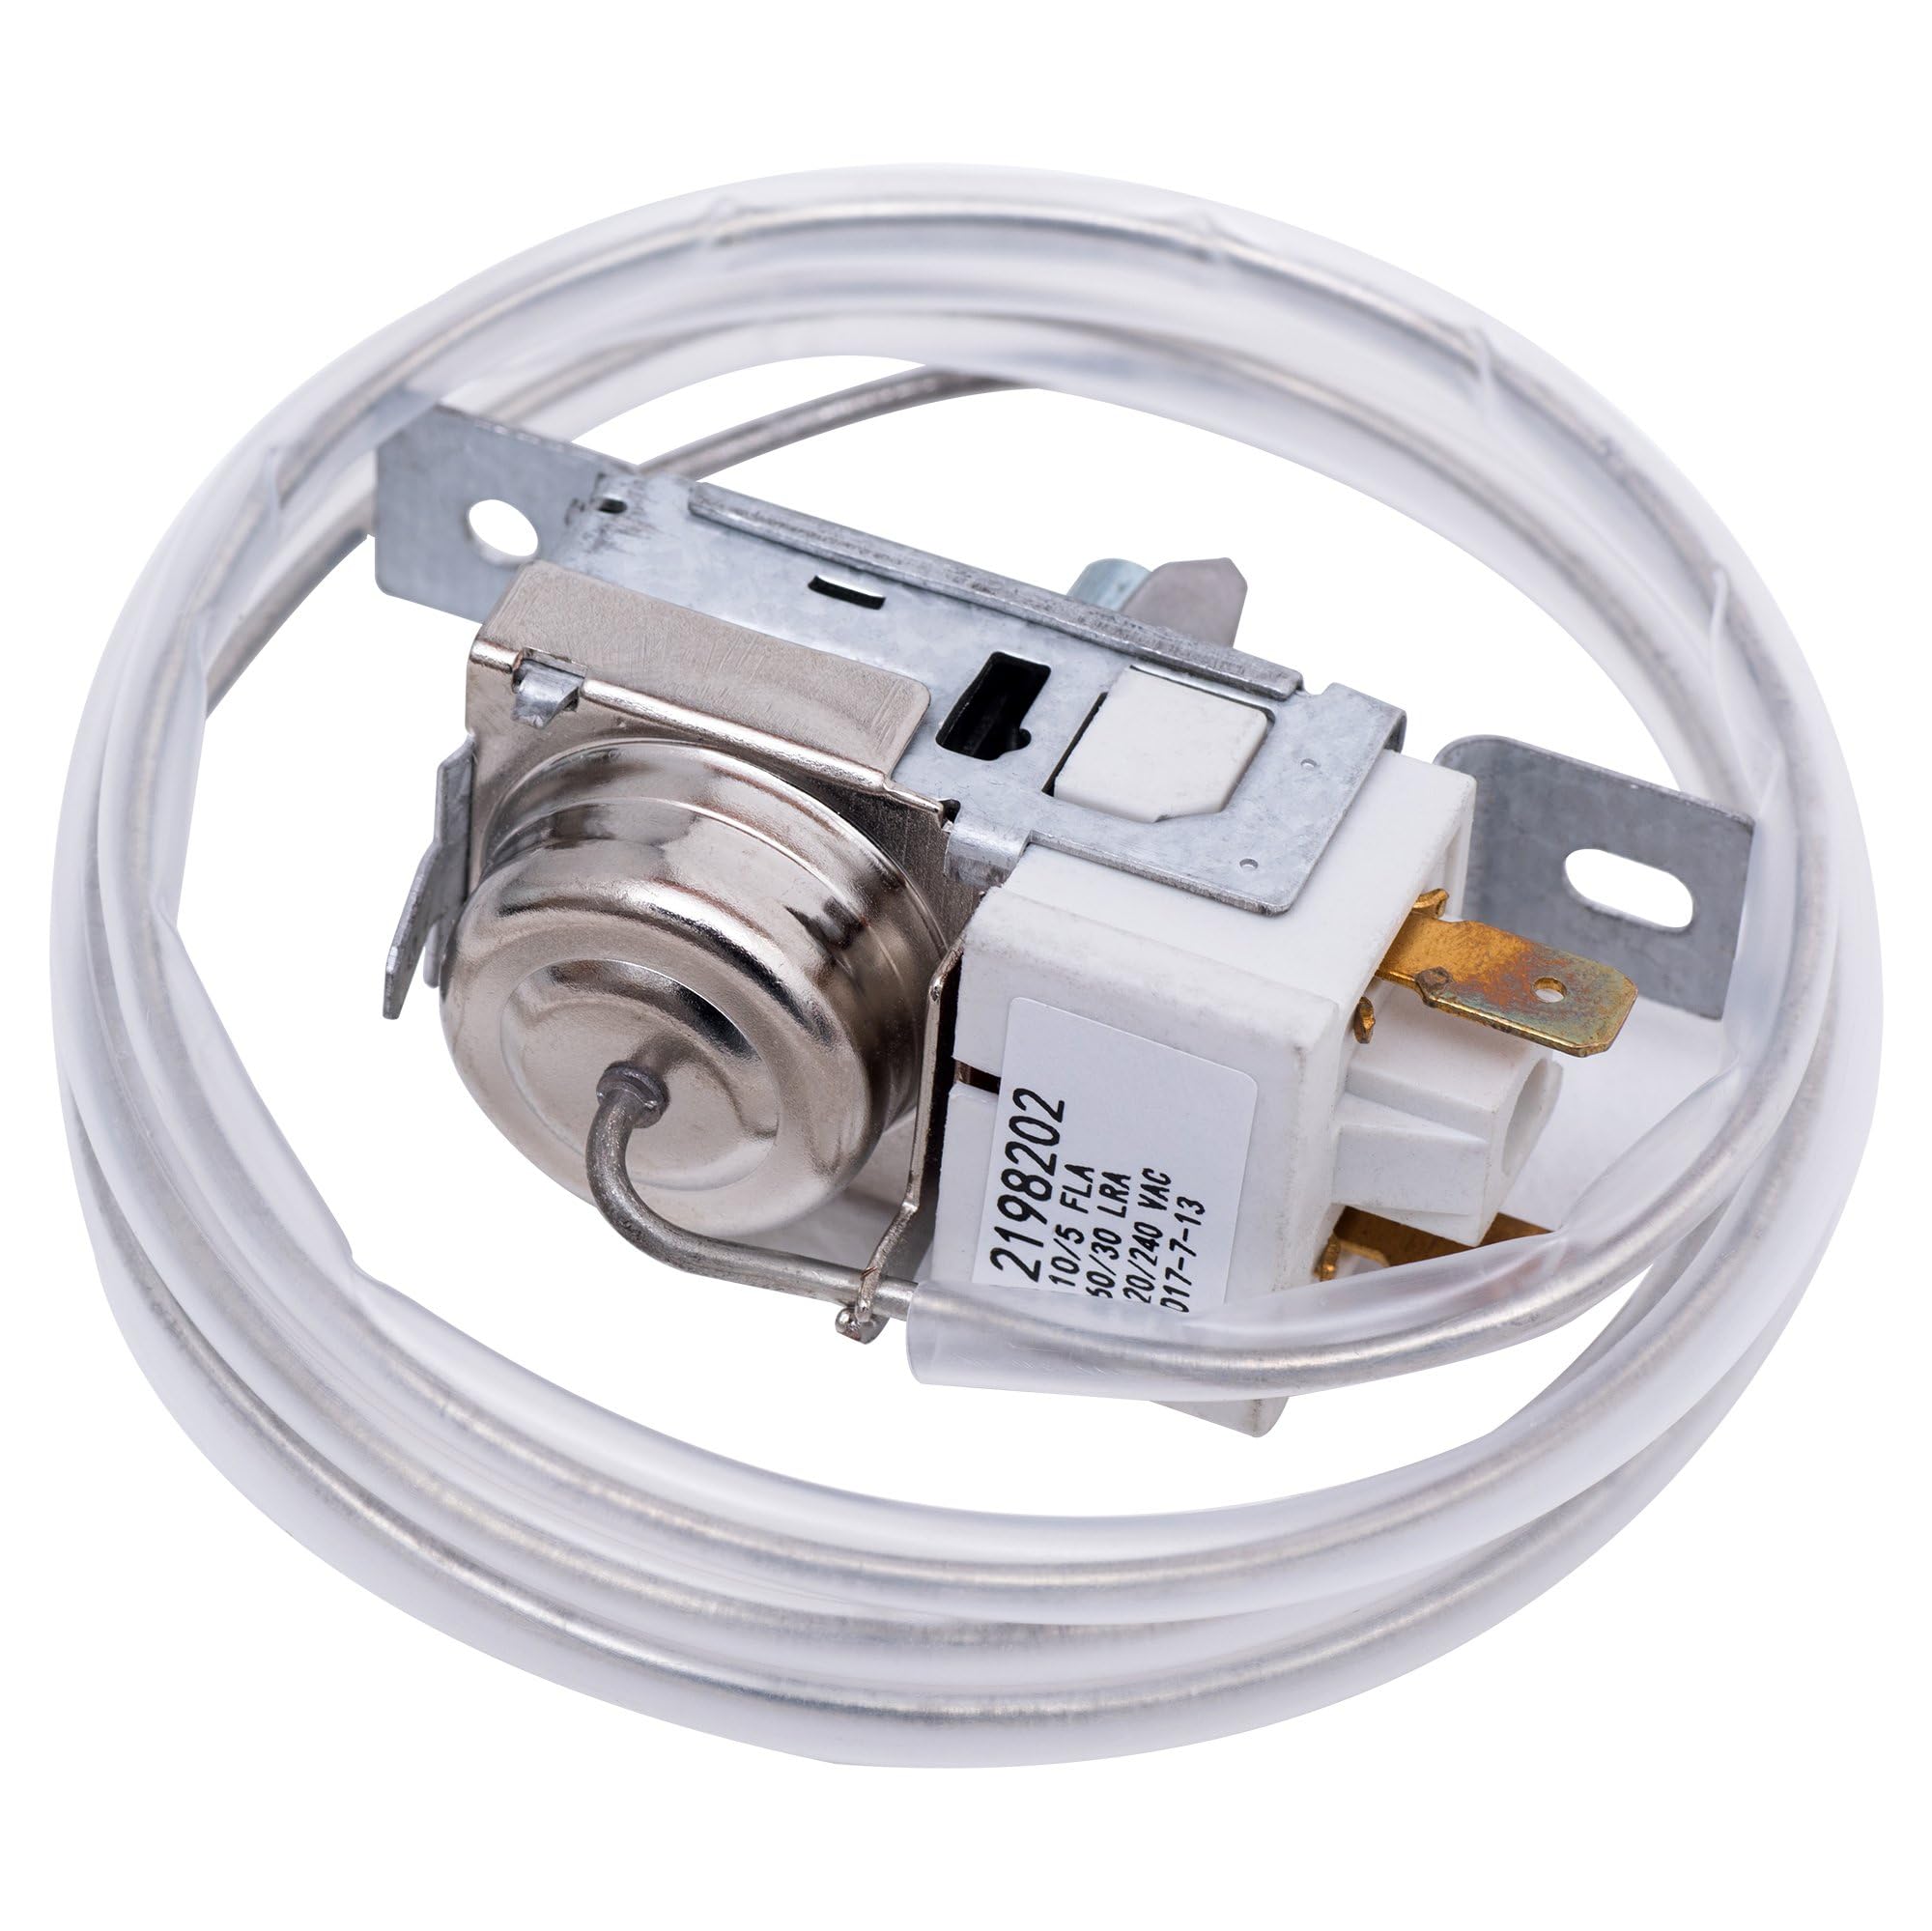
The BlueStars 2198202 Refrigerator Cold Control Thermostat Replacement is a premium, OEM-standard part compatible with major brands like Whirlpool and Kenmore. Designed to fix common cooling issues, it offers precise temperature regulation and easy DIY installation. Backed by a lifetime protection warranty, this compact, durable thermostat ensures your fridge runs efficiently and reliably.
| Manufacturer | BlueStars |
| Part Number | 2198202 |
| Item Weight | 2.11 ounces |
| Product Dimensions | 3.7 x 3.6 x 1.4 inches |
| Country of Origin | China |
| Item model number | 2198202 |
| Is Discontinued By Manufacturer | No |
| Color | As Pictured |
| Finish | Stainless Steel |
| Pattern | Solid |
| Power Source | Corded Electric |
| Installation Method | Freestanding |
| Item Package Quantity | 1 |
| Number Of Pieces | 1 |
| Certification | Energy Rating |
| Special Features | Compact |
| Included Components | 2198202 Refrigerator Cold Control Thermostat |
| Batteries Included? | No |
| Batteries Required? | No |
K**
Great Quality, Great Price
Please don't ask me if this part will fit your refrigerator/freezer, I don't know. Enter into Amazon or Google search, <your fridge brand and model> and "thermostat" to check correct part number. Diagnosis and installation instructions follow. Perfect replacement for Whirlpool ED25RFXFB01 (side-by-side refrigerator/freezer with fridge on right side), however this thermostat is commonly used on many different makes and models of refrigerator/freezers. Symptoms: Fridge in low 50s F, freezer in low 30s F, controls maxed out to cold but fridge shutting off, indicating not problem with low refrigerant or failing pump. Condenser and evaporator fans both working. Previously cleared huge blockage of dust from condenser grates underneath, very easy access for vacuum. Helped, but not total solution. Also, cold air outlet inside fridge was blocked by foods, causing evaporator to ice up, triggering defrost cycle, then promptly repeating; removing blockage also helped, but not solved. Decided to try thermostat, fixed it. Helpful: OEM part was $60-70, parts at $30 that said "by Whirlpool" had reviews that said "aftermarket part, not OEM, get cheaper one". Very cheap ones ($8-10) had poor reviews. This one was $14 and change, 98 reviews with only 2 or 3 bad, looked well packaged. Did come in box, but not plastic bag as shown. INSTALLATION TIPS: FOR SAFETY, DISCONNECT POWER TO FRIDGE/FREEZER! Instead of pulling fridge out to reach power plug to unplug, I turned off power at breaker box and locked box. To reach thermostat, control assembly (big plastic part that holds fridge and freezer control knobs) needs to be removed. Thermostat has long sensor wire, you'll also need access to that area. 1) Remove slender plastic cover between cold air grate and front controls, should be upper left inside fridge, one screw. (You need to do this first to expose the screw for next step.) 2) Remove plastic cover/grate where cold air enters fridge, should be top left back inside fridge, this is one screw at the front of the cover into the left wall of the fridge. Note how sensor wire is wrapped and clipped in place, take picture if needed. Unclip and unwrap sensor wire so can be pulled loose from front. 3) Remove fridge and freezer control knobs. You may need pliers to grab center tab and pull outward. 4) Front screws are behind plastic fascia with control labels. Pry fascia out at top edge and swing top edge forward, this will disengage bottom edge which cannot be pried. That will expose 2 front screws but leave those screws in place for now. 5) Do not loosen screws on bottom of plastic assembly yet, those hold the internal controls. 6) Remove 2 screws in back of assembly that hold assembly to roof of fridge. 7) Now remove 2 screws in front of assembly, disconnect two large plastic electrical connectors, then you'll need a short phillips screwdriver to release freezer control linkage with freezer knob. (Freezer control is not electronic, it just governs how much cold air is diverted from fridge to freezer; turning up freezer (colder) reduces cold air to fridge, so fridge a bit warmer.) Then withdraw entire assembly from fridge and sensor wire on left should follow if you have freed it in previous steps. Now place entire control assembly on work table or floor to swap thermostat. 8) Remove 2 screws on bottom of large assembly that holds internal metal plate to which thermostat is attached, then pull loose 3 small electrical connectors. Make sure you photo or note positions of two connectors on left. 9) Remove 2 screws that attach thermostat to metal plate, free long sensor wire from clip at left of assembly or pull wire through, and remove old thermostat from assembly. Immediately mark as old to prevent confusion with new part. 10) Before assembly, test fit fridge control knob on new thermostat! (I did not do this and it was a bugger to get the knob back on later, the blades on the new thermostat were just a shade too wide.) If necessary, put knob on and off a few times until goes on easy, otherwise will bend internal metal bracket trying to put knob on later. 11) Install new thermostat in control assembly, and reconnect the 3 wires. (NOTE: Do not overtighten any screws, all are into either plastic or sheet metal and will easily strip.) 12) Place control assembly back in fridge by a) inserting control wire on left, b) connecting freezer control linkage with special screw and washer, c) connecting both electrical connectors, d) install 2 front screws to hold assembly (note: these screws govern fit of fascia, so if difficult to reinstall fascia or too much gap at top, adjust at screws to position assembly up or down). 13) Back/top/left, wrap and secure sensor wire into clips as per original installation. Make sure plastic sleeve is same so several inches of end of wire is exposed. 14) Reinstall cold air cover/grate and screw. 15) Reinstall slender plastic cover and screw (over sensor wire and freezer control linkage). 16) Reinstall 2 rear screws holding back of control assembly to ceiling of fridge. 17) Reinstall fascia with control assembly labels, bottom edge first, then swing upward and press into place. (Adjust 2 front screws on assembly if needed.) 18) Reinstall freezer and fridge control knobs, matching orientations to shafts. 19) Reconnect power to fridge, adjust fridge and freezer controls to middle settings and wait to cool down. Should run continuously for several hours. Best to have thermometers in both fridge and freezer (check calibration of thermometers first). Adjust settings after 24 hours
J**M
Perfect fit. Whirlpool Fridge
My whirlpool side by side would run for several hours and then just stop cooling. If I turned the thermostat dial on and off a few times it would start working again. I highly suspected it was a bad thermostat so I bought this one. Install was very easy and it fit just like the original. Fridge is now working again with no cooling issues. DIY and save. Very happy with the thermostat and the price.
D**.
Whirlpool replacement thermostat control.
Our refrigerator temperatures were not staying at the proper temp to keep our meats frozen and perishables cold. I ordered a new thermostat and replaced it. It was very easy to do. The nice thing about this particular brand was that some of the other brands, you have to slide the plastic sheath off of the old thermostat line and place it on the new one. However, this one already had a new plastic sheath on it so I did not have to deal with replacing it. After I removed the old thermostat and line, I tried to remove the plastic sheath from it. I never did get it off so it would’ve been a very difficult task to accomplish. I would highly recommend this product. It is working great.
A**R
Needs to be calibrated better
Exact fit but not properly factory calibrated. Fridge goes to freezing at 20deg even when fridge control is on warmest setting . Careful adjustment of the calibration screw clockwise has it working well . Only had it operating for a few days but Good value if it lasts
J**Y
Easy, anyone can do it
My thermostat was failing, second one on two different fridges, the way they fail is one day you find the fridge warm, you adjust the thermostat up and down and it starts working. That’s when to order a thermostat cause it will completely fail soon. Hardest part was figuring out how to remove the thing, on mine the front of the panel snaps off exposing two screws that hold it on on the front, after pulling the two knobs off and two screws on the rear, the screws under it hold internal components and shouldn’t be removed. Remove four screws and the whole panel comes down, once down you can easily see the two screws on the bottom to remove the thermostat bracket, thermostat is held to the bracket with two screws, three plug on electric connections, unplug fridge as there are 110V. Remove the upper side cover and rear cover over the air outlet and remove the thermostat wire, install new thermostat, it’s a perfect fit, exact wiring ends and thermostat wire is perfect length, pure drop in replacement. Only difference I see is OEM part is $134, this part is 1/10 the price, but seems to function well. Anyone can do this, it doesn’t require an electrician, you will need a small nut driver or socket, my screwdriver had replaceable bits and worked as a nut driver once the bit was removed.Once finished plug in fridge of course.
Trustpilot
1 month ago
3 weeks ago