
DOWNLOAD THE APP


Customer Services
Copyright © 2025 Desertcart Holdings Limited
DOWNLOAD THE APP
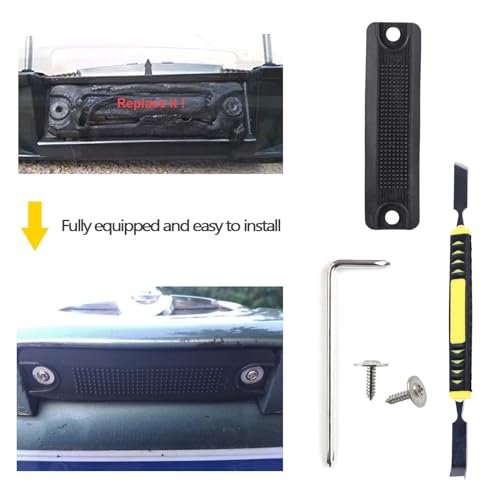
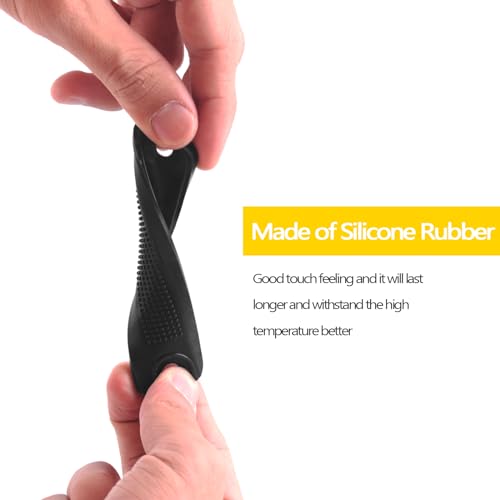


🔧 Upgrade your liftgate game—durability meets DIY savings!
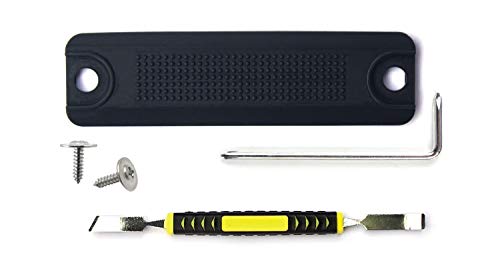
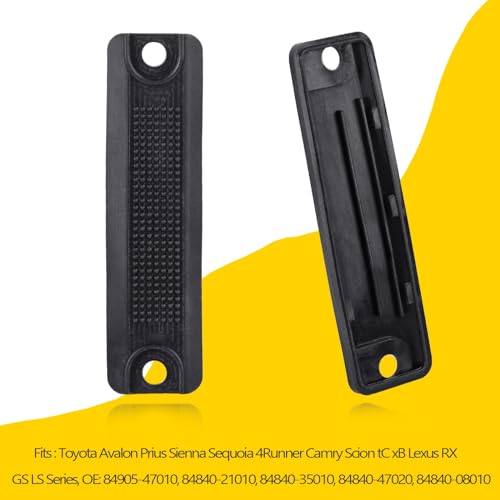
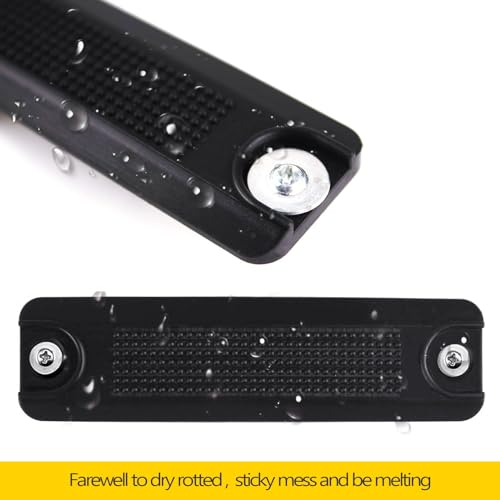
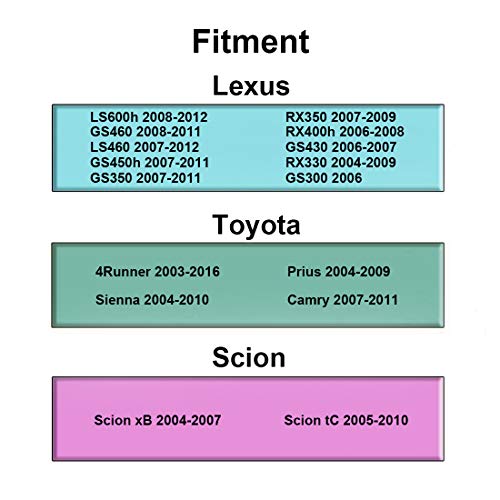
This replacement trunk hatch liftgate switch cover is crafted from high-quality silicone rubber designed to withstand heat and prevent deterioration. Compatible with a wide range of Toyota, Lexus, and Scion models, it includes essential tools for easy installation, allowing you to replace the worn cover without the costly need to swap the entire latch assembly. A smart, budget-friendly solution that keeps your vehicle’s rear button functional and looking fresh.


| ASIN | B07G6HWDTM |
| Actuator Type | Push Button |
| Brand | Xislet |
| Circuit Type | 1-way |
| Colour | black |
| Connectivity Protocol | Wi-Fi |
| Connector Type | Screws |
| Contact Material | Copper |
| Contact Type | Normally Open |
| Control Method | Touch |
| Controller Type | Push Button |
| Country of Origin | USA |
| Customer Reviews | 4.4 4.4 out of 5 stars (1,140) |
| Date First Available | 10 January 2020 |
| International Protection Rating | IP00 |
| Item Weight | 41 g |
| Item model number | XZLC001 |
| Manufacturer | Xislet |
| Manufacturer Part Number | XZLC001 |
| Net Quantity | 1.0 Count |
| Number of Items | 1 |
| Number of Positions | 1 |
| Operation Mode | manual |
| Package Dimensions | 17.7 x 11.71 x 1.6 cm; 41 g |
| Terminal | Screw |
S**R
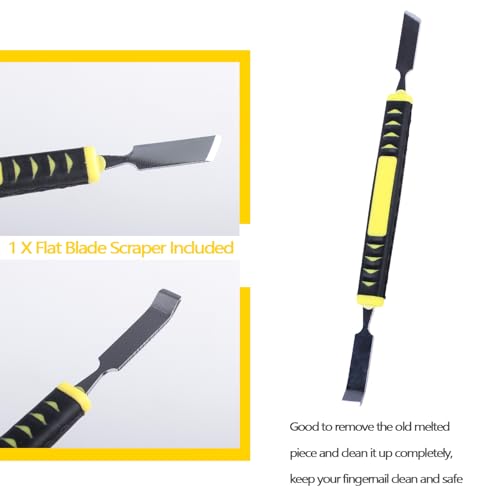
Worth every penny! (The $90.00 price mentioned was OEM at the dealer, couldn't find an aftermarket switch last time I replaced it...unlike now) Great alternative to replacing the liftgate release switch when the switch is still operable but the rubber cover has all but melted. I have a 2007 4Runner and have replaced the switch twice before finding this item due to the rubber deteriorating-melted. The OEM switch at Toyota as I recall was about $90.00 including tax (switch only, not installed), the replacement cover reviewed was less than $10.00 and it fits properly. I installed it about 3 weeks ago so time will tell, not sure why the OEM cover melts like it does, I just blamed it on our Texas summers but it seems to occur nationwide. So with the price of a new switch at $90.00 and this cover at $10.00 if it only lasts a year or two it's worth five stars, ten bucks and the time to replace it. Going to be giving the car to my daughter next semester, I will update the post to let ya'll know how it holds up. The reseller states that you can replace the cover with the switch in place, while this is true it will take quite a bit of time and patience to remove the melted cover from the housing and switch plate. The actual release button or switch plate is a pretty thin piece of plastic and can be damaged easily if too much force is applied by scraping it off with any type of tool and if you don't remove all of it the cover will not stay in place. The best thing to do is remove the switch from the liftgate and gently remove the rubber. Sound intimidating? It's not, in fact you can have it out in less than 30 minutes. All you need is a set of plastic body panel removal tools (cheap, sold here on Amazon), 1/4" drive 10mm socket (shallow or dep but shallow works), 1/4" ratchet with a 6" extension, #2 Phillip's head screwdriver and a 10mm wrench. Step One: Open liftgate LEAVE THE WINDOW ROLLED UP! Step Two: Disconnect negative side of the battery with 10mm wrench Step Three: Using a small panel tool, remove the cove from the pull strap on the right side of the liftgate, then with your 10mm ratchet remove the bolt holding the strap in place...not the orientation for reinstalling. Step Four: Using a wide panel removal tool (inch and a half to two inches) gently wedge the tool between the panel and lift gate on the lower right or left corner once inserted you will feel tension so slowly rock the panel tool to start releasing the clips. If it feels like your bending the panel stop rocketing and move your tool a couple of inches until you feel more tension. The better the tension the closer you are to the panel clips and with a firm push the clips will release just don't force it you will feel it. After the first clip releases you can hold the gap open and start working around the lift gate panel and the clips will easily release. When the bottom of the panel is free, start working the sides, there are 2 clips on each side and 6 clips on the bottom. If this is the first time ever doing this, either have somebody help you support the panel once the clips are loose or use some masking tape and tape the bottom of the panel to the liftgate so it won't fall on top of your head. Now that the clips are removed do not pull the panel straight down, you will need to grasp the bottom of the panel with one hand and place your other hand on the top side or window side of the panel and gently push up making sure it is clear of the lift gate and it should be completely free of the 4Runner. Step Five: slowly remove the plastic moisture barrier from the lift gate, do not discard!!,,,or allow it to roll up on itself, the black adhesive will be ruined if allowed to do so and it absolutely needs to be placed back on the gate when reinstalling. Step Six: The latch assembly is actually part of the chrome/black 4Runner badge on the lift gate and needs to be removed. Unplug the (grey) wire harness next to the switch, it's easy to see. Next unplug the the lock cylinder (it's keyed so it can only go back together one way. Step Seven: With the gate raised all the way up look inside and find the nuts that hold in the 4Runner badge there are 5 maybe 6 depending on the year model. Two will be on the lock cylinder and one right next to it and 2 in the center of the badge. While standing behind the 4Runner facing the bumper, look up and to the left behind the window regulator/ motor assembly you will see the remaining nut. Now look on the lift gate, you will see a few round black plugs. These are access plugs for hard to reach hardware. Find the plug that lines up with this nut and pry it out with a flathead screwdriver or panel tool, they are very easy to remove. Now that you have found what holds the badge in place, get you 10mm socket, ratchet and 6 inch extension and remove all of the nuts described. Depending on your year model you may have a panel clip at the very top of the Toyota logo (badge) and a clip on either side. Use your panel tool and gently work them loose and the complete assembly comes out, assembly is the chrome badge, switch assembly, license plate lights and lock cylinder all in 1 piece. Step Eight: Turn over the badge or the chrome assembly you just removed locate the switch. With your #2 Phillip's remove the 2 screws and push out the switch assembly and start the process of removing the melted rubber. I used rubber gloves when cleaning mine due to the rubber doesn't wash away very easy. Another thing I did that helped was to clean the scraper and other tools with denatured alcohol, it helped quite a bit. Install the new cover...self explanatory. Word of caution...the switch plate (plastic covering the button that the black rubber cover goes over) is pretty fragile so be careful with it and if it comes out of the housing it's easy to put back in. Once done use these instructions in reverse, don't over tighten the badge, one drop of BLUE loctite on the threads and a firm snug is all it takes. When you get to the panel replacement, remember to slide the window side into its groove, it will hang by itself letting you know it's in place. Then with the palm of your hand gently pop the panel back in place, you will feel the clips snap into place. (HINT:Once the panel is in the top slot line up th bottom corner holes with the panel clips and snap them in place then work the sides and finish with the bottom) The job is very easy, so if your new to this, go slow don't let it intimidate you and think of the money you'll save vs. spending it at the dealership. Very satisfied with the cover, wish I knew about it sooner!
E**V
Gracias excelente tiempo de respuesta, articulo se observa de buena calidad.
N**O
Problem solved with this replacement for my Prius trunk lid! What I loved: * Fits my Toyota Prius (2017) perfectly. * Easy installation, I did it myself in 10 minutes! ⏱️ * Good quality materials, it shows it will last. * Affordable price, much better than the dealer option! My experience: The original lever in my Prius started to fail, and finding a replacement at a good price wasn't easy. I was so glad to find this kit on Amazon. The installation was very simple, I just followed the instructions that came included. The material looks sturdy and it works perfectly so far. Recommendation: Highly recommended! If you are looking for a reliable and affordable replacement for your Toyota's trunk lid, this kit is the perfect solution.
L**O
Costo eliminar el anterior, pero con la herramienta que envían, todo es más fácil.
D**L
The cover itself is fine and is better than the old one that was falling apart. Installation was not very easy, especially with the supplied screwdriver. Very tight space to work in and low quality metal in the driver was stripping the screws , ultimately got it out with less effort than disassembly of the entire hatch. The cover was a bit difficult to stretch onto the switch and get back into place, after a few months of use it’s peeled off the back side of the switch. Not expecting a long service life with this part. 2011 4Runner SR5
Trustpilot
4 days ago
2 weeks ago