Desert Online General Trading LLC
Dubai, United Arab Emirates
Desert Online General Trading LLC
Dubai, United Arab Emirates


📚 Elevate your space with style and function!
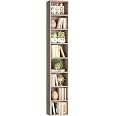
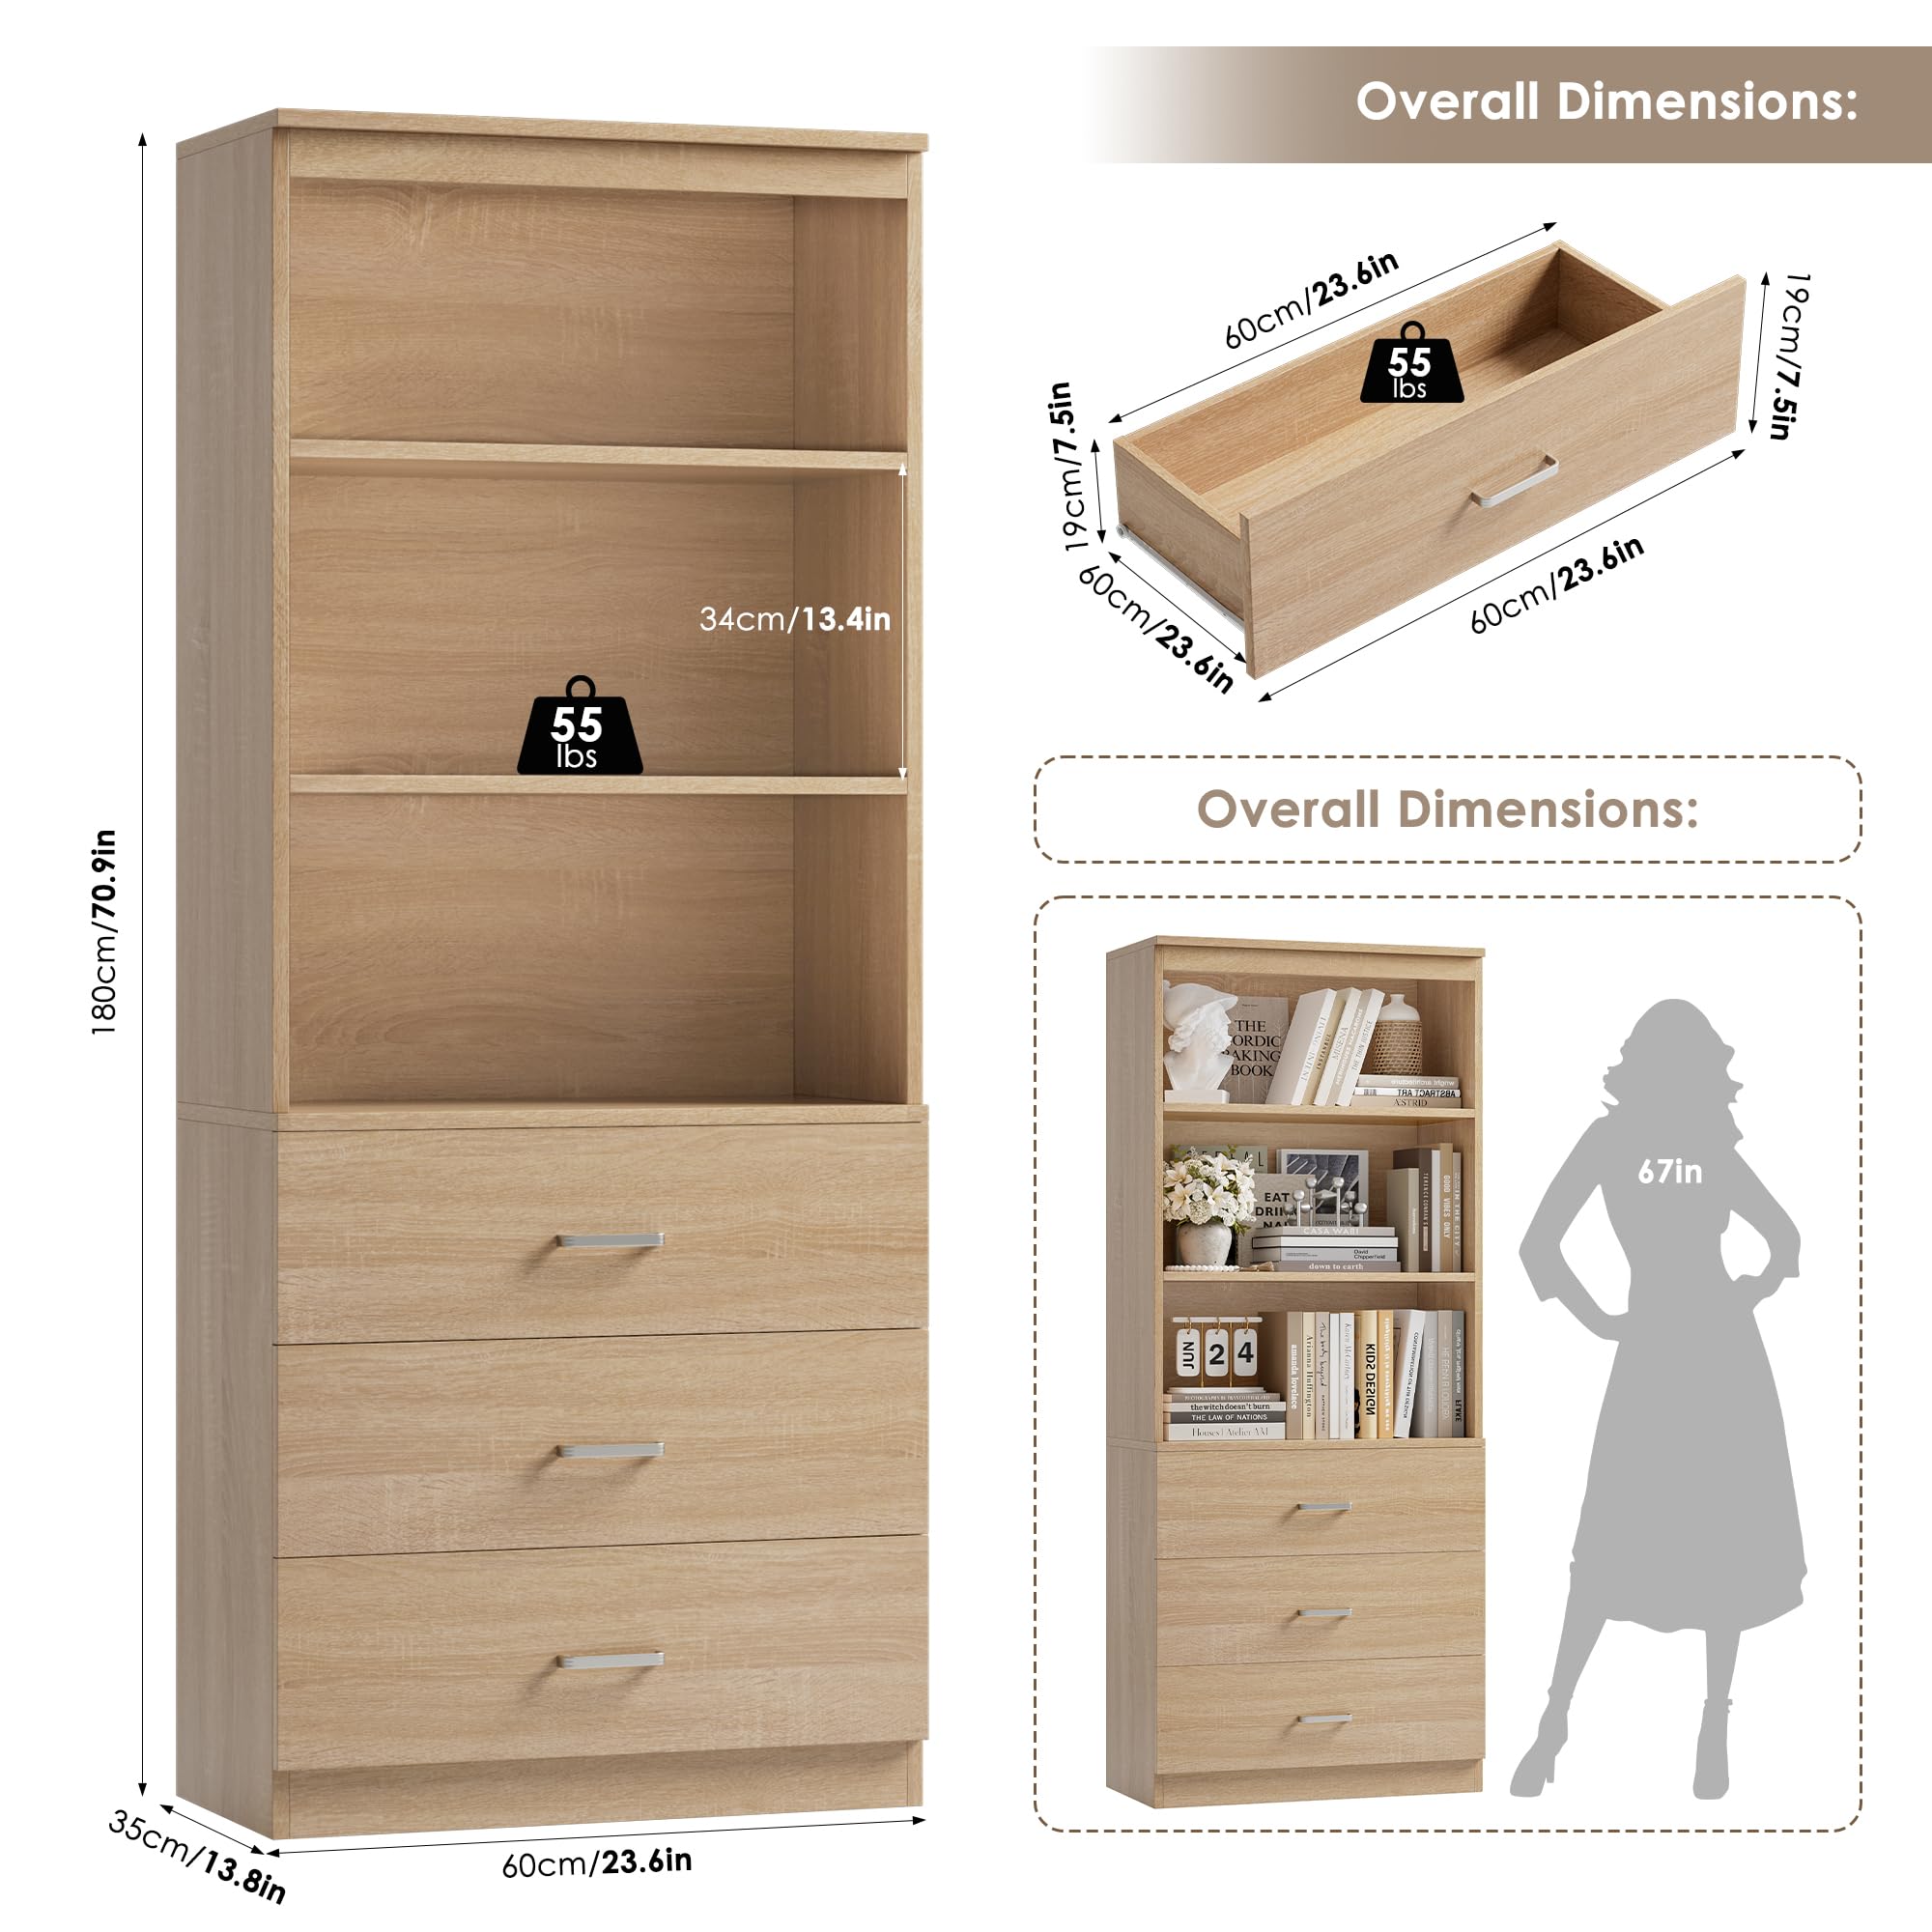
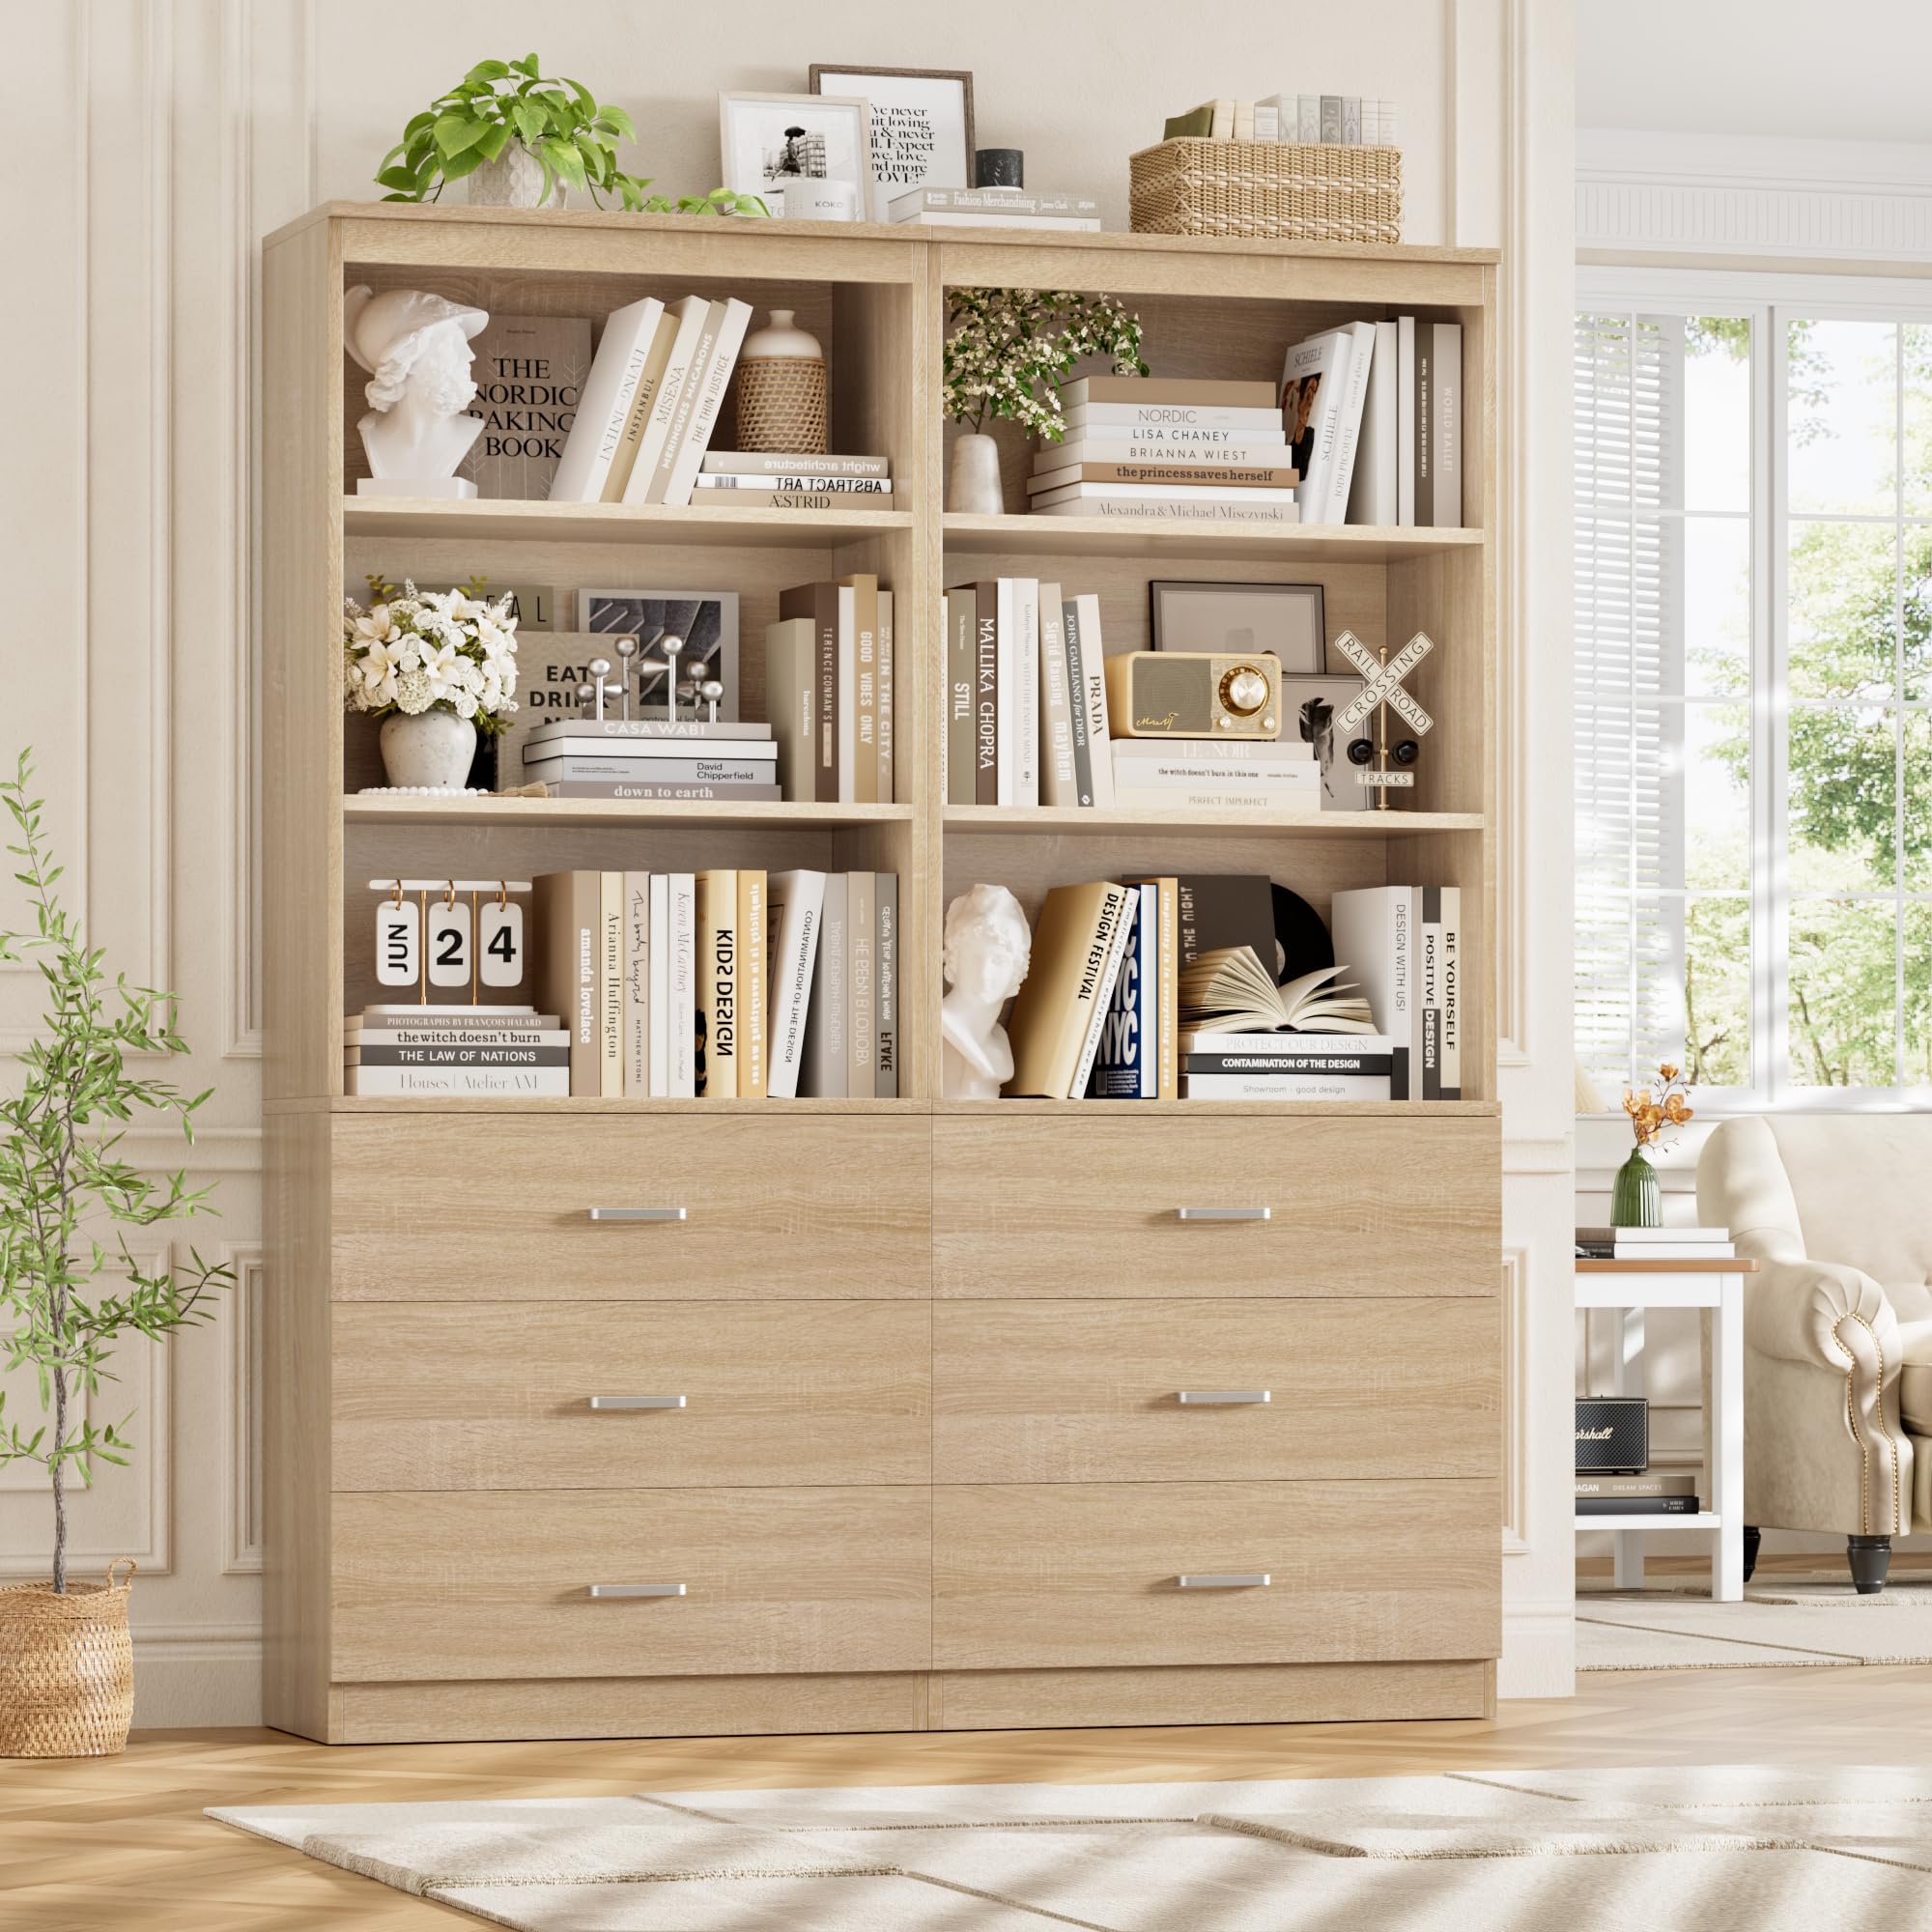
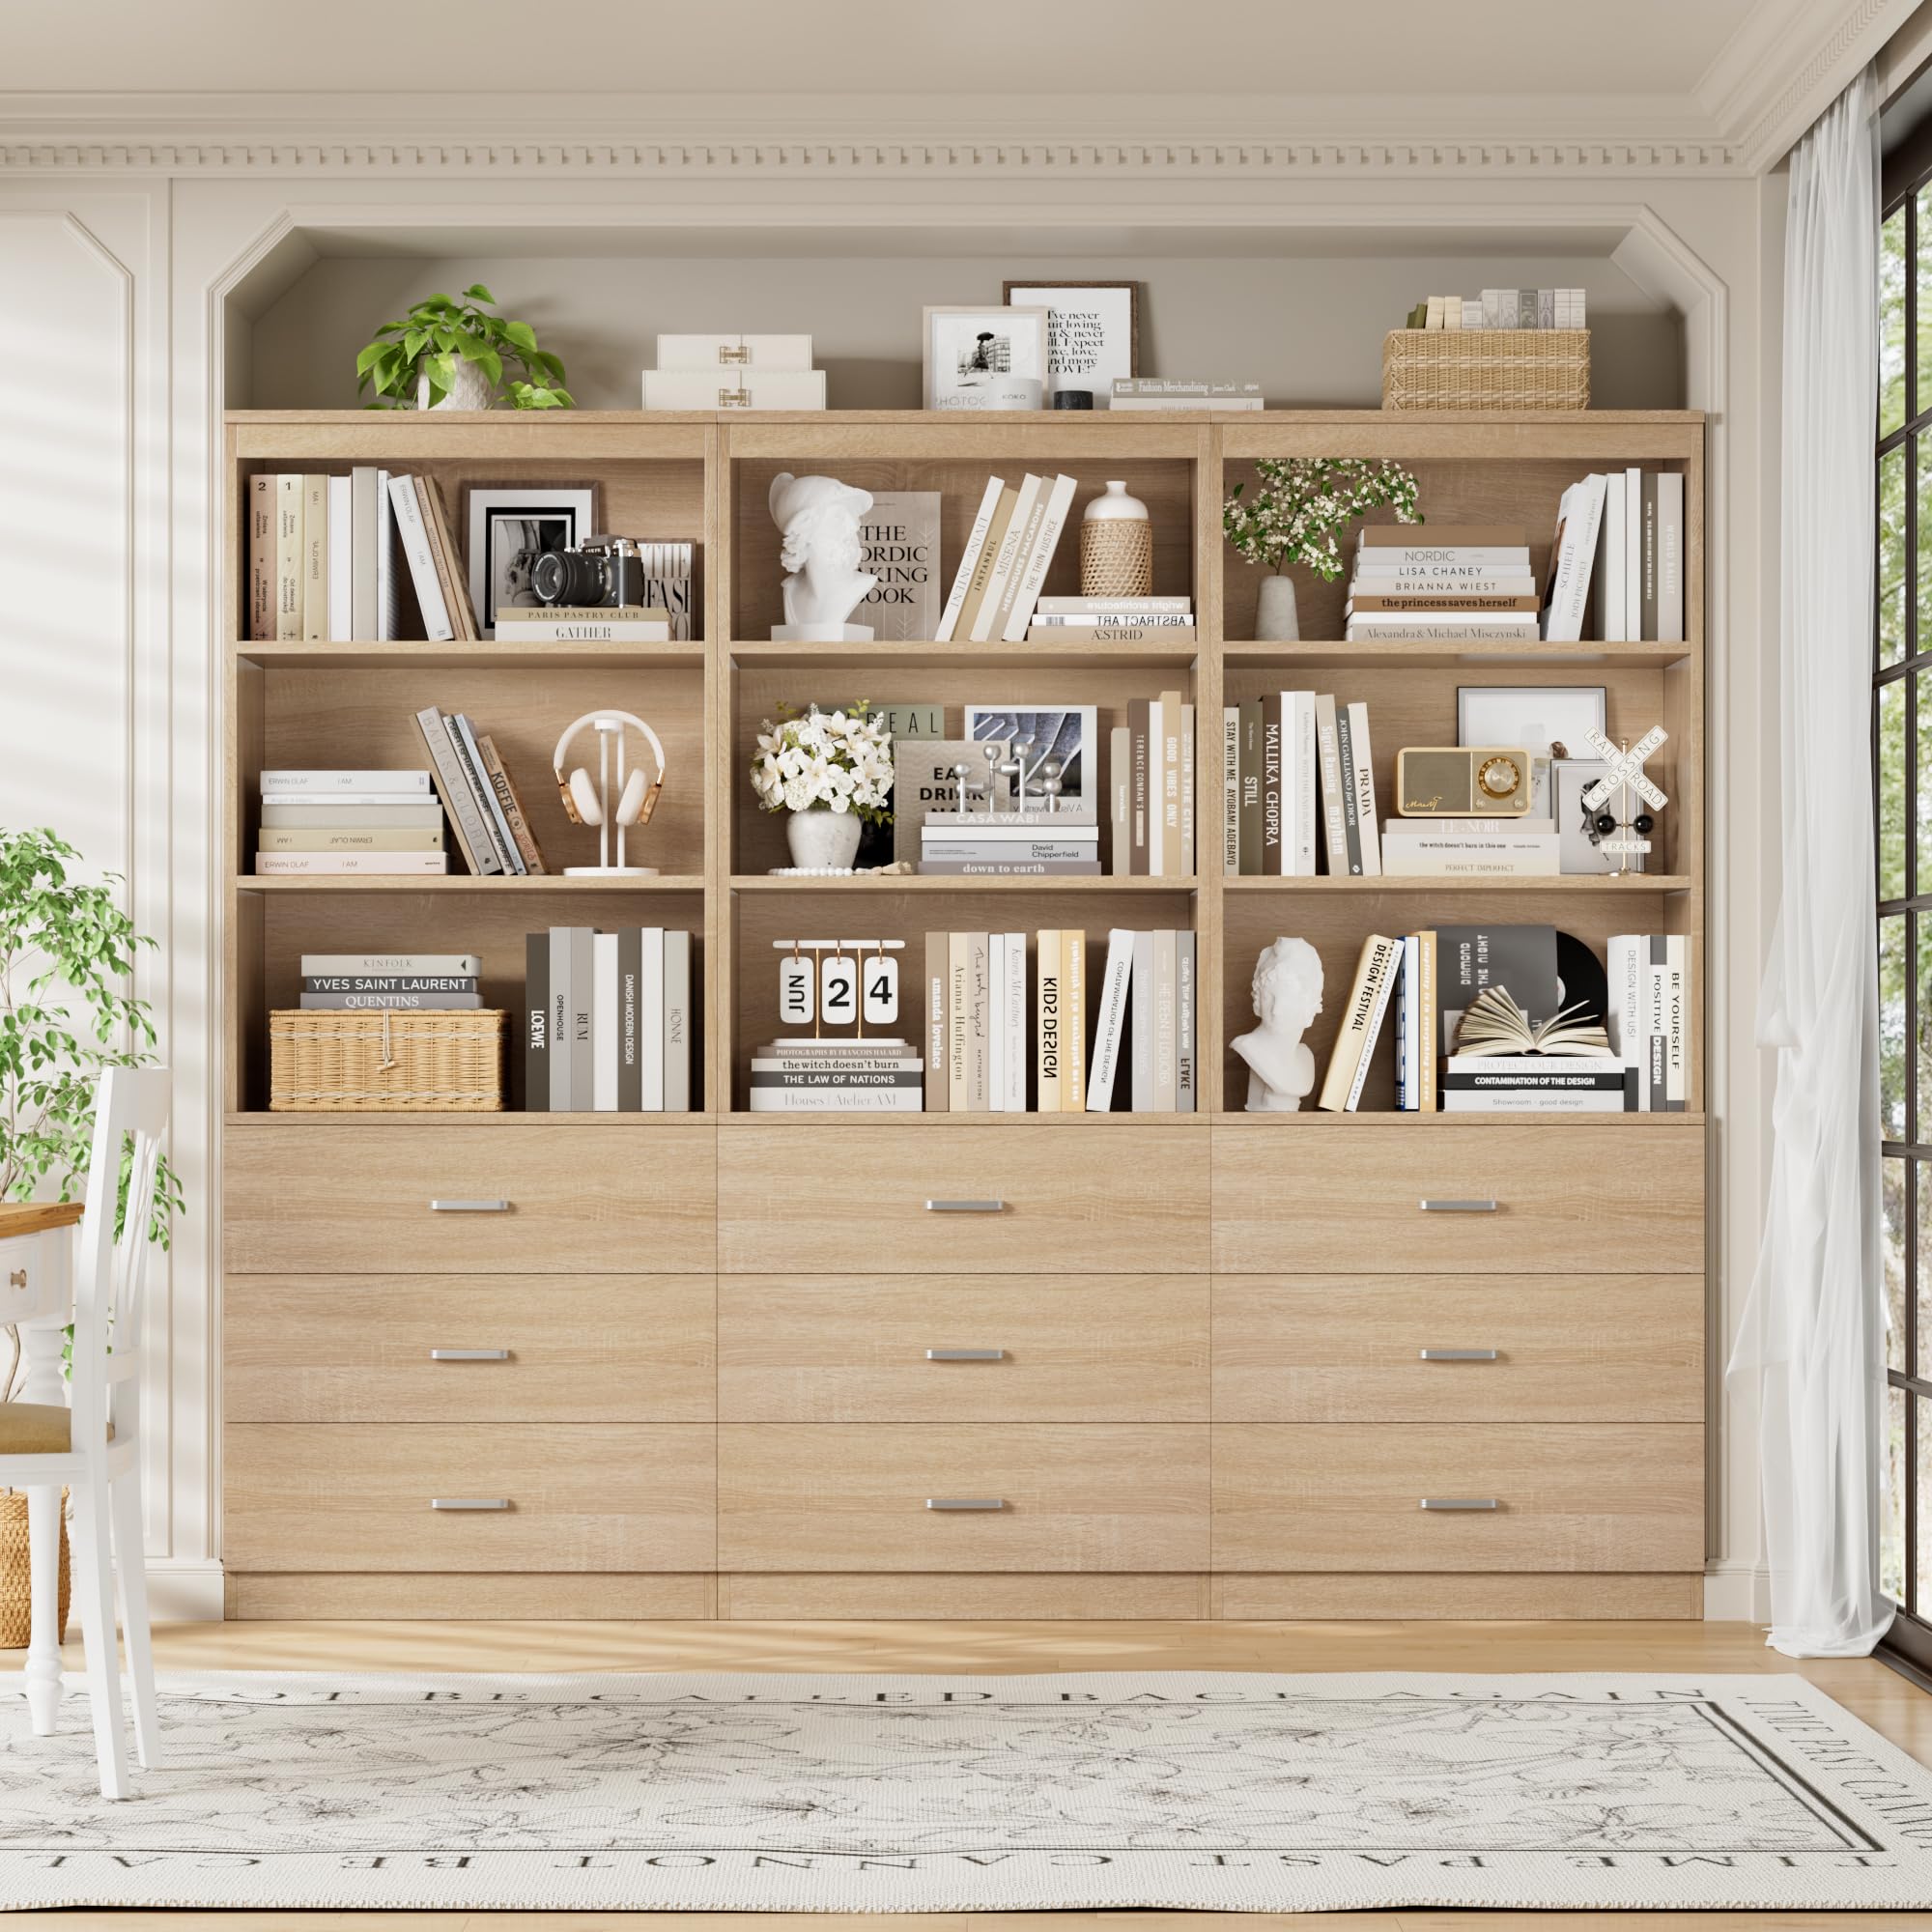
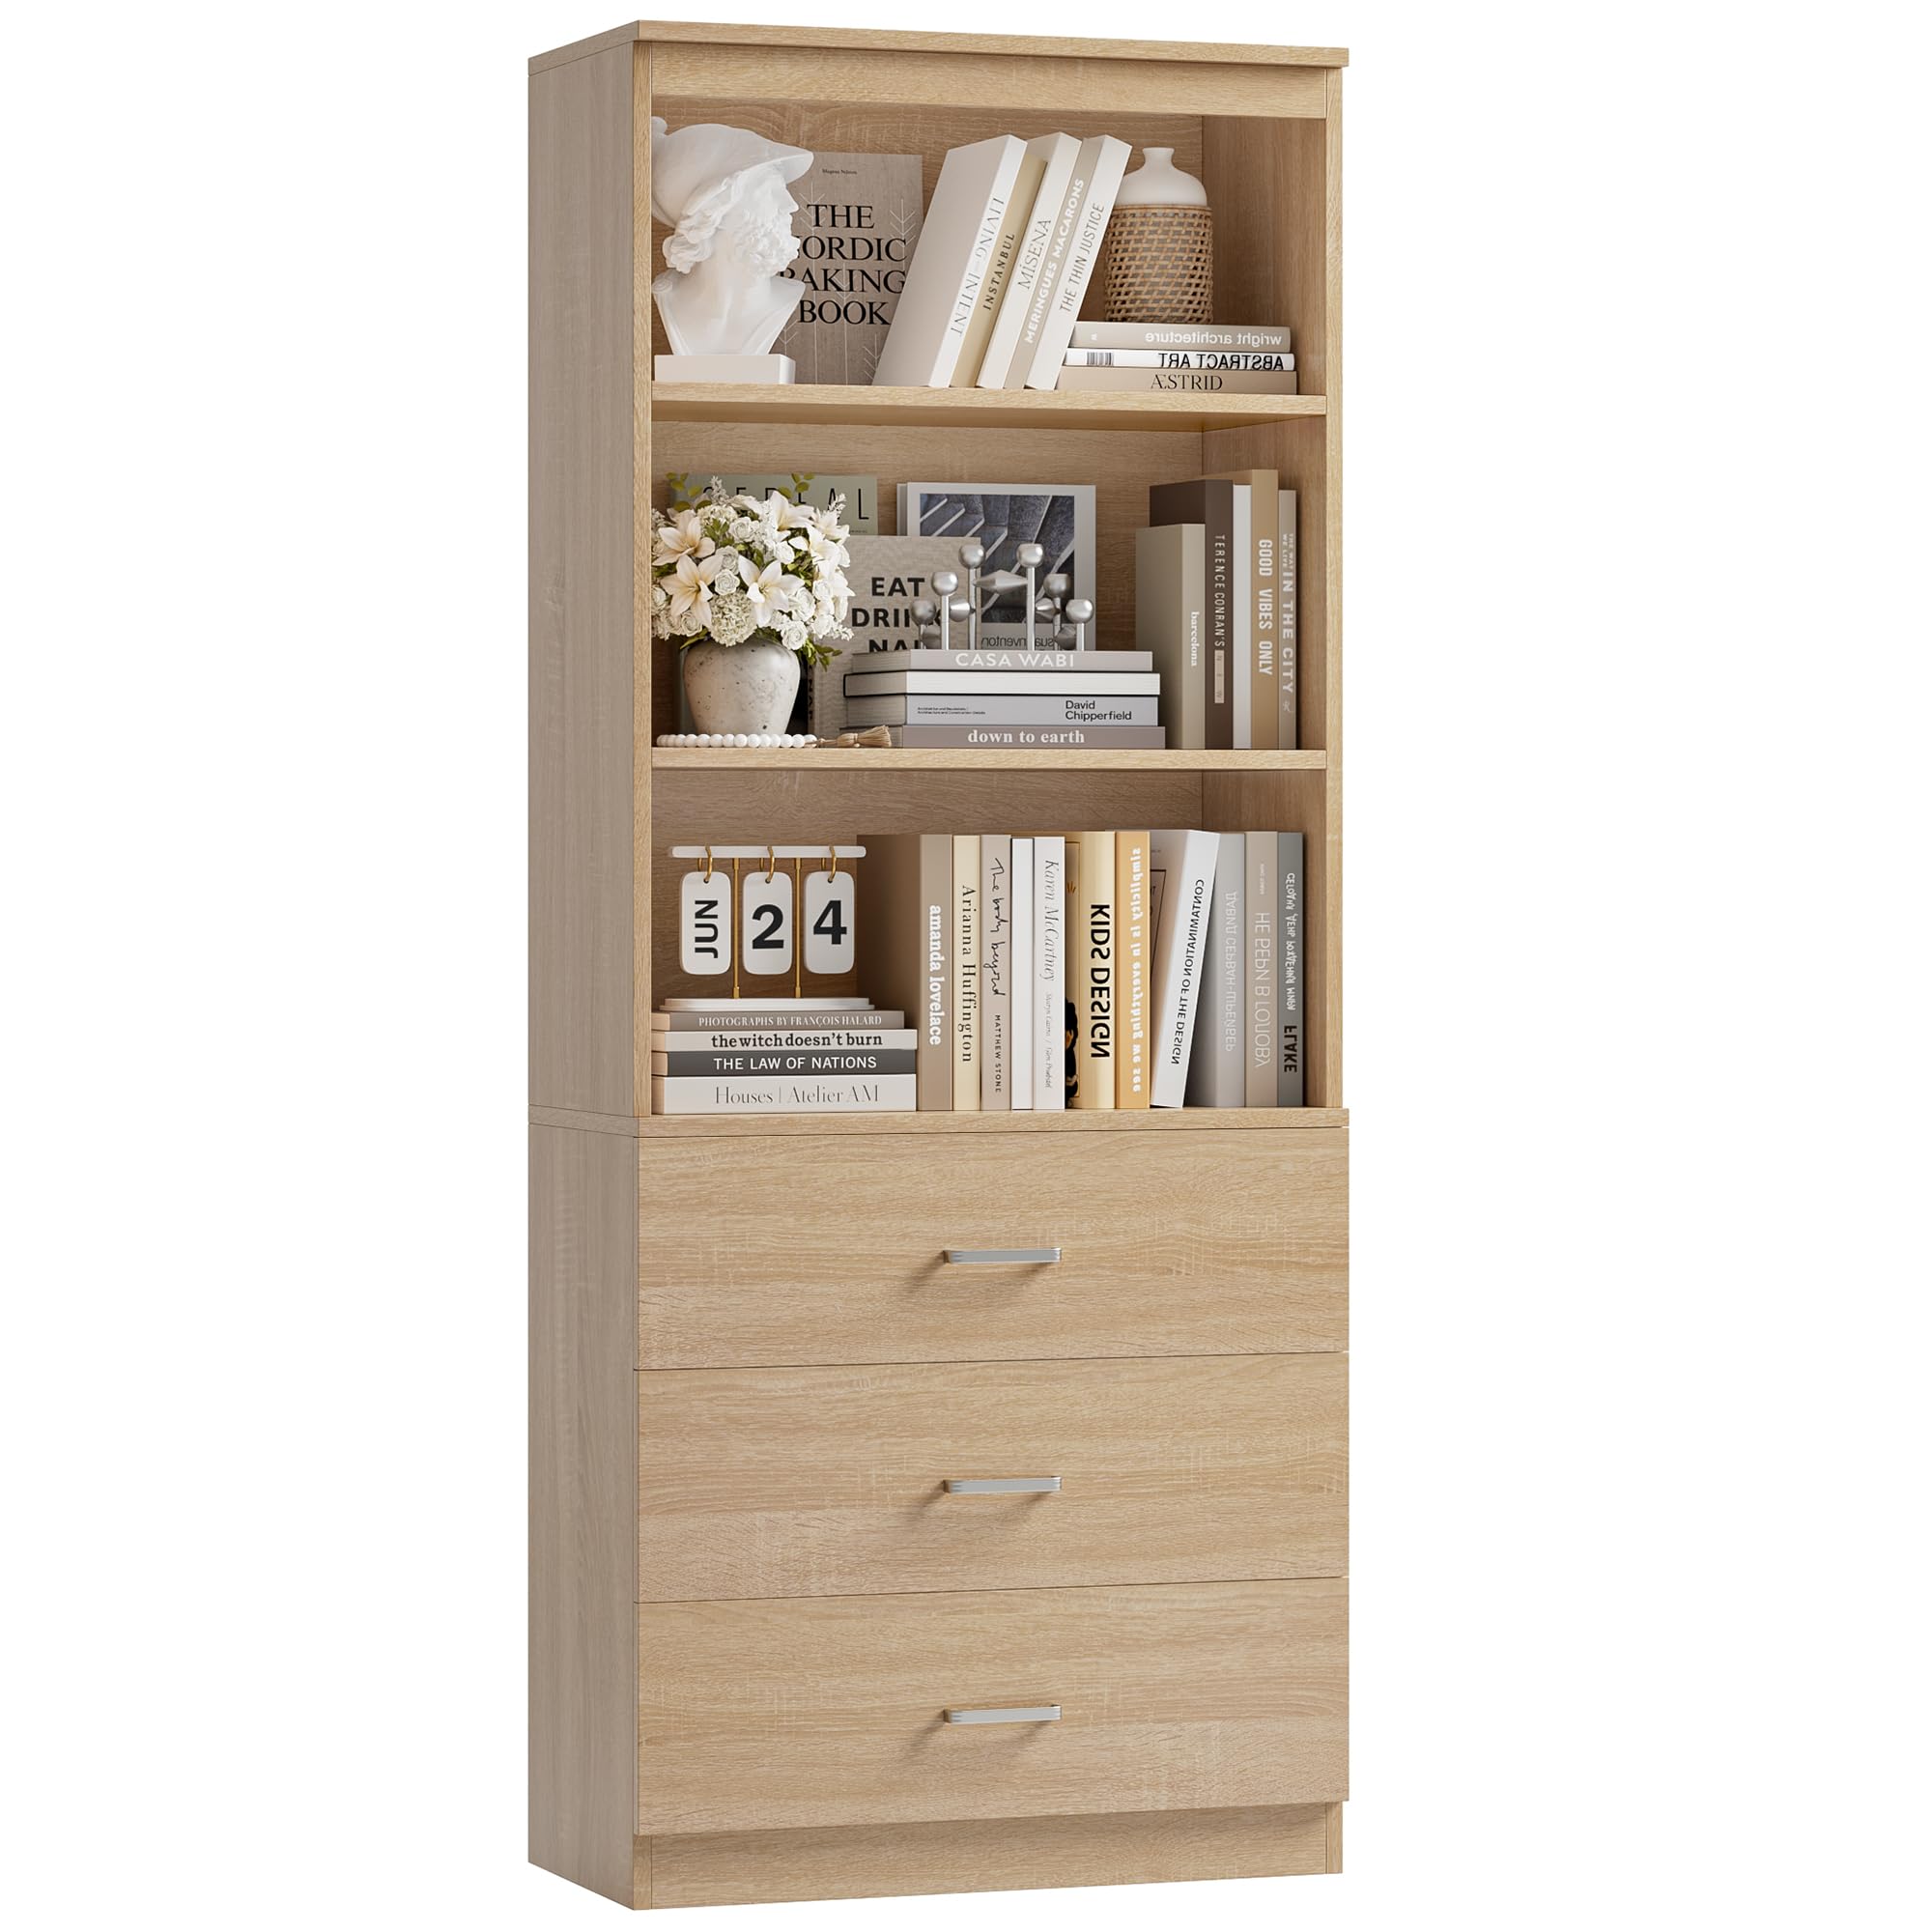
The FOTOSOK 71" H Bookshelf combines quality materials and a rustic retro design, featuring 3 drawers and 3 open shelves for versatile storage solutions. Easy to assemble and clean, this tall storage cabinet is perfect for any room in your home or office.


M**R
Well made
Great, well made item and shipping was much faster than expected! They also responded to my inquiries immediately. It took a while to make, but it’s not all that difficult (I’m a small woman and assembled it by myself). Anything with drawers will have many parts and require more time. Looks fantastic and was exactly what I needed for some more closet organization.
A**R
Stable bookcase
Sturdy. As good as you can get without being fully solid wood. The anchor works well. The only thing I can think of is the drawers extend maybe 3/4 out, so if you want to place items in the drawer fully flat without tilting of a similar depth as the drawers, that could be an issue. The kit includes extra hardware even labeled as extra. I like that they utilize cam locks for added stability. It came well packed, and took about two hours with a power drill/screwdriver (with an experienced fix it person). Would benefit from having a second person's assistance with moving the furniture around. Looks good too.
B**E
Directions were easy to understand
Easy to put together very sturdy. Extremely happy with my purchase
1**P
4.5 stars – better than I expected!
I was skeptical seeing all of those four and five star reviews, but I can honestly say, this bookcase has exceeded my expectations. It is well-designed and sturdy, similar to Ikea, but better, with one exception: Ikea bookcases typically have notches at the bottom to offset kickboards. However, if you want the bookcase to sit flush against the wall, you could remove the quarter-round and kickboard portion the same width as the bookcase.The drawers are surprisingly strong and have stops to prevent inadvertently removing them. They can also be intentionally removed. They have rollers which make them easy to move in and out. When fully extended, they do not sag.Be aware that even though the bookcase is 71” tall, the shipping box is only 45” tall. Consequently, each of the two sides have two pieces. This may seem odd, but this actually makes assembling easier. I fully assembled this bookcase without assistance. The illustrations are clear and easy to follow. Every piece is fits perfectly. You just have to be careful and don’t force it. The finished product looks great.There were some comments indicating the screws for the drawer handles are too short. This is understandable. The screw is 18 mm long and the drawer thickness is 15 mm. Therefore, only 3 mm screws into the handle. However, the real problem is the drawer handle threads are only 5 mm deep. Therefore, if you use 20 mm screws (the next size up), you risk having the screw bottoming out before it is snug. But if you use a thin washer, that should work. I used them as is and so far, they are holding up fine.These tips may be helpful:- Wear a mask during unpacking and assembly. That particle board dust gets all over and into your lungs if not careful.- How to open the box may not be obvious. I set the box long side down and opened the end with the product label right side up. This was fortuitous because the contents were stacked flat (i.e., not on the edges). This is also where the hardware and assembly instructions are located. I then slid the contents, one piece at a time, out of the box. I purchased two bookcases. For the second box, I positioned it the same way, but this time opened both ends and the long seam. I then unwrapped the box which exposed the entire contents. This made it much easier to unpack.- Open the box in your work area. Then as you unpack it, stack the pieces in your staging area. I made the mistake of opening the box in my staging area. Then I had to move everything from my work area back to my staging area - no big deal, just some unnecessary, extra work.- Be prepared to get cuts and scratches on various parts of your body (especially your hands) during unpacking and assembly. Some of the edges are very sharp. You may want to wear gloves. This is not a problem after the bookcase is fully assembled.- Beginning with step 2, when screwing each part A, be careful not to strip the plastic threads. If using a power screwdriver, set it at 30% capacity and then tighten by hand until just snug. This would explain why they include two extra plastic inserts.- Pay close attention at step 13. I inadvertently attempted to install parts 1 and 6 at the wrong end. I temporarily thought I had a defect until I realized my error.- For step 14, resist the temptation to set the base upright and then put the top on by lifting it. Follow the illustration. It is a lot easier. After this step, you can easily set the bookcase upright.- Step 15 is virtually impossible without a power screwdriver.- For step 16, leave the drawer handles off until they are fully assembled. The handles will be easier to attach then.- Also in step 16, for some reason while attaching the drawer rails (items DL and DR), the screws (G) on each end would not tighten (the middle screw was fine). This was not a problem for just one or two screws, all 12 screws acted as if the threads were stripped. I then added #4 x ½” screws (almost the same size as the G screws, M3 x 12 mm) to the empty holes next to the problem screws. These all tightened snugly. It was this minor issue that compelled me not to rate it as five stars overall.- After completing the rest of step 16, if you took my advice and left the handles off, now would be the time to attach these.- When installing the flat panels (items 6, 7 and 19), ensure the labels are on the unexposed side. In other words, the back of the bookcase and underneath the bottom of the drawers. Sure, the labels can be removed, you just have to be careful not to scratch the finish.- Finally, if you purchased more than one bookcase, don’t be arrogant as I was. When I assembled the second bookcase, even though it went much faster, it could have even been faster than it was. I seldom looked at the instructions and had to undo and redo some steps. For example, in step 13 I left the flat panel (6) off and installed the top (1). In step 16, I also left off a panel (19) for one of the drawers. I felt rather foolish looking at a perfectly squared drawer with no bottom. This one was very challenging to take apart.
M**Y
Buena calidad
Muy bonito y buen material
B**A
Recomendado
Es grande y con buen espacio para organizar y guardar cosas lo ame
B**
Especial
Cómodo
L**B
Good quality for the price!
Good quality and value. Assembly took ~2 hours with a small drill and Phillips screwdriver. Clear instructions, though some steps needed a once over. Well-labeled parts: drawer track labels are imprinted, not stickered. Drawers fit smoothly. Satisfied with shelf and drawer space—met expectations.
Trustpilot
3 weeks ago
3 weeks ago
4 days ago
2 months ago