
DOWNLOAD THE APP


Customer Services
Copyright © 2025 Desertcart Holdings Limited
DOWNLOAD THE APP


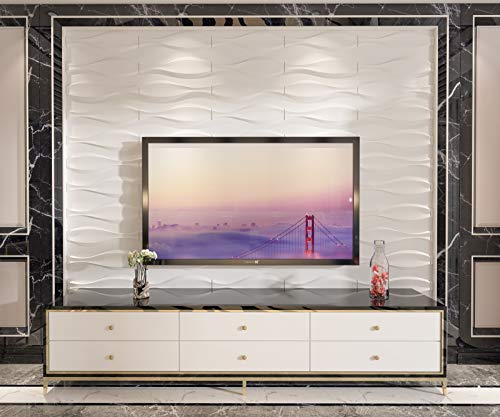


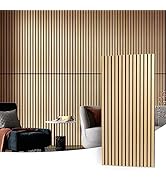
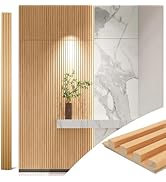
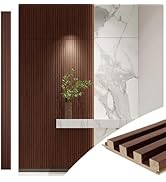
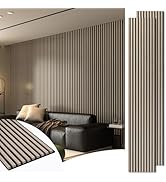
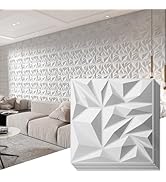
🌊 Elevate your walls, elevate your vibe—make every room a statement.
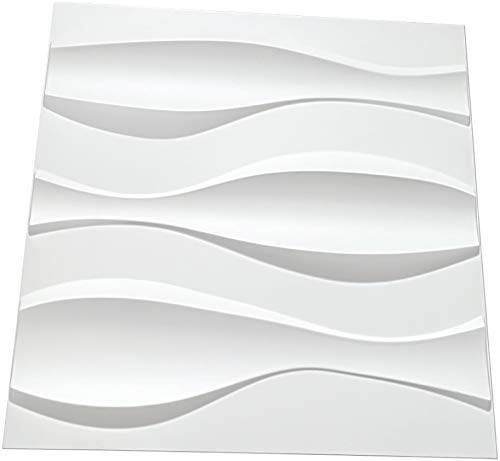
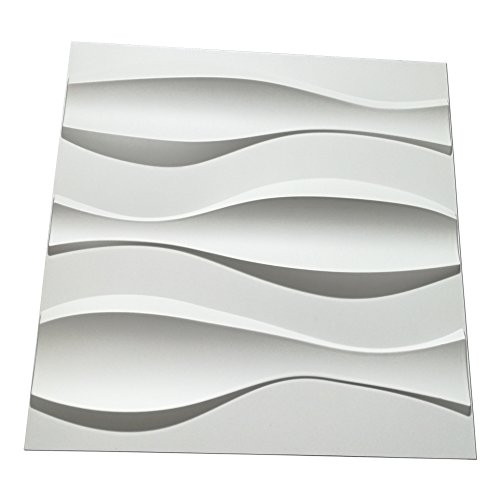
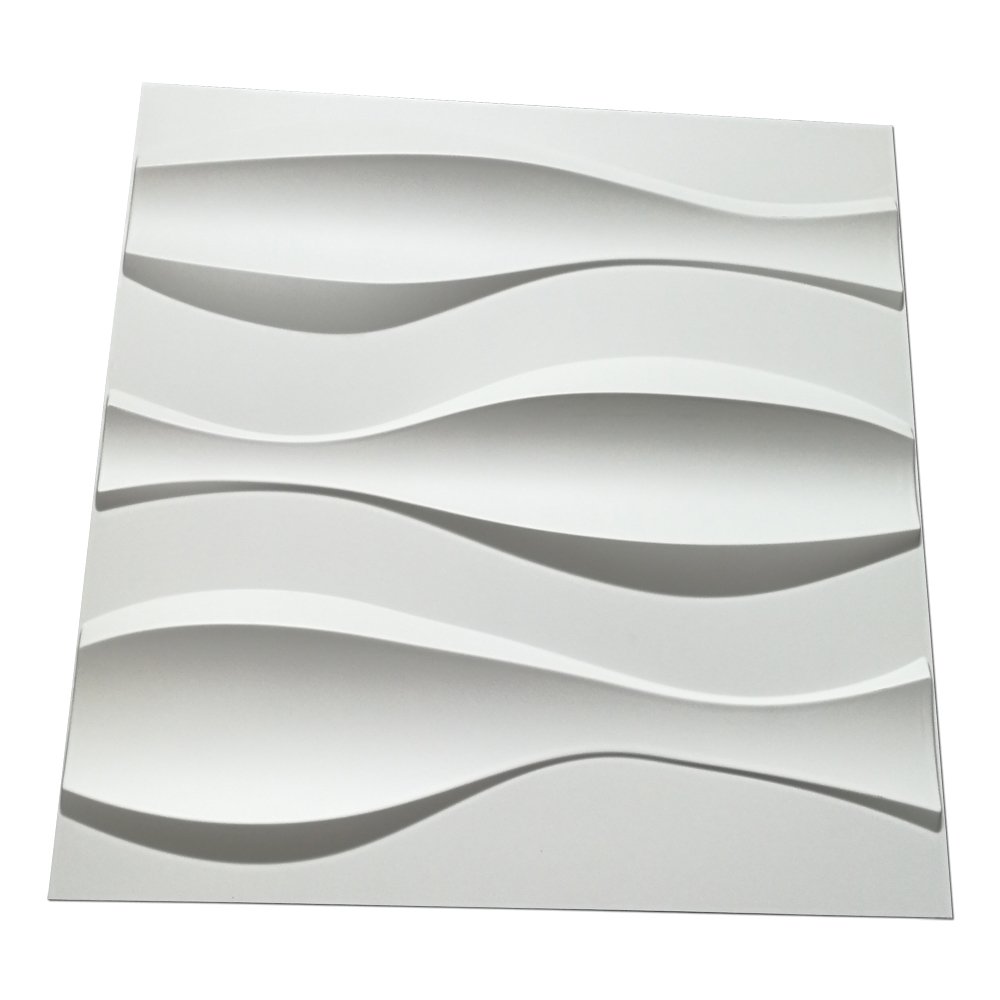
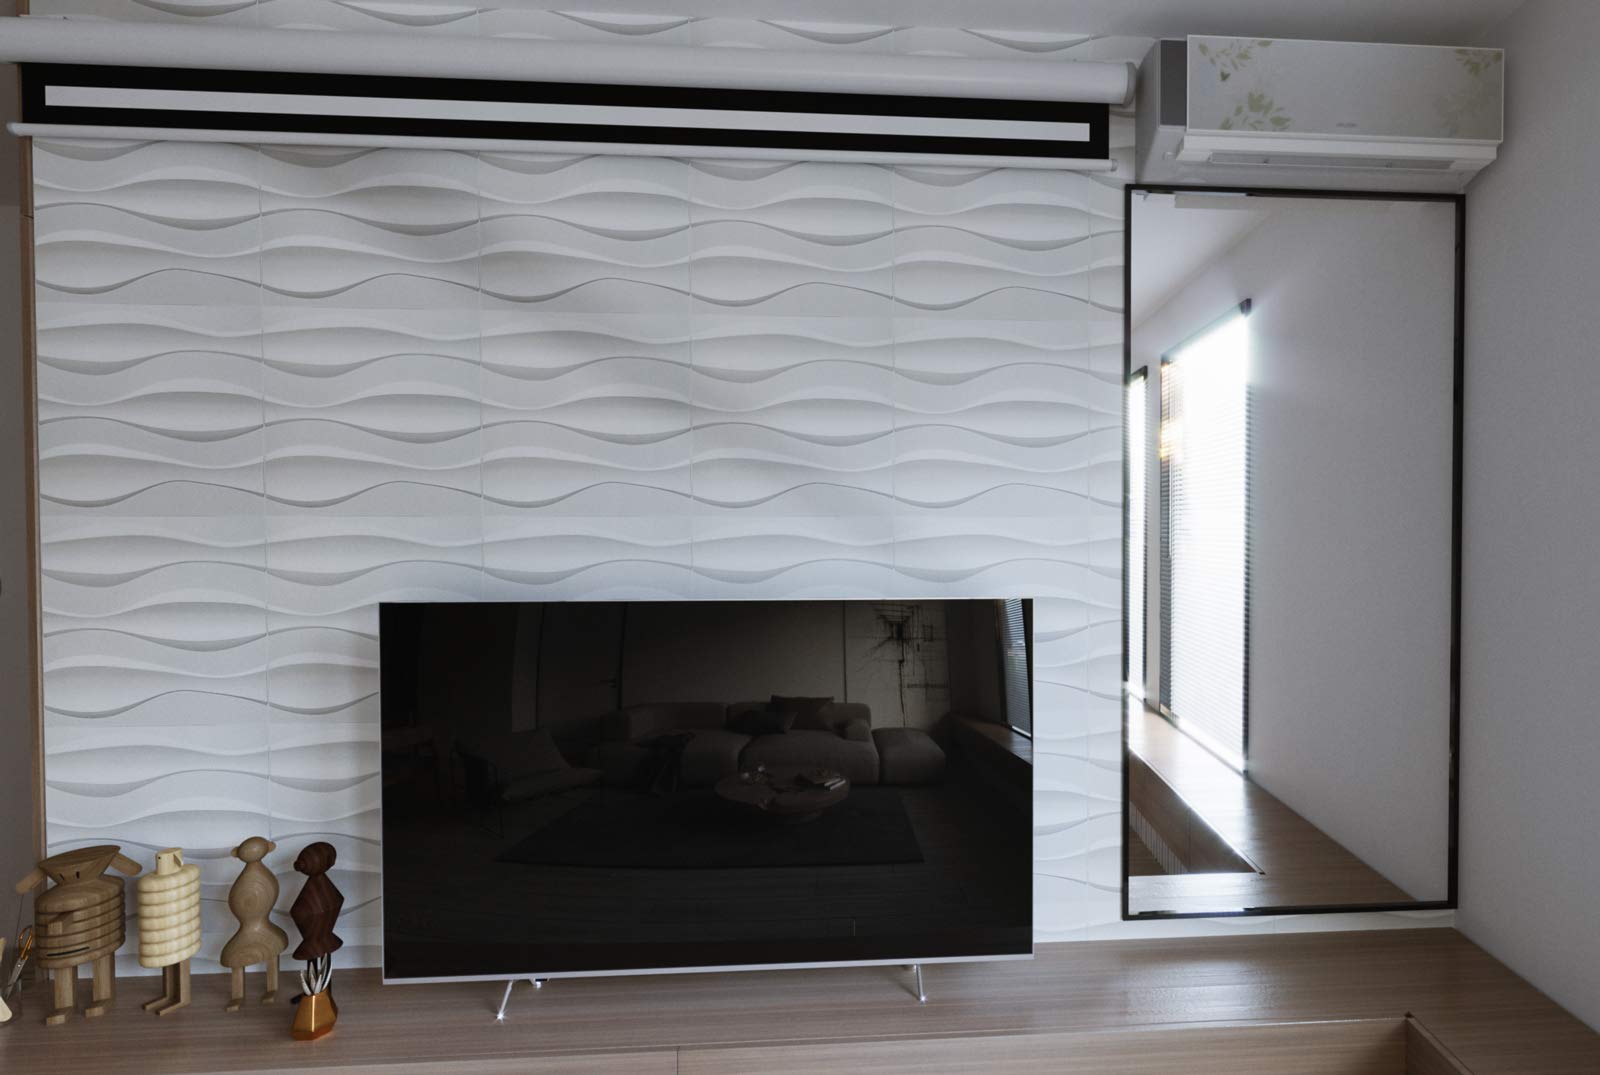
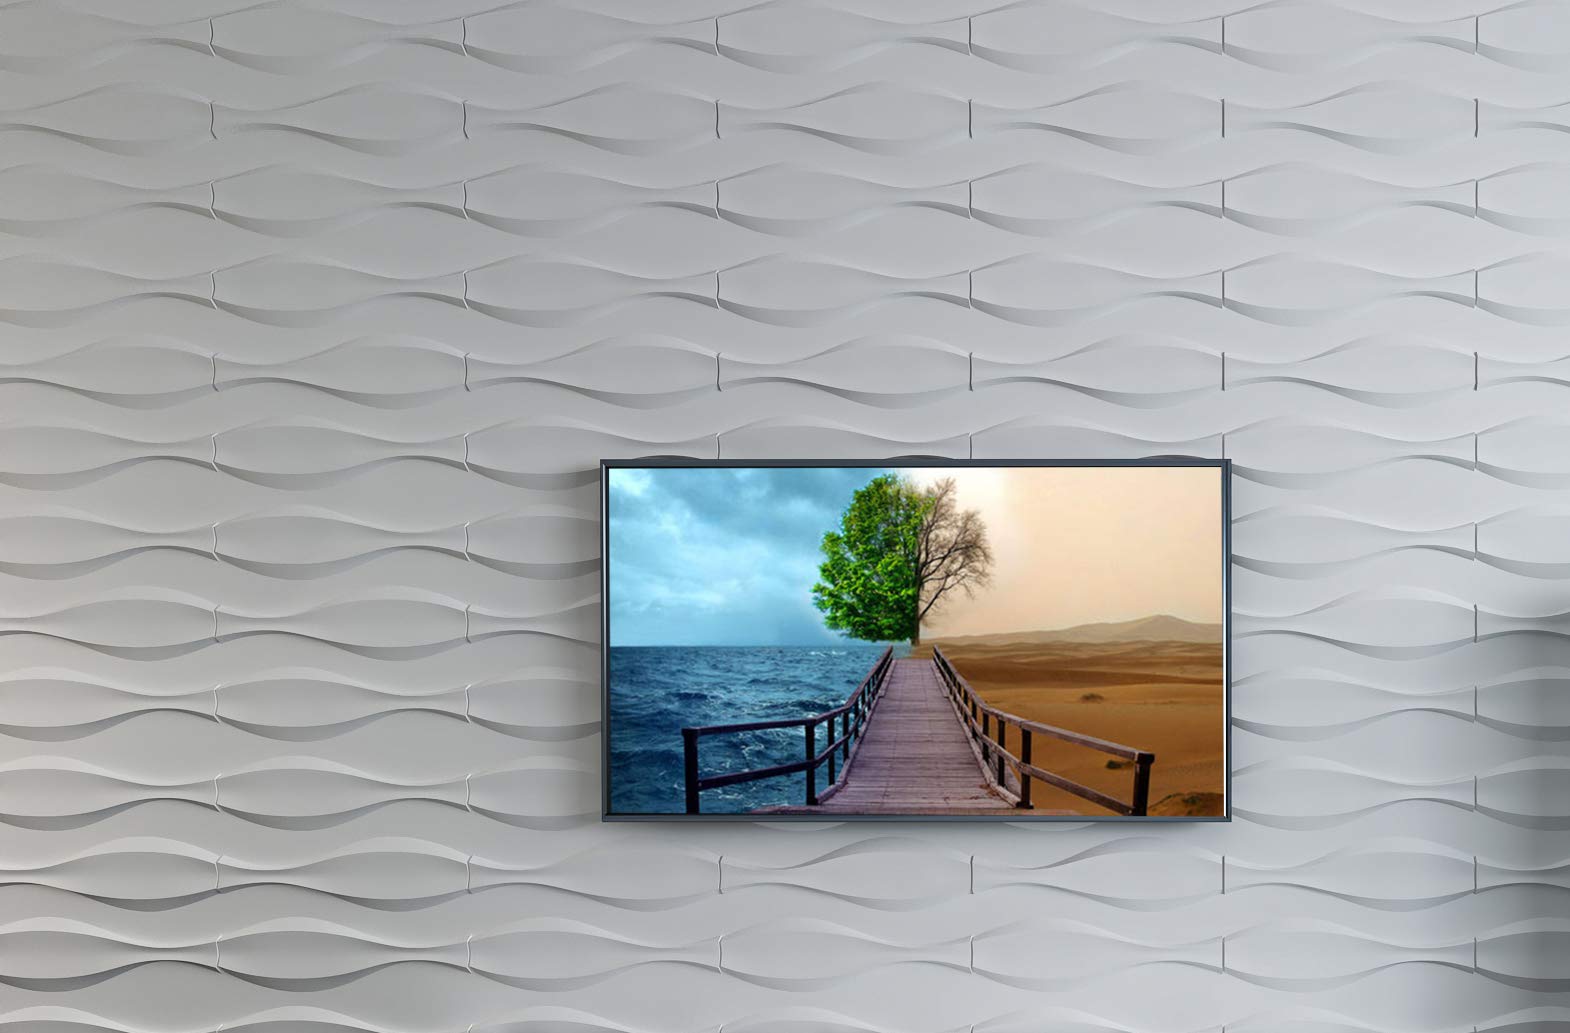
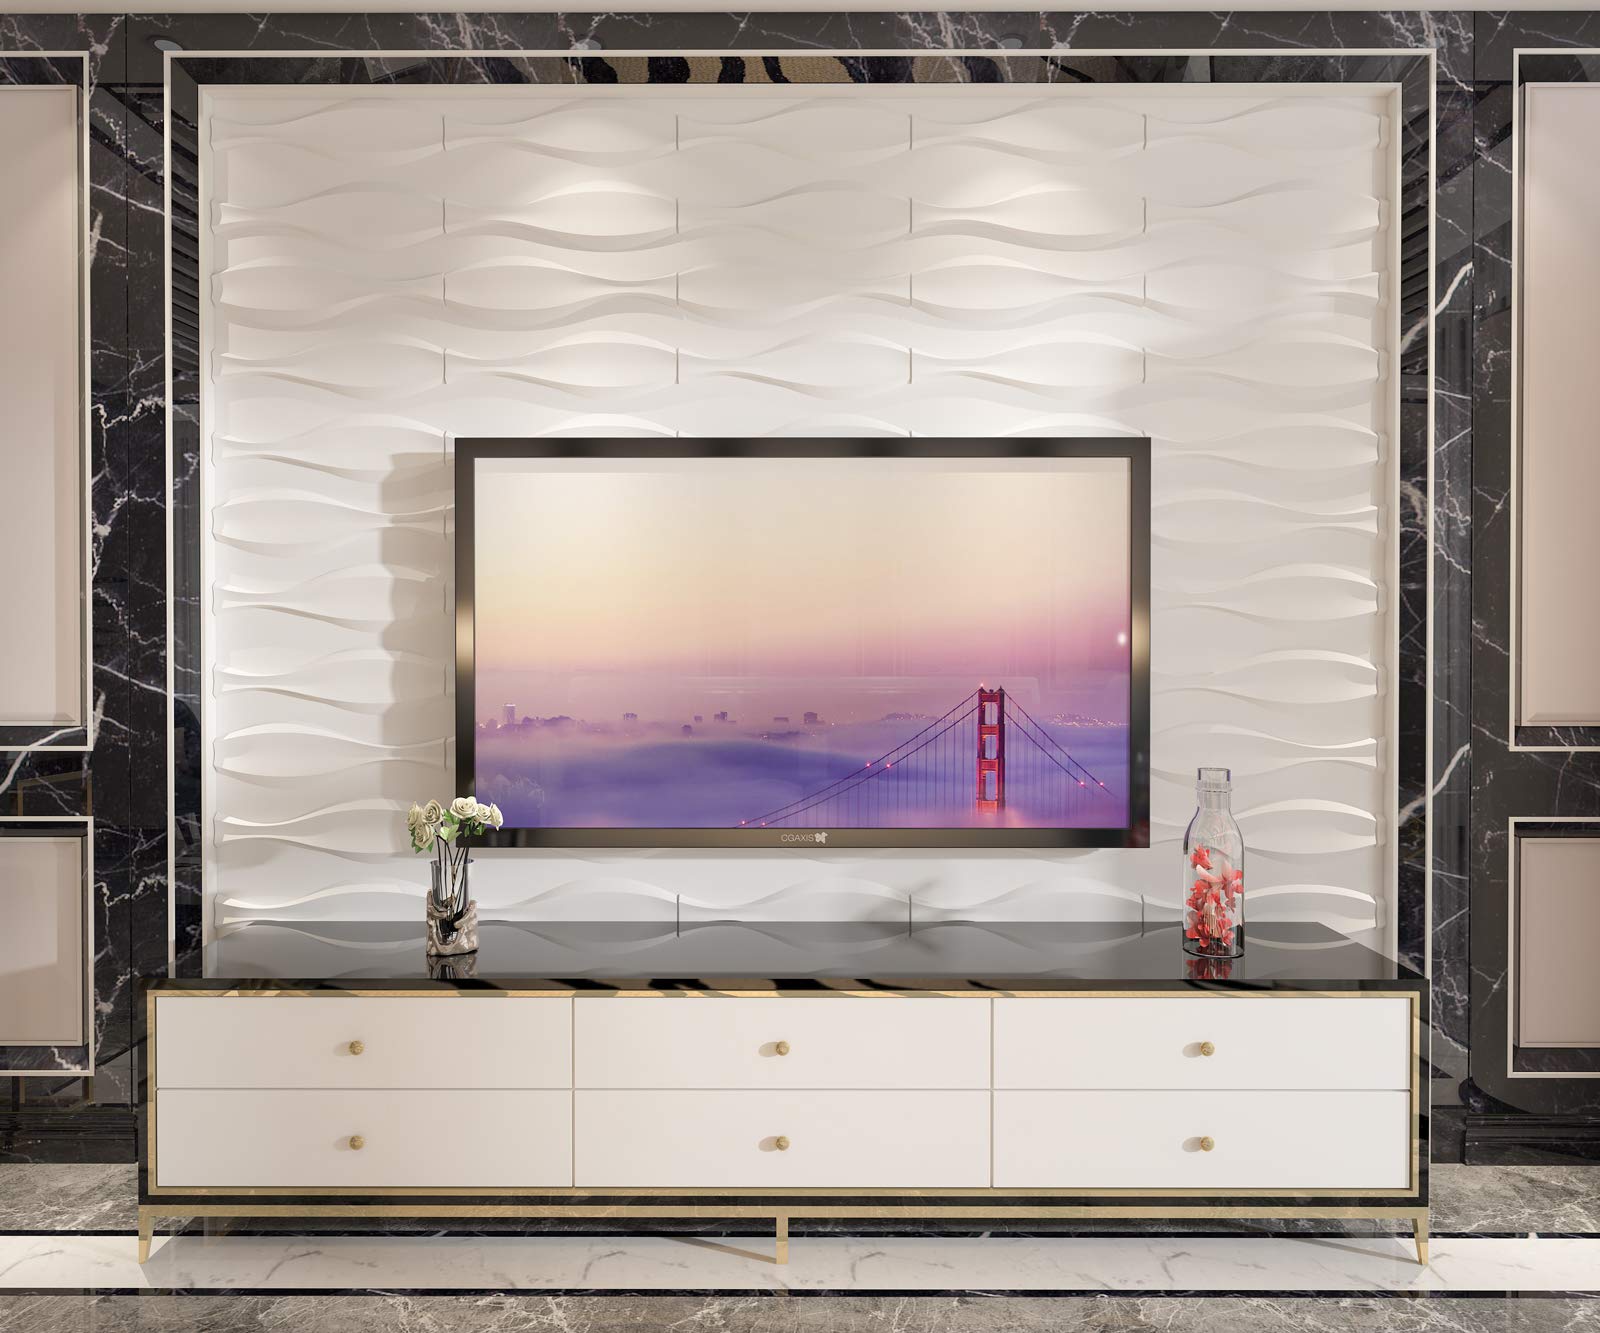
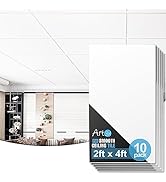
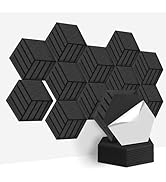
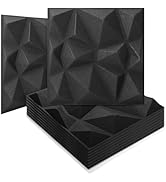
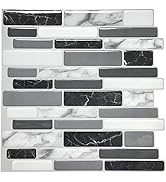
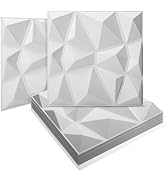
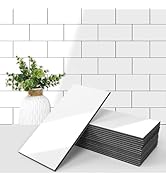
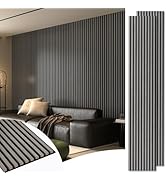
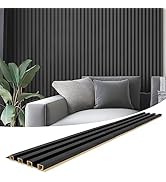
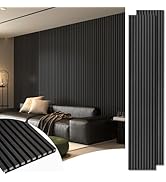
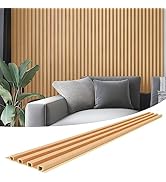
These premium Art3d 3D wall panels measure 19.7" x 19.7" each, sold in packs of 12 covering 32 square feet. Made from lightweight, fire-resistant PVC with a stylish wave texture, they offer an easy DIY upgrade for living rooms, bedrooms, kitchens, and more. Designed for seamless installation with staggered edges that hide seams, these matt white panels combine safety, style, and versatility backed by a 2-year manufacturer warranty.


| ASIN | B073NYPSQC |
| Batteries required | No |
| Best Sellers Rank | #37,088 in Tools & Home Improvement ( See Top 100 in Tools & Home Improvement ) #52 in 3D Wall Panels |
| Brand | Art3d |
| Color | Big Wave Whie |
| Customer Reviews | 4.4 4.4 out of 5 stars (3,425) |
| Included Components | No |
| Installation Type | Non-Pasted |
| Is Discontinued By Manufacturer | No |
| Is Stain Resistant | Yes |
| Item Weight | 1 pounds |
| Item model number | A10us035WT12usz |
| Manufacturer | Art3d |
| Material | Plastic |
| Number of Items | 12 |
| Number of pieces | 12 |
| Pattern match | Straight Match |
| Product Dimensions | 19.7"L x 19.7"W |
| Special Feature | Textured |
| Style | Wave |
| Theme | Space |
| UPC | 712809591435 |
| Volume | 1 Cubic Centimeters |
| Warranty Description | 2 year manufacturer |
S**.
Great Look. Made well.
I bought these in August of 23 and just a week ago as well. Great look and installs both times we're fairly straightforward. By my computer I was able to score full pieces out with a utility knife for a cool effect and by my tv I needed to cut around a furnace vent. Best advice is to utilize a table saw for the cuts. I scraped by with a midar saw and a jigsaw but it made the work slower due to the care needed to cut with those. I've seen others use a multi tool well for things like outlets. I used liquid nails to adhere both sets and not a ton is needed. There were a couple of tiles with minor manufacturing defects so just make sure you plan on purchasing about 10% over your measurements to account for that potential and what you waste in cutting. I really enjoy the look of these and the staggered edges make for a cleaner look than that of square tiles in my opinion and hides the seams better. Make only slightly more cumbersome to measure out but not terrible.
S**E
Nice looking product and good quality
Product as depicted. You will need a sharp shear to cut these panels. Easy to install with gorilla double sided tape. Looks good under my kitchen counter. Remember, it's your walls that are not even, not the panels.
L**S
Love them
Looks great in person. Light weight. Little easy to cut but don't use cheap scissors. Need double sided tape or whatever u like to place on wall. This is not peel and stick sides.
C**M
Looks great. Pain to paint.
Looks great. Pain paint but worth it.
T**.
Awesome Product!!
FYI: I did all of the TLC in the images by myself. I went bold and did the entire bathroom walls, not just an accent wall; using the heavy-duty PVC by Art3D to the walls and the ceilings was done using a softer insulated PE foam brick version also available from numerous sellers on Amazon. (1 of 4 units is completed and fully rented and I have 3 more to go) I'd have to say that you'd need a very strong adhesive such as "Tite Bond" or similar (available at Menards for instance). Your typical liquid nails wouldn't do, as you need something strong enough that would quickly set and create a strong enough bond for the tiles not to fall off. CUTTING: With respect to cutting the tough PVC tiles, I found that cutting from the back-side using my Milwaukee Hackzhall (basically a powerful light-weight portable sawzhall that can easily be controlled one-handed) along with a special universal DIAMOND-BLADE, which can be purchased at your local hard-ware store, did the trick. This blade with diamond bits/chips on the edge, along with the hackzhall, cut through the PVC like sword through butter and allowed me to make some critical/difficult cuts. To further trim the PVC, I used very sharp/new shears to trim to size. Concerning cutting-out for the outlets, etc., I flip the tile and use a sharp razor, but be very careful as the PVC is slick and you could slip or accidentally make the wrong cut; so you could also use a touch metal ruler to prevent/minimize slips of the razor. In my case, I like to recycle stuff, so I used remnants of the metal security door/bar that came from the top of the metal gate that was not used as a hard metal ruler. Remember, easy does it and safety comes first... The application is not too bad on a very flush/leveled wall. If your wall has uneven areas, be prepared to have to use weights of sorts to lean against it. This will delay installation as you may have to do this for every few tiles, or for a trouble section. I have had to use ladders and scaffolding in order to apply heavy weighs such as cinder bricks, clay bricks, and actual weights such as dumbbells and barbells as high as 7-8 ft off the ground to hold the tiles down just long enough to cure (dangerous, so not recommended, but as a Construction Tech, I know my limits and I always have my hard hat on...). The end results are stunning... Especially if you take the time to CAULK between the seams (this is an important extra step that separates the PROS from the mediocre). This hides the seams a lot better and creates a nice continuous seamless brick wall, and makes it all look more realistic. I have gotten nothing but positive review/feedback from all who saw the brick wall. I also did the utility room with the water lines for the electric hot water tank, the furnace, etc.., in the same 3D wall tiles and it looks stunning... Yes, the utility room was a bit of an overkill as the mechanicals will fill-up this room eventually, so you would not see much of the 3D wall, maybe a third of the wall would show if that. However, I personally wanted a challenge, and I wanted a permanent solution to the utility room often needing to be repainted after a few years. This is a more permanent maintenance-free solution, just as with the bathroom, as the wall-to-wall and ceiling tiling (who does that lol?), would offer air-tight, water-proof, low maintenance, easy clean-up look for many years to come, thus saving $$$ in the long run. I am sold on this product and I also purchased their 3D back-splash and would be reviewing before and after on that too. That was also a hit. I will return to buy a ton as I am now focusing my life-long dream/goal of TLC of real estate properties.
L**O
They look amazing!
These are easy to cut, easy to install, and they look amazing! I only bought one box to try as a sample, but now I've returned to buy more and finish my project with them. I'll update this review with more photos once the rest arrive and I finish putting them up and painting them. The package came with no instructions or guidance, so here are a few things I learned: * DO NOT PAINT THEM before installation. Paint them AFTER. They will curl up and be hard to install if you paint them first. * You'll need to glue them on. I used gorilla glue construction adhesive * If you don't already have one, get a cartridge gun so you'll actually be able to use your glue (I have no DIY experience, so this was new for me). * You'll need to cut them to fit. An ordinary utility knife works for peeling, and industrial strength cutters work well for bigger cuts. * As shown in the photos, the tiles are hollow, so when you cut them, if the open end is not against a wall, you'll probably want to spackle it in, sand it down, and paint over it. * You can do these very close to seamlessly without painting them, but for me, most of my tiles have a tiny seam between them that can be caulked over and painted to become seamless. * Don't expect your walls and baseboard to be perfectly perpendicular, and don't expect your windows to be straight. Builders suck. * Don't expect to peel them off - they're permanent. UPDATE: I wanted to tile another room in my house, so I tried another brand of wall textures that is made out of the "eco-friendly" material (see: cardboard). After getting about halfway through, I hated working with the material and decided to rip them off the walls and do it over with these tiles again. Words seriously cannot describe how much better these tiles are than others. Additionally, I bought some spray foam insulation that I'm going to attempt to fill the hollow parts of the tiles with, for more noise insulation from my rowdy neighbors. When the room is done, I'll post updated pics of how that turns out, in case anyone else is considering doing the same.
G**T
Sturdy
Make a great backdrop from a wall. Use double sided extra sticky tape, the thick kind ! Worth it.
C**N
Parfait ! Le seul hic cest que je n'ai pas pensé à la poussières 😅
J**E
facili da installare, dimensioni precise e veramente belli esteticamente
A**Y
Tres beau, pas Cher et facile à installer. moi je l’ai installé avec tape 3M, très facile.
F**K
Amaaazing highly recommended
M**O
Excelente productos, estoy satisfecho, si compraría mas, me llego antes de lo prometido y sin ningún daño
Trustpilot
3 weeks ago
3 weeks ago