We remain fully operational. Our teams are working around the clock to ensure your deliveries continue safely.

DOWNLOAD THE APP


Copyright © 2025 Desertcart Holdings Limited
DOWNLOAD THE APP
Buy anything from 5,000+ international stores. One checkout price. No surprise fees. Join 2M+ shoppers on Desertcart.
Desertcart purchases this item on your behalf and handles shipping, customs, and support to KUWAIT.
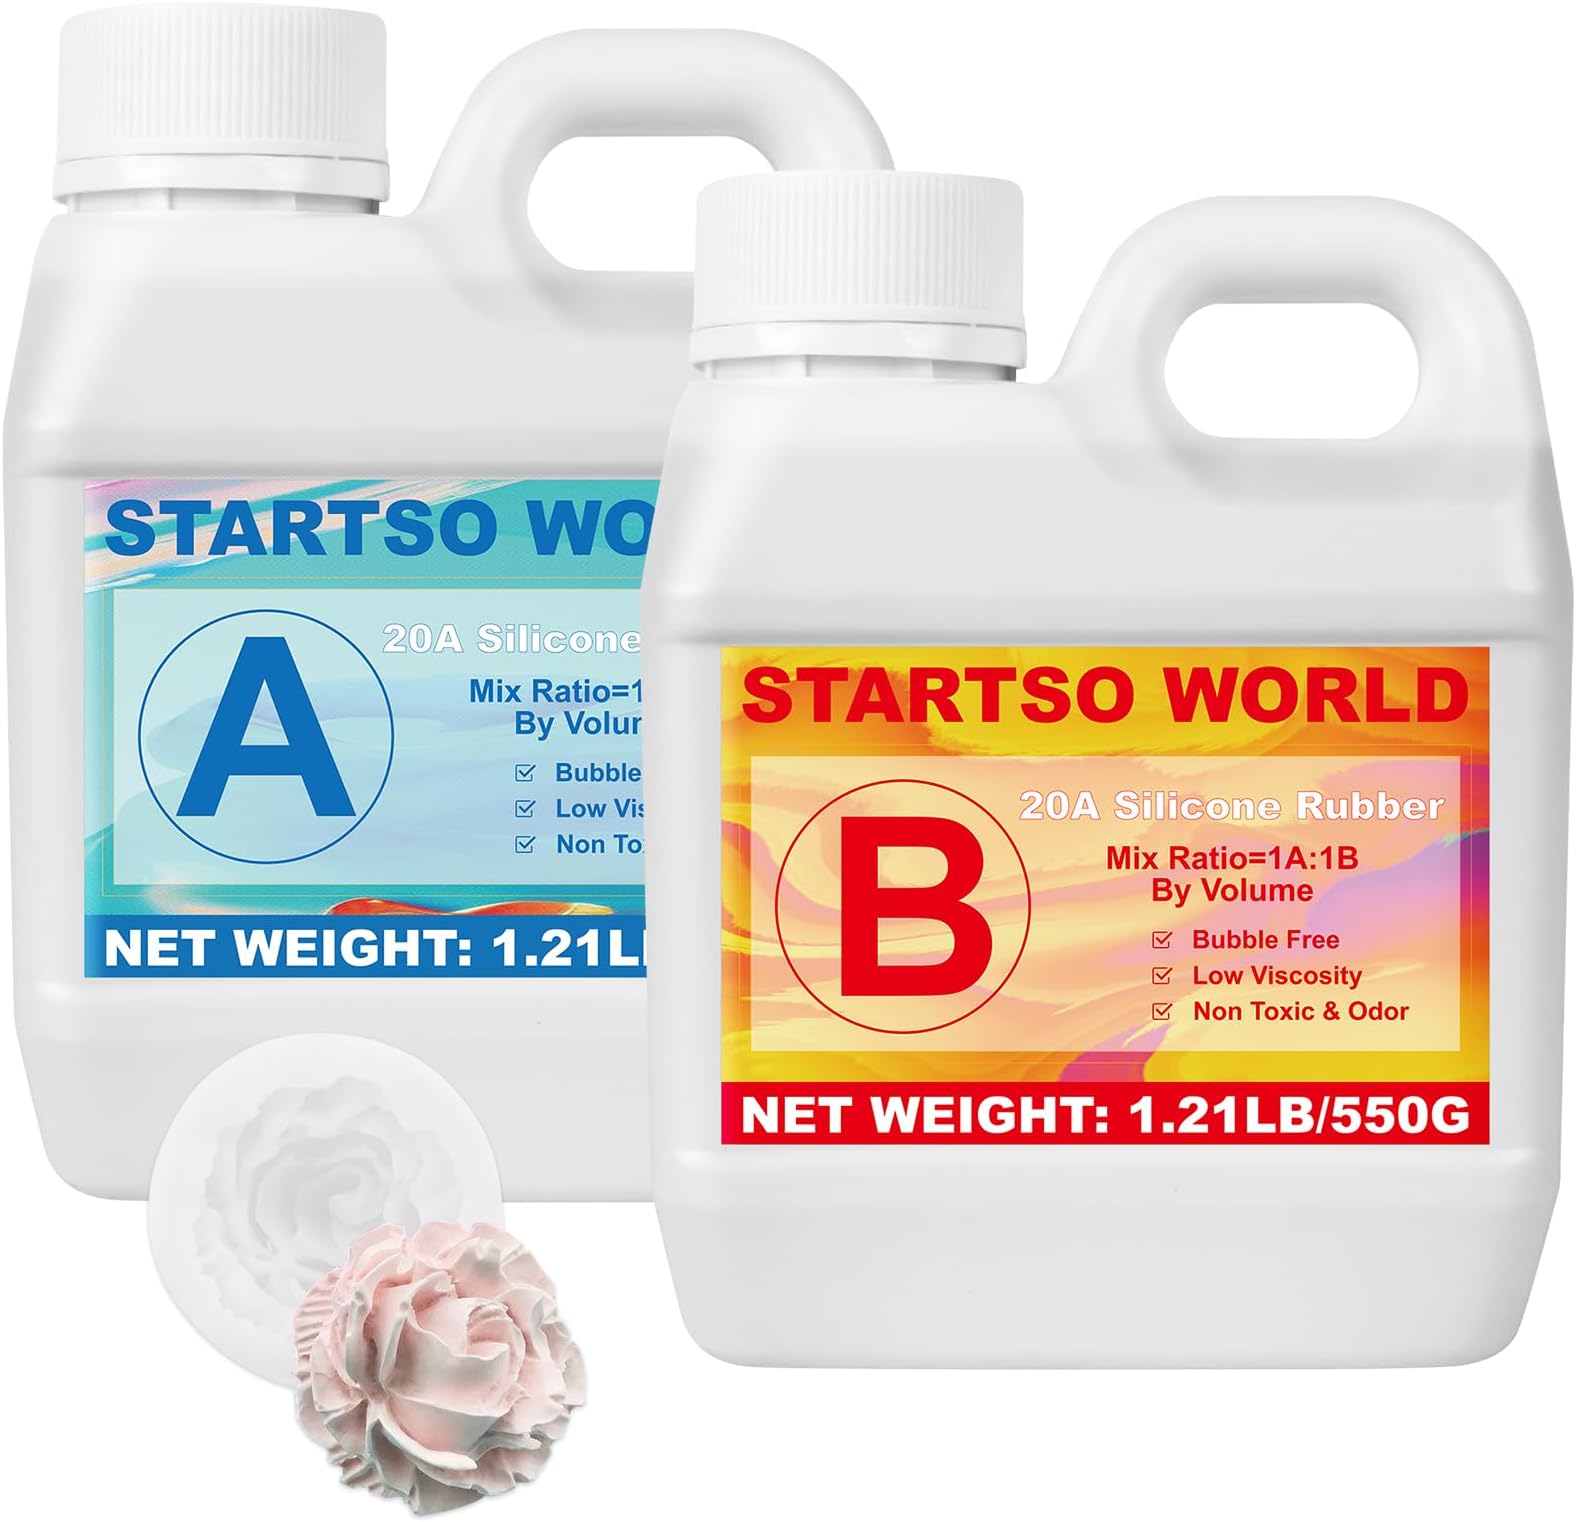
🎨 Mold your masterpiece faster, smoother, and safer than ever!
STARTSO WORLD Silicone Mold Making Kit features premium platinum-cured silicone rubber that cures quickly in 4-6 hours at room temperature. Its low viscosity ensures bubble-free, smooth molds with easy 1:1 mixing. Durable for 500-1000 uses and food safe, it’s perfect for resin, soap, candy, and more—ideal for both beginners and pros aiming for flawless, reusable molds.


| ASIN | B0CWV2TLYM |
| Best Sellers Rank | 11,117 in Home & Kitchen ( See Top 100 in Home & Kitchen ) 13 in Sculpting Moulding & Casting |
| Manufacturer | STARTSO WORLD |
| Manufacturer reference | SWUK10010 |
| Package Dimensions | 21.6 x 13.1 x 12.3 cm; 1.37 kg |
M**.
Excellent mold making
Works well and makes a very good mold.
J**L
Great product good quality molds
I found this easy to use and worked well. I used an adjustable mould and poured equal amounts above the top of my template. Leaving to set overnight, it came off my template easy. Resin models peeled out easy .
A**Y
Silicone mix
I was a beginner using this silicone product very easy to use will be buying some more
A**R
This stuff is good - 4.6 stars
Really pleased with this. It was easy to use and did almost what it says on the tin. I had no difficulty using it. Although there were a few negatives. There is barely any odour from it. It stays pourable for a nice long time giving plenty of time to mix thoroughly and slowly pour a few castings. It is sufficiently forgiving of mix ratio that small batches can be done by eye in the measuring cups (in one place where I got some extra splashes of one part it didn't set properly, but this bit wiped off fairly easily). It was always set by the stated 6 hours. Once set it is very flexible and tough but also rigid enough to maintain its shape in use. It takes details extremely well - the features from an old European coin were taken clearly. I used a CNC to cut a pattern into a block of candle wax and then cast the silicone into that to make a mold for casting chocolate. The wax channels were 5mm wide and the silicone flowed well through them. First casting I dribbled the silicone along all the channels and especially into all the corners before letting it flow on it's own and it came out fine. Second time I poured at a single point (as recommended) and I ended up with a few voids where bubbles had formed. So experiment. I think my mold may be unusual in being thin channels. I did 3 castings from one wax pattern and 2 from another. They all released from the wax just fine without damaging the wax (without using any release agent). The 5mm channels in the wax are obviously the walls of the chocolate mold. These turned out to be thicker than is probably needed. I may have been better making them thinner (maybe 3mm). However the walls were still sufficiently flexible to allow me to extract 5mm outlines of chocolate without breakage. (I wish the chocolate had been as easy to cast !). With whatever was left I experimented with - pouring around various reentrant disk-like objects. In each case I managed to prise the object out and make an ice casting so this seems a viable technique for duplicating things. The down sides. The seal on part A was not fully attached (as other people have said). Fortunately the top was tight so no spill, but this could have been a disaster. It comes with pipettes - these are useless because it is so viscous (it takes 10 seconds to fill one and then it does not fully empty, so useless for by-volume and too slow for by-mass except for tiny amounts). But measuring out with the cups is good enough. I found it impossible to do a thorough job of mixing without trapping tiny bubbles and these were reluctant to settle out, although mostly the surfaces of the mold did not suffer due to it. After 6 hours setting it is still "sticky" (not tacky, just a bit grippy) but washing in hot water soon sorts that (maybe the heat accelerates the curing). In any case I waited another 12 hours and several washes in boiling water before using with food.
J**N
cant fault it
very good quality
M**E
So far so good
Placed Nylon 3D printed items onto clean glass plate, using double sided tape, and taped a mould retainer around the outside, and placed on perfectly level surface. Mixed 50/50 by weight or by volume, it's more or less same and had a beautiful turquoise coloured liquid. Poured gently and slowly around items ensuring all the lowest nooks and crannies covered. The resultant mould is lovely and after a little clean up to remove flashing I am sure will be fine. Very runny, and will find the smallest gaps and textures. Ensure all is clean. Doesn't like double sided tape adhesive, as these areas stayed liquid/gooey, but luckily for me these were not critical area of the mould. Will bubble and degas as it reacts and sets, and have spotted one teeny tiny bubble in a non significant area. Anyway ... quite impressed so far, not bad for the first mould
P**Y
Works a treat
Brilliant
J**S
Bubbles ruined the mould.
Set with bubbles, I'm going to try another brand as I've used better in the past.
A**R
My first venture into casting and mold making. This stuff works well, good value, and easy to use. Used it to clone a screw driver handle on to a locking bit extension so I could have a screwdriver with full size interchangeable bits with less slop and doesn't lose the bit.
A**N
This silicone 2 part system follows your original item well. It also releases from the original item very easily.
J**L
Startso World Mold Making Rubber is an excellent Silicone material. It mixes very nicely and introduces almost no bubbles. No vacuum chamber or degassing chamber needed. It flows well. And it being an RTV Platinum cured rubber, Startso World Rubber belongs into the top grade of rubber materials. Any 2 component material that has a mixing ratio 1:1 is easy to use. Just mix equal amounts by volume not weight mix THOROUGHLY - this is the most common mistake, not mixing the 2 components properly - it's also very important to often scrape around the mixing cup-wall, so the material sitting against the inside-wall is also mixed well. If not, the last bit that's coming out of the cup will be that material stuck directly to the walls - causing the top of the mold to stay sticky. The downside of these types of rubber they are expensive - very expensive - with this unit sitting towards the lower end, price wise it is a great choice for beginners who want to try out rubber mold making as well as for professionals. SRC chemicals - is typically my choice but having tested Startso's Rubber I will get more from them in the future. Especially when I need smaller amounts. I wish there was a 1 gallon and 2 gallon option here.
V**K
Very good quality platinum silicone . I made pumpkin mold and it turned out very good. Very easy to mix, doesn’t create bubbles. Very happy with my purchase.
J**.
I bought the clear one, because I want to use with uv resin. I have only made three small molds so far, but it has worked out great. I have been making plastic molds by vacuum forming for around a decade now, but I finally decided to try silicone. A couple of tips that worked for me. I watched a lot of YT videos before starting, as I do for anything I try. One excellent tip was to put the mold in the refrigerator for 30 minutes after pouring to get rid of bubbles. That has worked great for me. Make sure it's mixed very well, first. I usually mix for about a minute longer than it says, just to be safe. The last one I poured had lots of bubbles, which were gone after refrigeration. I haven't tried without refrigeration, so it may not be necessary with this type of silicone, but I am not taking chances. Cooling It extends the working time, but it's definitely worth it for me. I then put it about a foot in front of a space heater, and that cures it faster, as well. I also use disposable plastic food containers with the bottom cut off, for the mold form. I use strong grip transfer tape (cricut brand, because that's what I have, but I've heard some people use contact paper). This is the easiest way for me to make the molds. You cut out the bottom of the food container then turn it upside down and attach the top edge onto the transfer tape or contact paper and create a seal. I then put the lid on the container to keep it sealed better, as long as the sealing lip edge of the lid isn't too deep, because it will affect the transfer tape, and shape of the mold. I cut the transfer tape to fit the container so it seals better. I use cheap containers from dollar store. If you prefer, you can just attach the container to the transfer tape, and then go around the outer edge with a glue gun, instead of putting the lid on. This should keep it from leaking, but I haven't tried that. I like this material, I do wish it was a little softer, though. It's good for what I need. Because it's firmer, it seems to be more durable.
Trustpilot
1 month ago
5 days ago