We remain fully operational. Our teams are working around the clock to ensure your deliveries continue safely.

DOWNLOAD THE APP


Copyright © 2025 Desertcart Holdings Limited
DOWNLOAD THE APP


Buy anything from 5,000+ international stores. One checkout price. No surprise fees. Join 2M+ shoppers on Desertcart.
Desertcart purchases this item on your behalf and handles shipping, customs, and support to KUWAIT.
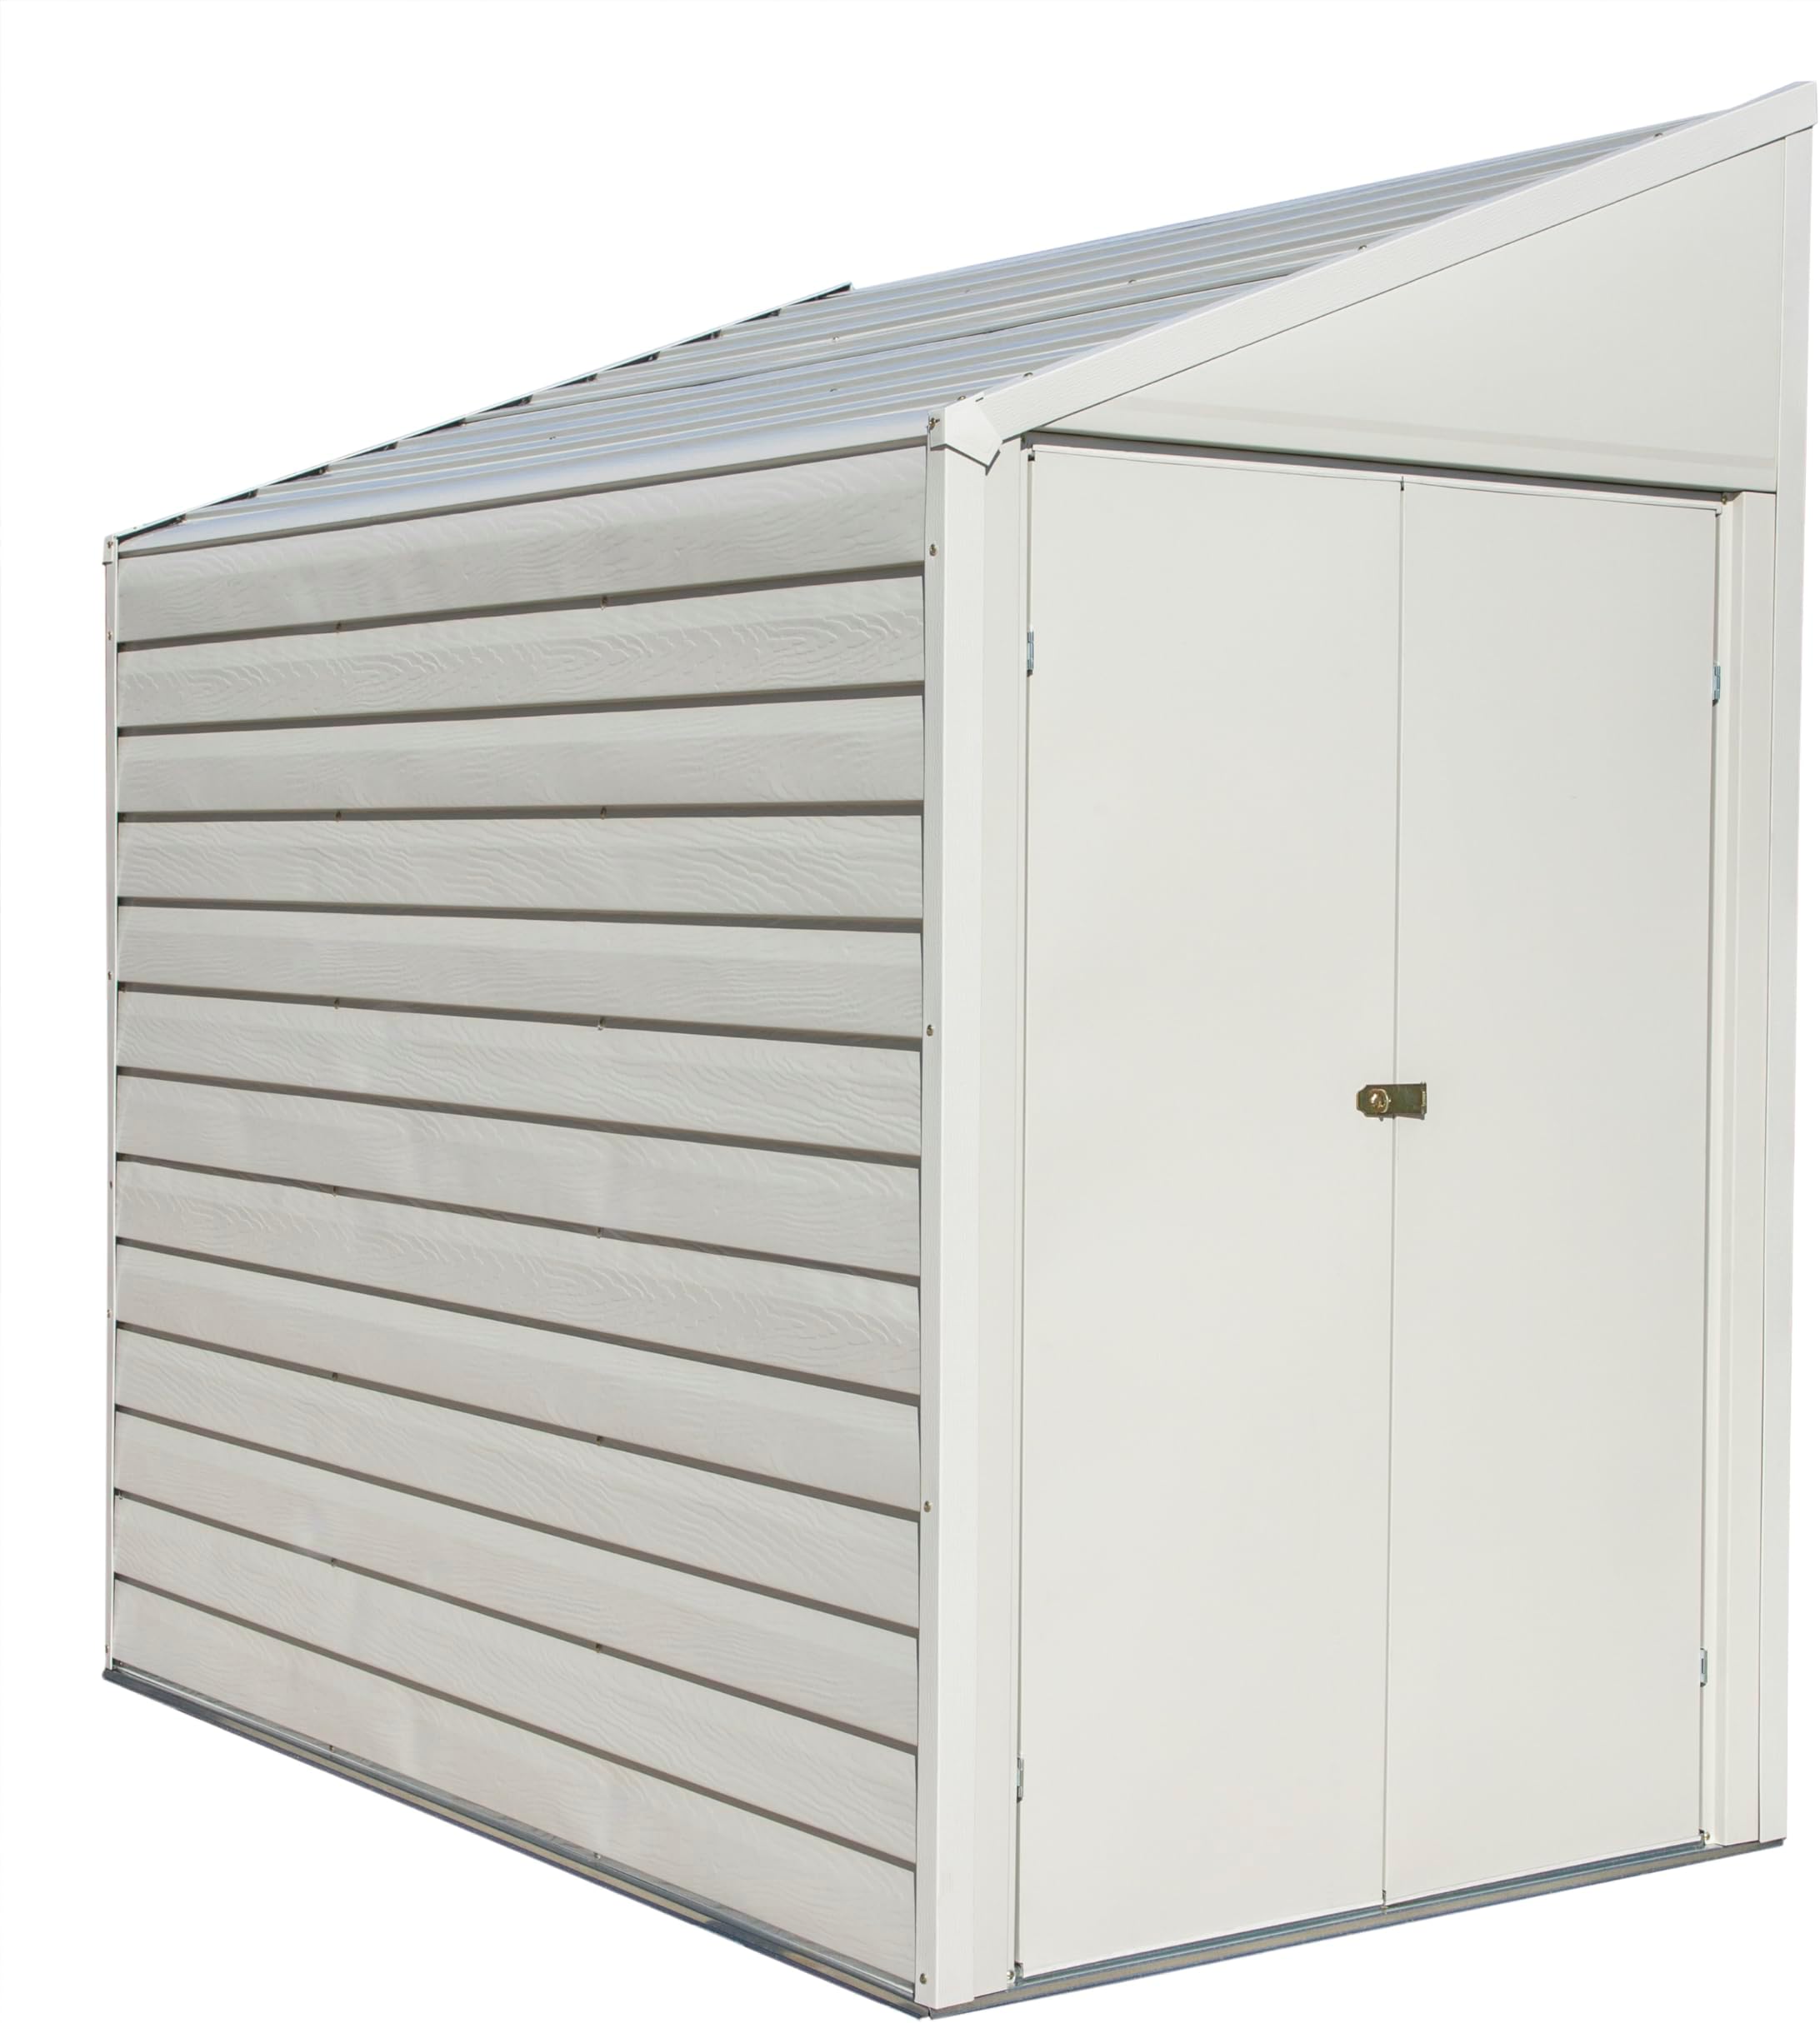
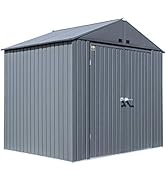
🏡 Compact power storage that fits your space and style — don’t let clutter cramp your vibe!
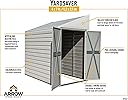
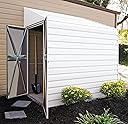
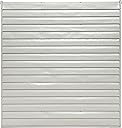
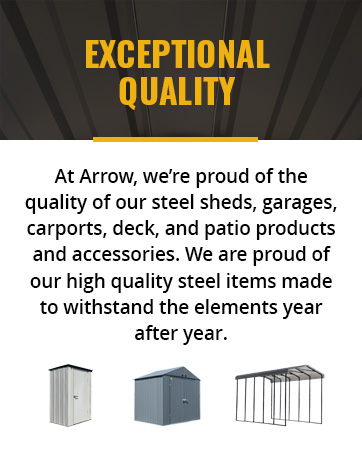
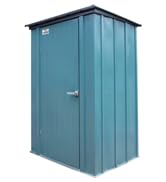
The Arrow Shed YS47-A is a compact, galvanized steel storage solution designed for narrow spaces. Featuring a corrosion-resistant electro-galvanized steel frame with zinc treatment, it offers 26 sq. ft. of storage with 62" high walls and double swing doors for easy access. Its pent roof design prevents water pooling, while the neutral eggshell finish blends seamlessly with various home exteriors. Pre-cut and pre-drilled parts simplify assembly for those comfortable with DIY projects. Backed by a 12-year limited warranty, this shed is ideal for storing lawn equipment, pool accessories, and more in a durable, weather-resistant structure.


| ASIN | B0015ZXYCU |
| Base Material | Alloy Steel,Wood |
| Best Sellers Rank | #848,232 in Patio, Lawn & Garden ( See Top 100 in Patio, Lawn & Garden ) #2,687 in Storage Sheds |
| Brand Name | Arrow |
| Chamber Depth | 81 Inches |
| Chamber Height | 121 Centimeters |
| Color | Eggshell |
| Customer Reviews | 3.3 3.3 out of 5 stars (366) |
| Door Height | 7 Feet |
| Door Style | Sliding Doors |
| Door Width | 3.2 Feet |
| Frame Material | Alloy Steel |
| Global Trade Identification Number | 00026862100702 |
| Item Dimensions D x W x H | 84"D x 49"W x 80.75"H |
| Item Type Name | Pent Roof |
| Manufacturer | Arrow Shed LLC |
| Manufacturer Part Number | YS47 |
| Manufacturer Warranty Description | Limited 12 year warranty via arrow sheds |
| Material Type | Alloy Steel |
| Model Number | YS47-A |
| Required Assembly | Yes |
| Style Name | Lawn |
| Top Material Type | Alloy Steel |
| UPC | 026862100702 |
| Ultraviolet Light Protection | UV Protection |
| Unit Count | 1.0 Count |
| Water Resistance Level | Water Resistant |
D**R
Great shed for the money.
The shed was easily assembled once the directions were understood. Like others that have reviewed this product, I too had difficulty with the vague directions. It is impossible to quantify the number of times a few screws were removed and put back in place to accommodate the next item. If you are not a handyman type do not purchase this item, however if you are this is a great afternoon project.
J**L
Frustrating assembly and disappointing, flimsy construction
I had expectations of assembling a sturdy, strong storage unit that would be relatively easy to assemble and last for years. What I got was nothing but frustration and disappointment. When this Yardsaver unit arrived, its corners of the siding and edges of support arts were bent or buckled. Rather than send the unit back. I decided I could deal with slight damage. I perused the instructions and reviewed the list of parts that were supposed to be enclosed. All seemed well until I began the assembly process. I found the instructions hard to understand and the assembly illustrations lacking in detail. While attempting to follow the instructions, frustration and anger soon followed to the point of abandoning the project for the day. What I assumed would take hours, turned into a project that took 5 days to complete. Rather than expose myself to daily sessions of anger and regret, I took my time and dealt with the situation as best I could. Some major faults: too short sheet metal screws, having to insert then remove screws again during later assembly, screws not gripping properly, and not having enough hardware (bolts, screws, etc.) to complete assembling the storage unit. I cannot, truthfully, feel secure about this unit withstanding years of use let alone feeling confidence of its ability to withstand any winds stronger than 20 mph. I've dealt with Arrow products in the past but never have I had to deal with such poor, shoddy workmanship in a product that has such a high price tag (over $400.00!) or tried to follow instructions so hard to decipher. Shame on you, Arrow!
D**Y
screws are short and can strip easily, however
All parts and packaging arrived intact. I'm 64 and assembled it by myself. It took me about 6 and a half hours including the wood foundation I constructed. As many reviews have previously noted, screws are short and can strip easily, however, if you treat it like the aluminum it is and not torque everything like your working on a car, it goes together quite well. Instructions do lack a bit and don't cover everything, but with any mechanical knowledge, it shouldn't present any significant problems. Unit went together well and is very sturdy provided you have a good square base to work with. The only real thing that I was not impressed with was the fact that it is not 4ft by 7ft. Its more like 4ft by 6 and a half feet. I constructed a 4ft by 7ft base and it fell short by a good six inches on the base. It will serve my needs, however, the extra six inches of storage would have been nice to have since its quite small in the first place. I would recommend this item to others, but with reservation as to the difficulties of construction by those that lack experience putting things together.
W**N
Functional shed, lots of waterproofing needed when done, thin metal, not particularly attractive, but decent for the price.
This shed took a full day to build with one person and half-a day to weather-seal with caulk and install flooring. The aluminum is remarkably thin, with sharp edges and dents easily and catches and whips about in the slightest wind (so eye/face protection is a must). If you need a perfect-looking shed, this isn't for you. If you need a security shed that can't be broken into, this isn't for you. The panel sheets have part numbers painted on the outside making it look a bit ugly, and mine came scratched a bit in a beat-up cardboard box. You will dent it when installing it. The dents sort of pop back out, though. The screws are the shortest sheet metal screws I have ever seen, and thus, if things aren't just flush, they strip out, recommend #8 or #10, 3/4 inch pan head sheet metal screws in case you strip out what they give you, and these are a bit longer too. The giant bag of screws are daunting, and every last one is used, an extra bag comes with it in case something is lost (I think, although I dumped all the parts together and can't remember if the extra screws came with the floor kit or not) . The instructions are adequate, but pictures are poor, so you really have to lay each piece out and think about how they fit together. Pieces are not symmetrical in terms of holes (like the threshold plate, the top middle roof support bars). The "install the screw then remove and replace" complaint in prior reviews is a real issue as this weakens the metal with each install, but can be done with one install with planning. Once assembled, without a floor, you can get inside it and scoot it around pretty easily. If you anchor it, you need to buy an anchor kit. If you spring the extra $70, you can get about six metal bars that sit on the ground that you can later cut plywood to fit over, probably cheaper to build a wood frame and forgo these, but they do hold the bottom sides together, and weight down the frame with a full shed. The floor can be put in when all finished. If the frame is not completely square, nothing lines up, including the floor, and the doors when you are totally done, which takes some adjusting. Finally weatherproofing. I bought some roofing elastic caulk and some aluminum ducting tape (not plastic duct tape). After installing the roof, I sealed every conceivable exterior hole or crack with caulk (about three tubes), including covering the screws. Inside, I repeated the process on the roof. The sides got aluminum tape to bridge the wide gaps with some caulk on the open edges afterward. All in all 8 tubes of caulk. The door is "sticky" but closes. Waiting for the first rainstorm, and if this leaks, will repost more. Good luck.
P**R
Awesome.
Great product. We pored a cement foundation to house the sheds (we purchased two) which worked out just fine. If you live in sunny locations like California this is perfect for tool storage plus a small four foot by 18inch bench which works just great for me. If you are overly worried about water leaking in at any time use expandable foam as I did for that one day in January we may get a bit of rain. Bolt the unit down if you care about ultra stability. The reason you are all having trouble putting this together is because you don't read the instructions or don't have minor building experience. If you have trouble with assembling boxed desks from Walmart etc this will give you trouble. Line the insides with peg board and your set.
A**R
I liked the shed's flexibility to put the doors on either end of the unit. This feature was important to me because of where I wanted to put it. Doors which open instead of slide is also important, however, the screws into the frame base should be flat instead of rounded because the doors scrape against them. Need two or three people (one to read the instructions) to build the shed in about 5 hours provided the surface for the shed is prepared. A choice of colour for the shed would have earned it the 5th star.
Trustpilot
1 month ago
2 weeks ago